How to Add Subtitles to YouTube Videos
If you've ever watched a YouTube video with the sound off and had no idea what was going on, you already know why subtitles matter. They help people follow along when they can't listen, when they're in a noisy place, or when English isn't their first language. Adding subtitles to your videos is one of the easiest ways to make your content more useful to more people.
A lot of you have asked about this, so let's break it down in a way that actually makes sense. Whether you're a new creator or someone who's been uploading for a while, subtitles are worth learning. They can help your videos reach a wider audience, and they might even help your content show up in search results since YouTube can read the text in your captions.
There are a few different ways to add subtitles to YouTube videos. You can use YouTube's built-in tools, upload your own caption file, or use a third-party tool to do the heavy lifting. Each method has its place depending on how much control you want and how much time you have. Let's walk through all of it.
Using YouTube's built-in subtitle tools
YouTube actually gives you a pretty solid set of tools for adding subtitles right inside YouTube Studio. Once you upload your video, you can head to the Subtitles section of the video details page. From there, YouTube gives you a few options: you can use their auto-generated captions, type your own subtitles manually, or upload a file.
Auto-generated captions are the quickest route. YouTube uses speech recognition to create them automatically, and honestly, they've gotten pretty good in recent years. That said, they're not perfect. Names, slang, technical words, and fast speech can trip the system up. I personally think auto-captions are fine as a starting point, but you should always go back and edit them before calling it done.
To edit auto-captions, go to YouTube Studio, click on the video you want to fix, and then choose Subtitles from the left menu. Click on the auto-generated captions, and you'll see a line-by-line editor where you can clean up any mistakes. It takes some time, but it's worth it. Getting the words right makes your video look more professional and easier to follow.
If you prefer to write your own subtitles from scratch, YouTube lets you do that too. You can type each line manually and sync it to the right moment in your video using the built-in timeline. It's slower than using auto-captions, but you have full control over every word and every timestamp.

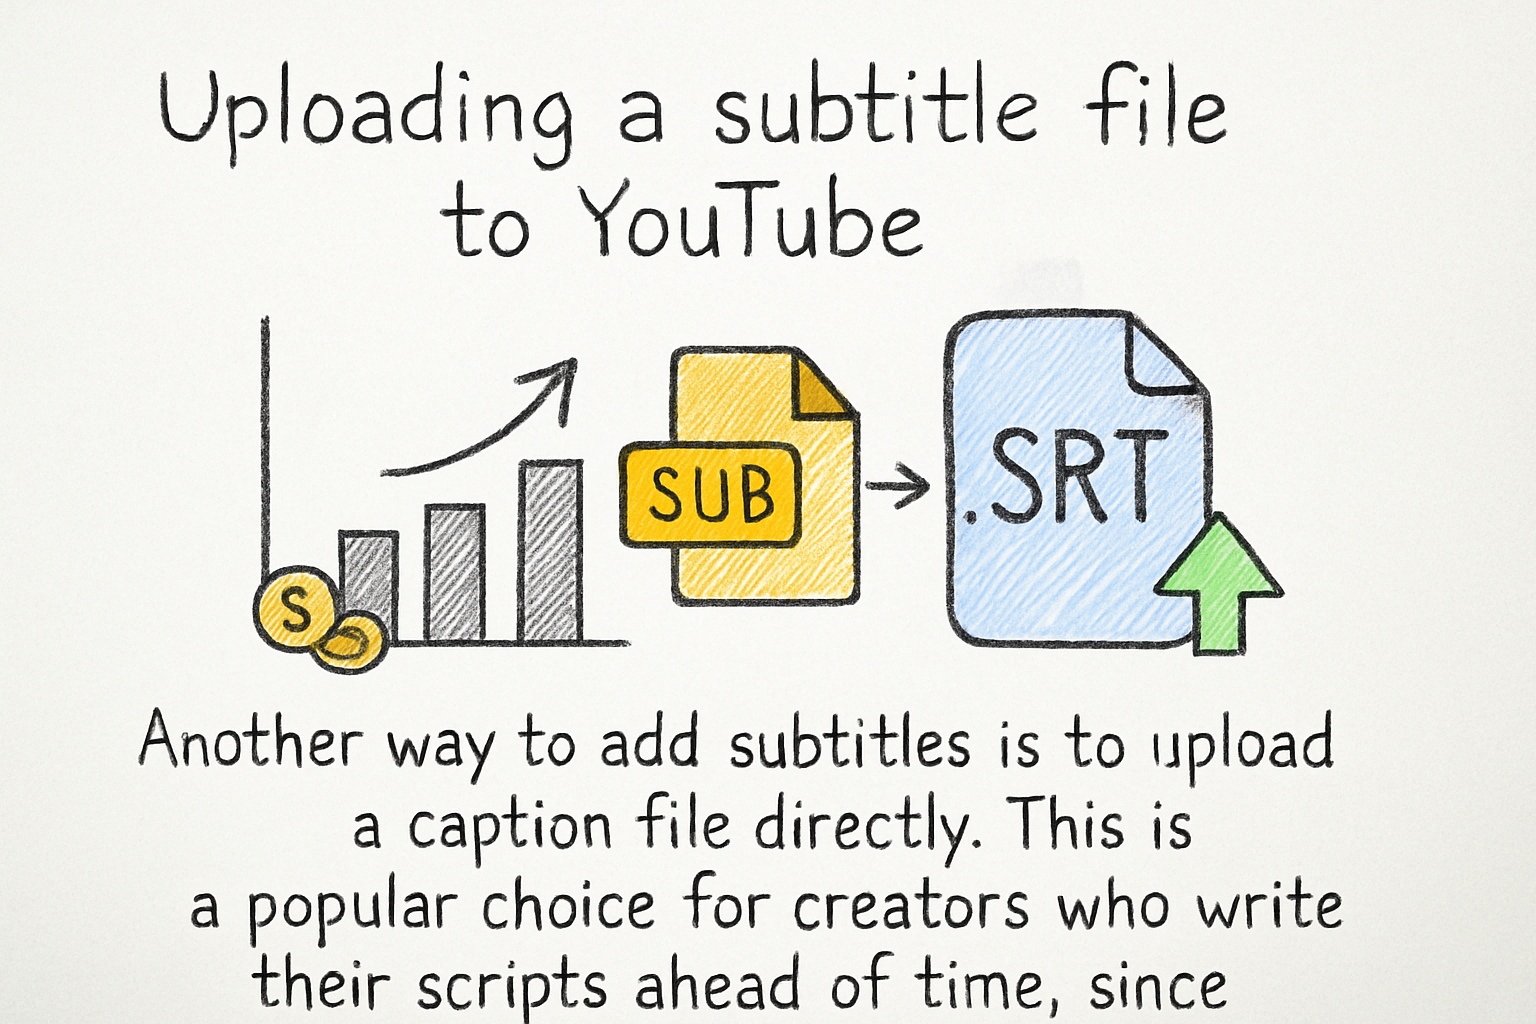
Uploading a subtitle file to YouTube
Another way to add subtitles is to upload a caption file directly. This is a popular choice for creators who write their scripts ahead of time, since it's easy to turn a script into a caption file. If you're not already writing your scripts before you film, our template for writing a video script can help you build that habit.
The most common file format for subtitles is SRT, which stands for SubRip Text. An SRT file is just a plain text document that lists each subtitle line with a start time, an end time, and the words that should appear on screen. You can create one in any basic text editor, or you can use a tool like Aegisub or Subtitle Edit if you want something more visual.
I remember the first time I tried to make an SRT file by hand. I made a tiny formatting mistake and the whole thing came out wrong. Once I figured out the issue (a missing blank line between entries), it uploaded perfectly. The format is simple once you know it, but it's picky about the details.
To upload your file, go to YouTube Studio, click on your video, and choose Subtitles. Then hit Add Language if you haven't already, and click the option to upload a file. YouTube will accept SRT files, as well as VTT and SBV formats. After it's uploaded, you can still edit the captions inside YouTube Studio if anything needs fixing.
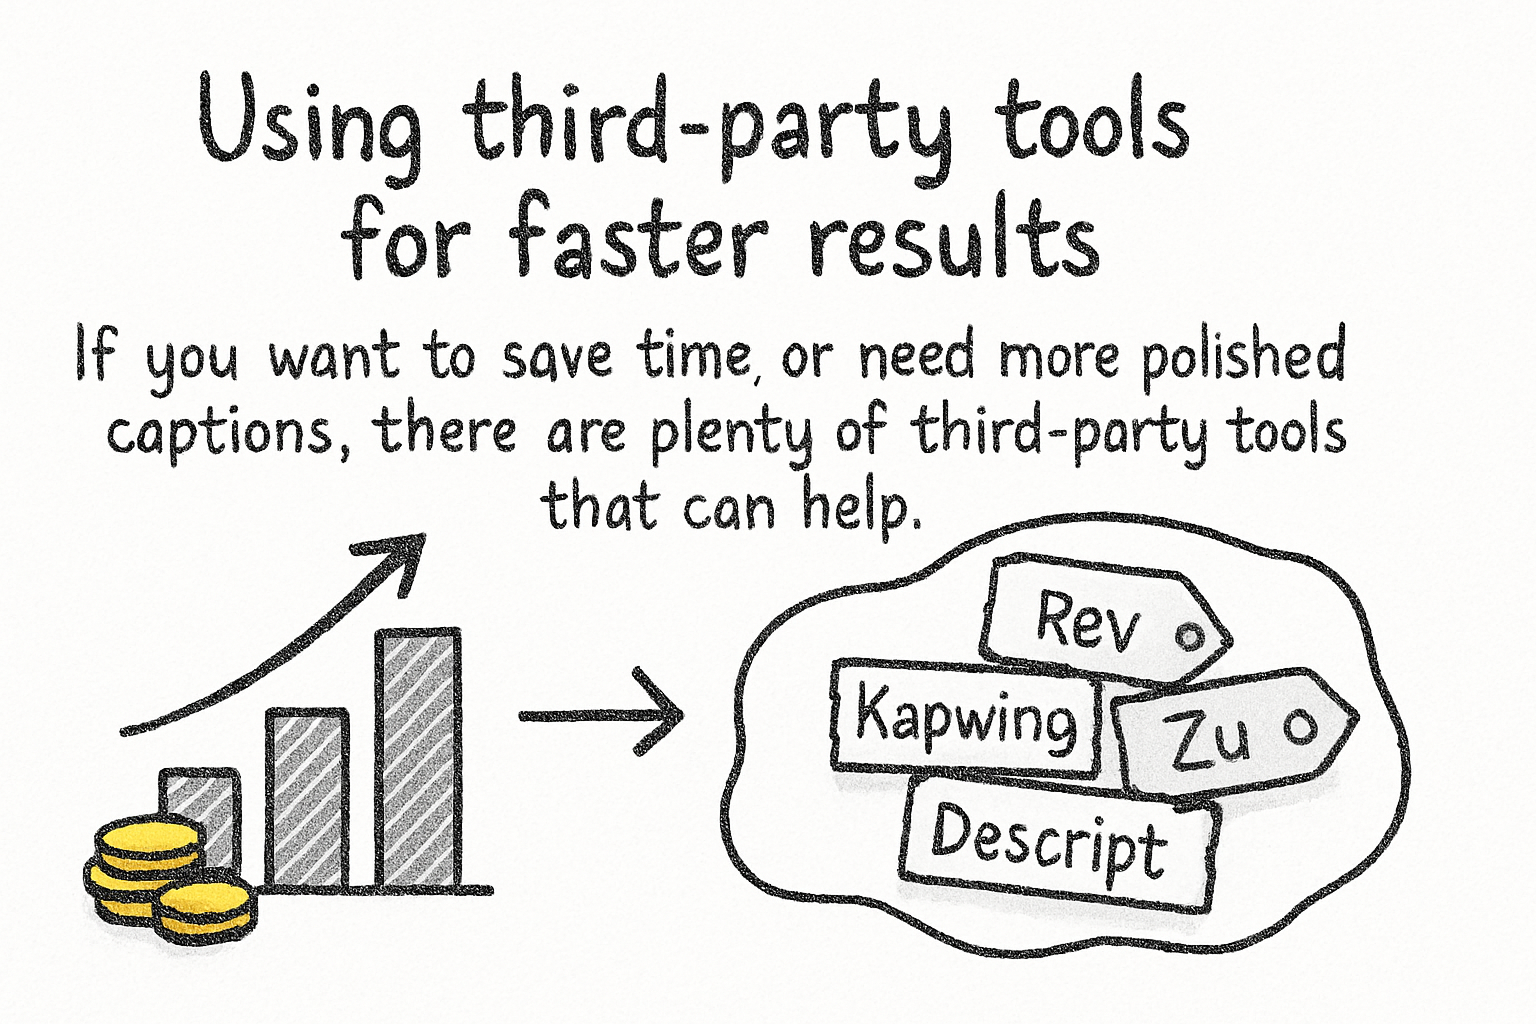
Using third-party tools for faster results
If you want to save time or need more polished captions, there are plenty of third-party tools that can help. Apps like Rev, Kapwing, Descript, and Zubtitle are popular options. Some of them use AI to transcribe your audio and generate captions quickly, and others let you hire human transcribers for higher accuracy.
These tools are especially handy if you're putting out videos regularly and don't want to spend hours editing captions each time. Most of them let you export your captions as an SRT file, which you can then upload straight to YouTube using the steps we talked about earlier. Some tools can even post captions directly to YouTube if you connect your account.
Keep in mind that some of these services cost money, especially the ones that use human transcribers. Free tiers are available for several tools, but they often have limits on how many minutes of audio you can process. It's worth trying a free option first to see if the quality works for your needs before paying for anything.
One more thing worth mentioning: if you're building out your YouTube presence more broadly, things like adding tags on YouTube and optimizing your thumbnails can work alongside good captions to help your channel grow. Subtitles are just one piece of a bigger puzzle, and every piece matters.
Ready to take the next step?
Now you've got everything you need to start adding subtitles to your YouTube videos. Whether you use YouTube's built-in tools, upload your own SRT file, or try a third-party app, the important thing is that you actually do it. Your viewers will notice, and your channel will be better for it. Have questions about the process or run into any trouble along the way? Drop a comment below and let's figure it out together. And if you're looking for more tools and tips to level up your video content, check out Cliptude to see what's possible.