How to Do a Voice Over: A Beginner's Guide
Voice overs sound simple until you sit down to actually do one. You hit record, start talking, and suddenly your voice sounds weird, the audio is full of background noise, and you have no idea where to begin. Sound familiar? A lot of you have asked about this exact problem, so let's break it all down from scratch.
Doing a voice over is really just narrating or speaking over a video, presentation, or audio project. It could be for a YouTube video, a podcast intro, a training course, or even an animated explainer. The concept is simple, but doing it well takes a bit of know-how. And no, you don't need a fancy studio or a professional radio voice to get started.
This guide covers everything a beginner needs to know. From writing your script to recording your audio and cleaning it up, you'll have a clear path forward by the time you finish reading. Let's get into it.
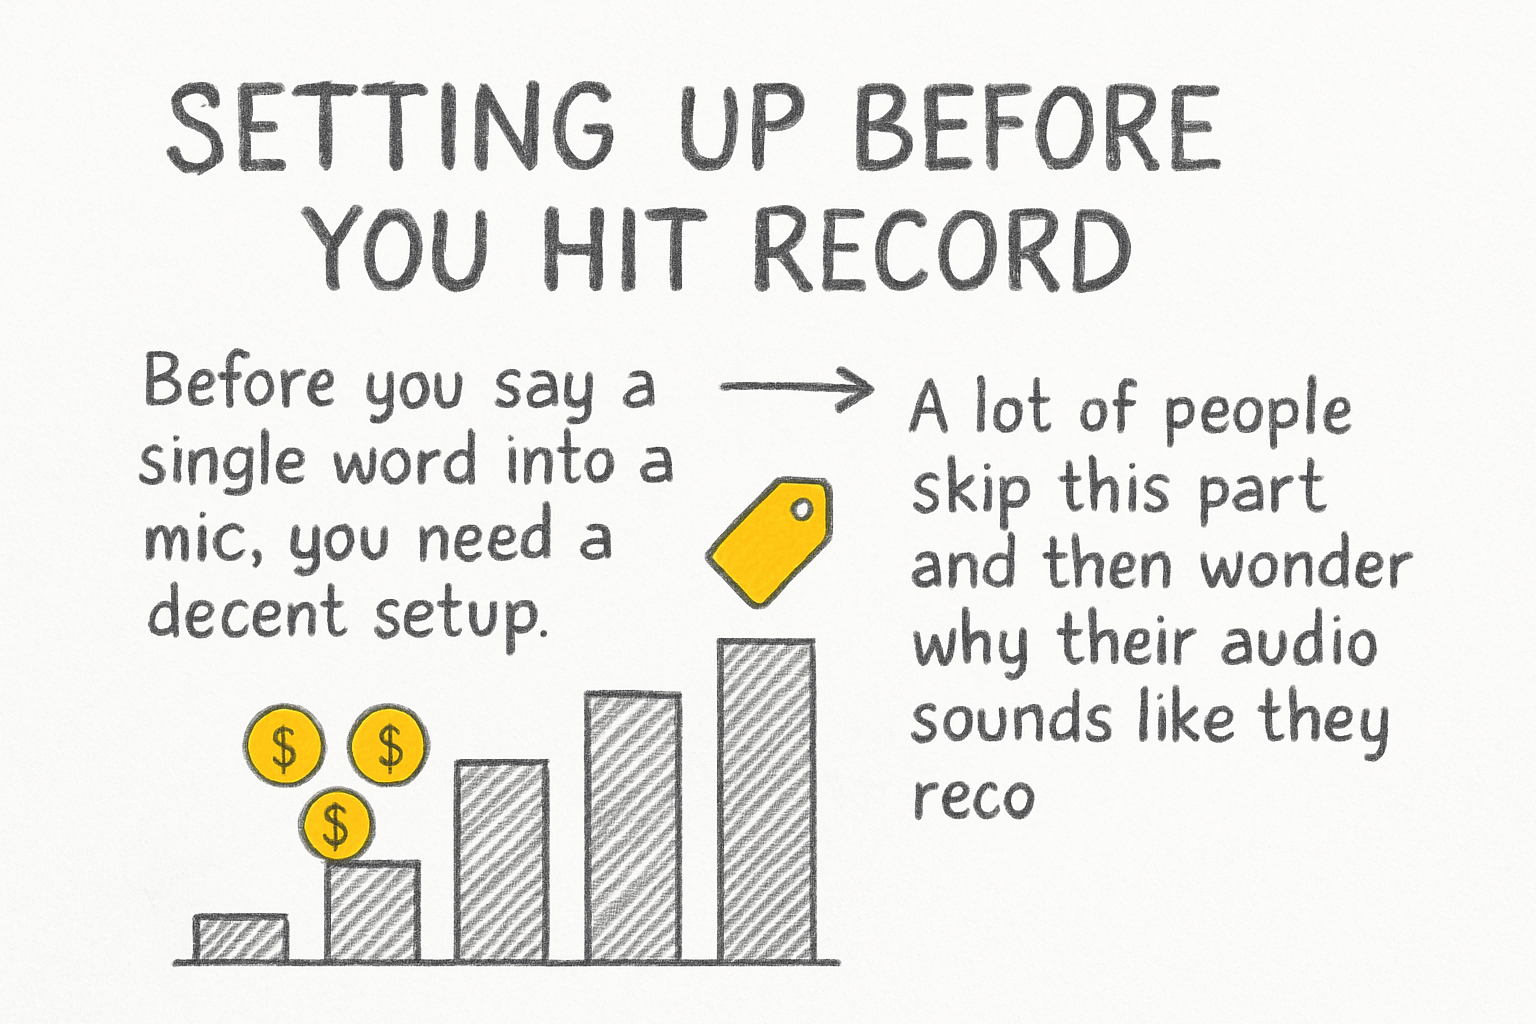
Setting up before you hit record
Before you say a single word into a mic, you need a decent setup. A lot of people skip this part and then wonder why their audio sounds like they recorded it inside a tin can. The room you record in matters just as much as the microphone you use.
Find the quietest spot in your home or office. Closets are actually great for this because the clothes absorb sound. Hard walls and bare floors cause echo, so try to record in a space with rugs, curtains, or furniture around you. Even hanging a blanket behind your mic can make a real difference.
For gear, you don't need to spend a fortune. A USB condenser microphone in the $50 to $100 range will get you solid results. Plug it into your laptop, open free software like Audacity or GarageBand, and you're ready to roll. Position the mic a few inches from your mouth and slightly to the side to avoid those harsh popping sounds on letters like P and B.
One thing I personally think gets overlooked way too often is posture. Sitting up straight or even standing while you record opens up your diaphragm and gives your voice more depth. Try it once and you'll notice the difference right away. Your voice just sounds fuller when you're not hunched over a desk.
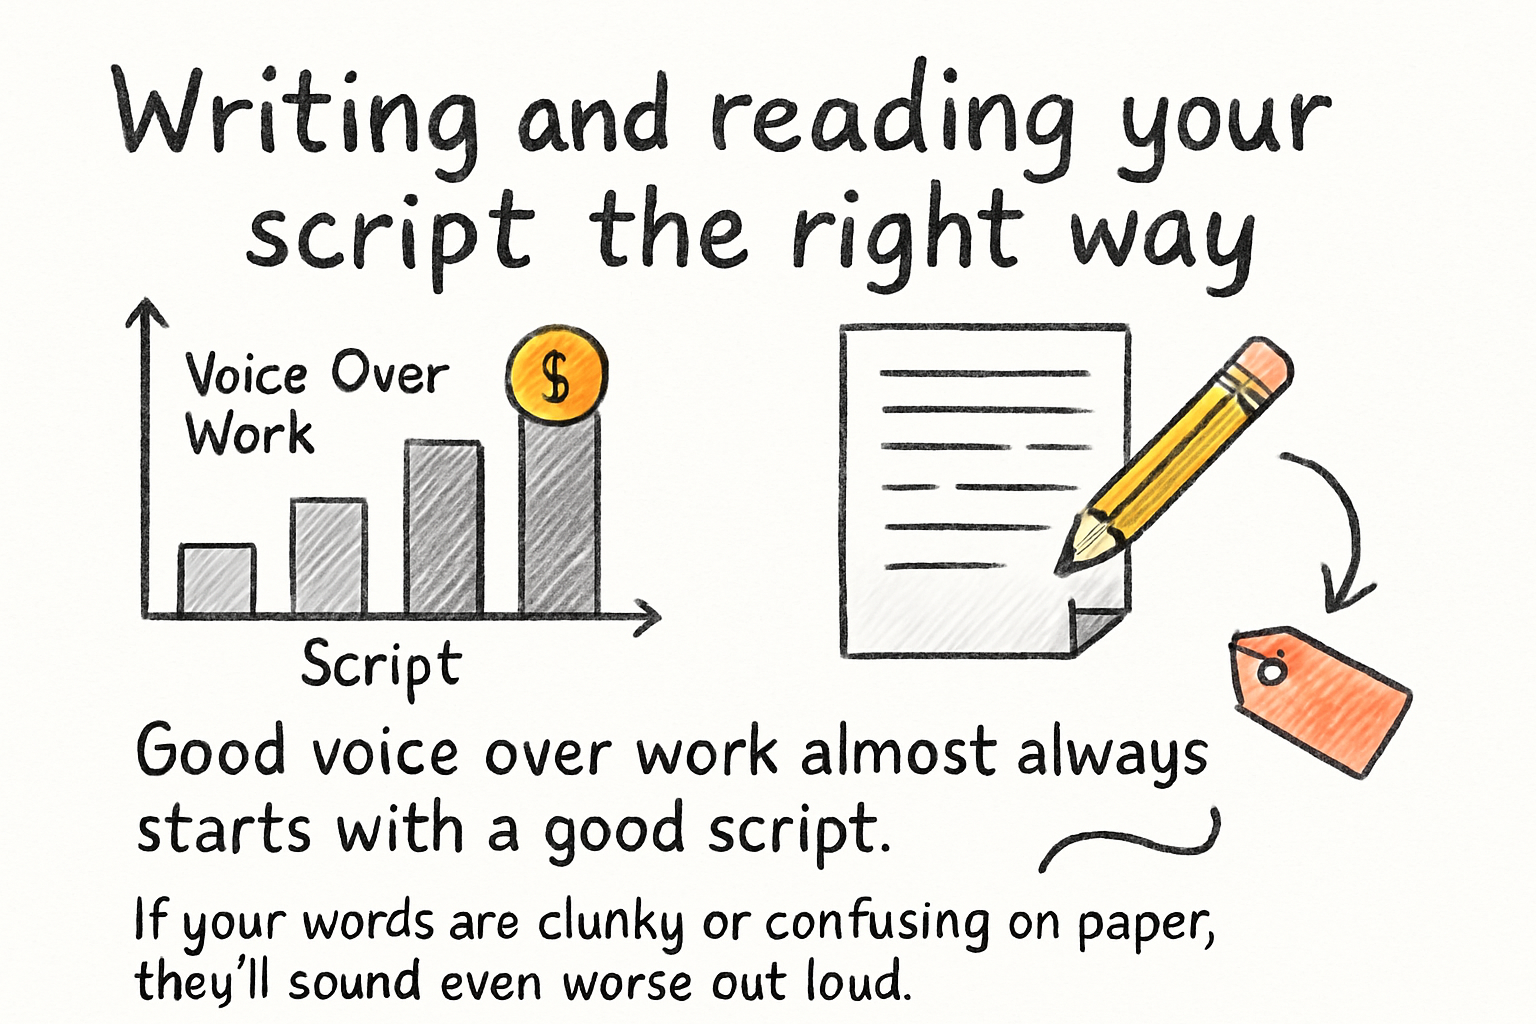
Writing and reading your script the right way
Good voice over work almost always starts with a good script. If your words are clunky or confusing on paper, they'll sound even worse out loud. Writing for voice over is different from writing an essay. You want short sentences, natural phrasing, and words you'd actually say in real life.
We actually covered the basics of scripting in our video script writing template, and a lot of those same principles apply here. Write the way you talk. Read your script out loud before you ever record it. If you trip over a sentence, rewrite it until it flows.
Once you're recording, don't just read the words robotically. Think about what the words mean and let that come through in your voice. Slow down on important points. Speed up a little when things get exciting. Vary your tone so it doesn't all sound flat. Listeners can tell when someone is just reciting text versus actually speaking to them.
It helps to mark up your script before recording. Underline words to emphasize. Put a slash mark where you want to pause. Write yourself little notes like "smile here" or "slow down." Yes, smiling while you talk genuinely changes how your voice sounds. It adds warmth that people respond to even through audio.
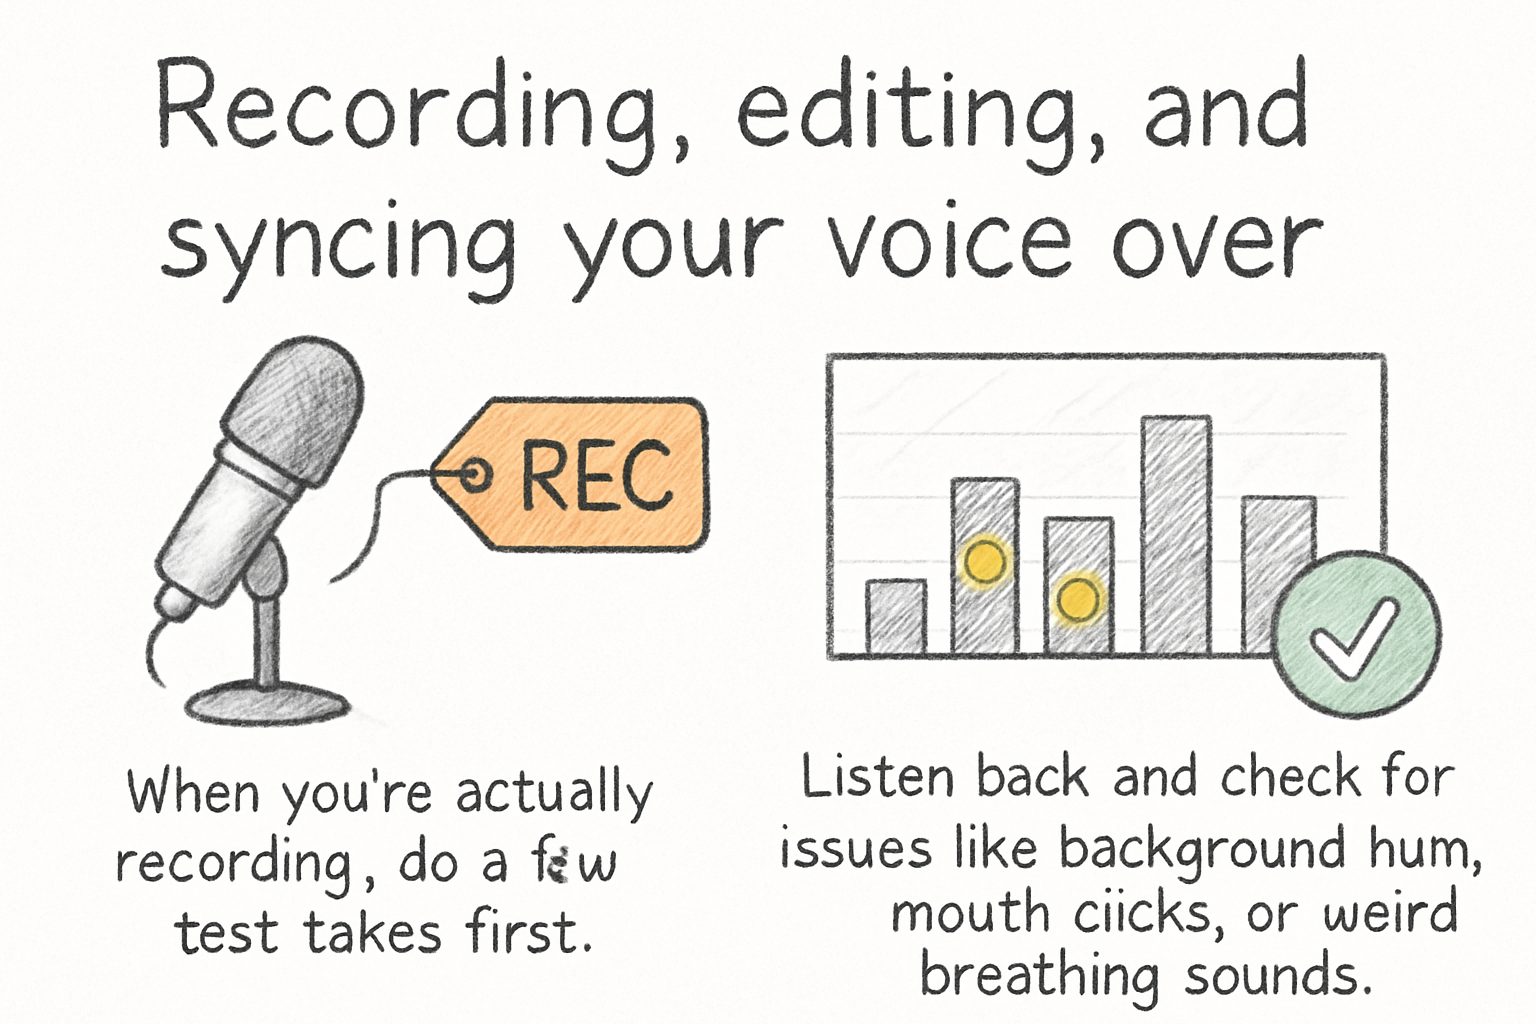
Recording, editing, and syncing your voice over
When you're actually recording, do a few test takes first. Listen back and check for issues like background hum, mouth clicks, or weird breathing sounds. If your room has air conditioning or a fan running, turn it off during your recording session. Even small noises get amplified when you're editing later.
I remember the first time I recorded a voice over for a school project back in the day. I had no idea my laptop fan was so loud until I listened to the playback. The whole recording sounded like a helicopter. It was a mess. Don't make that mistake. Do a quick test recording and listen with headphones before committing to a full take.
After recording, bring your audio into an editor. Audacity is free and powerful. You can remove background noise using its built-in noise reduction tool, cut out long pauses, and boost the volume to a consistent level. A process called normalization helps make your audio loud enough without distorting it. Aim to get your audio levels around negative 3 to negative 6 decibels for most online platforms.
Once the audio is clean, it's time to sync it with your video or visuals. Most video editors like DaVinci Resolve, CapCut, or even iMovie let you drag your audio file onto the timeline and line it up with what's on screen. Watch the whole thing through and adjust where words land. Tight sync makes everything feel more polished and professional. If you're working with a longer video project, it helps to have your shots planned out ahead of time, and our complete guide on shot lists walks you through exactly how to do that.
Ready to take the next step?
Voice overs are one of those skills that feel hard at first and then click pretty fast once you do a few. Start simple, use what you have, and just keep recording until it starts to feel natural. If you have questions, drop them in the comments below and let's figure it out together. And if you want a tool that makes the whole video creation process smoother, go ahead and check out Cliptude to see what it can do for your projects.