How to Make Promotional YouTube Videos With OpenClaw and Remotion
A few weeks ago, I was sitting at my laptop trying to figure out how to make a decent promo video for a product without spending hours in a video editor or hundreds of dollars on a freelancer. I had the script in my head. I had the brand colors. What I did not have was a fast way to get it out of my head and onto a screen. That is when I started tinkering with OpenClaw and Remotion together, and honestly, what came out surprised me.
This post walks through exactly what I built, why I built it that way, and how you can do the same thing for your own product. No design skills needed. No video editing software. Just Python, a bit of React, and an AI agent to tie it all together.
What OpenClaw actually is
If you have not used OpenClaw before, think of it as a personal AI agent that lives on your machine and works with you through Telegram, Discord, or whatever chat app you prefer. It is not just a chatbot. It can run code, manage files, call APIs, schedule tasks, and use skills, which are small modular packages that teach it how to do specific things. You can install skills from ClawHub, which is the community marketplace, or write your own.
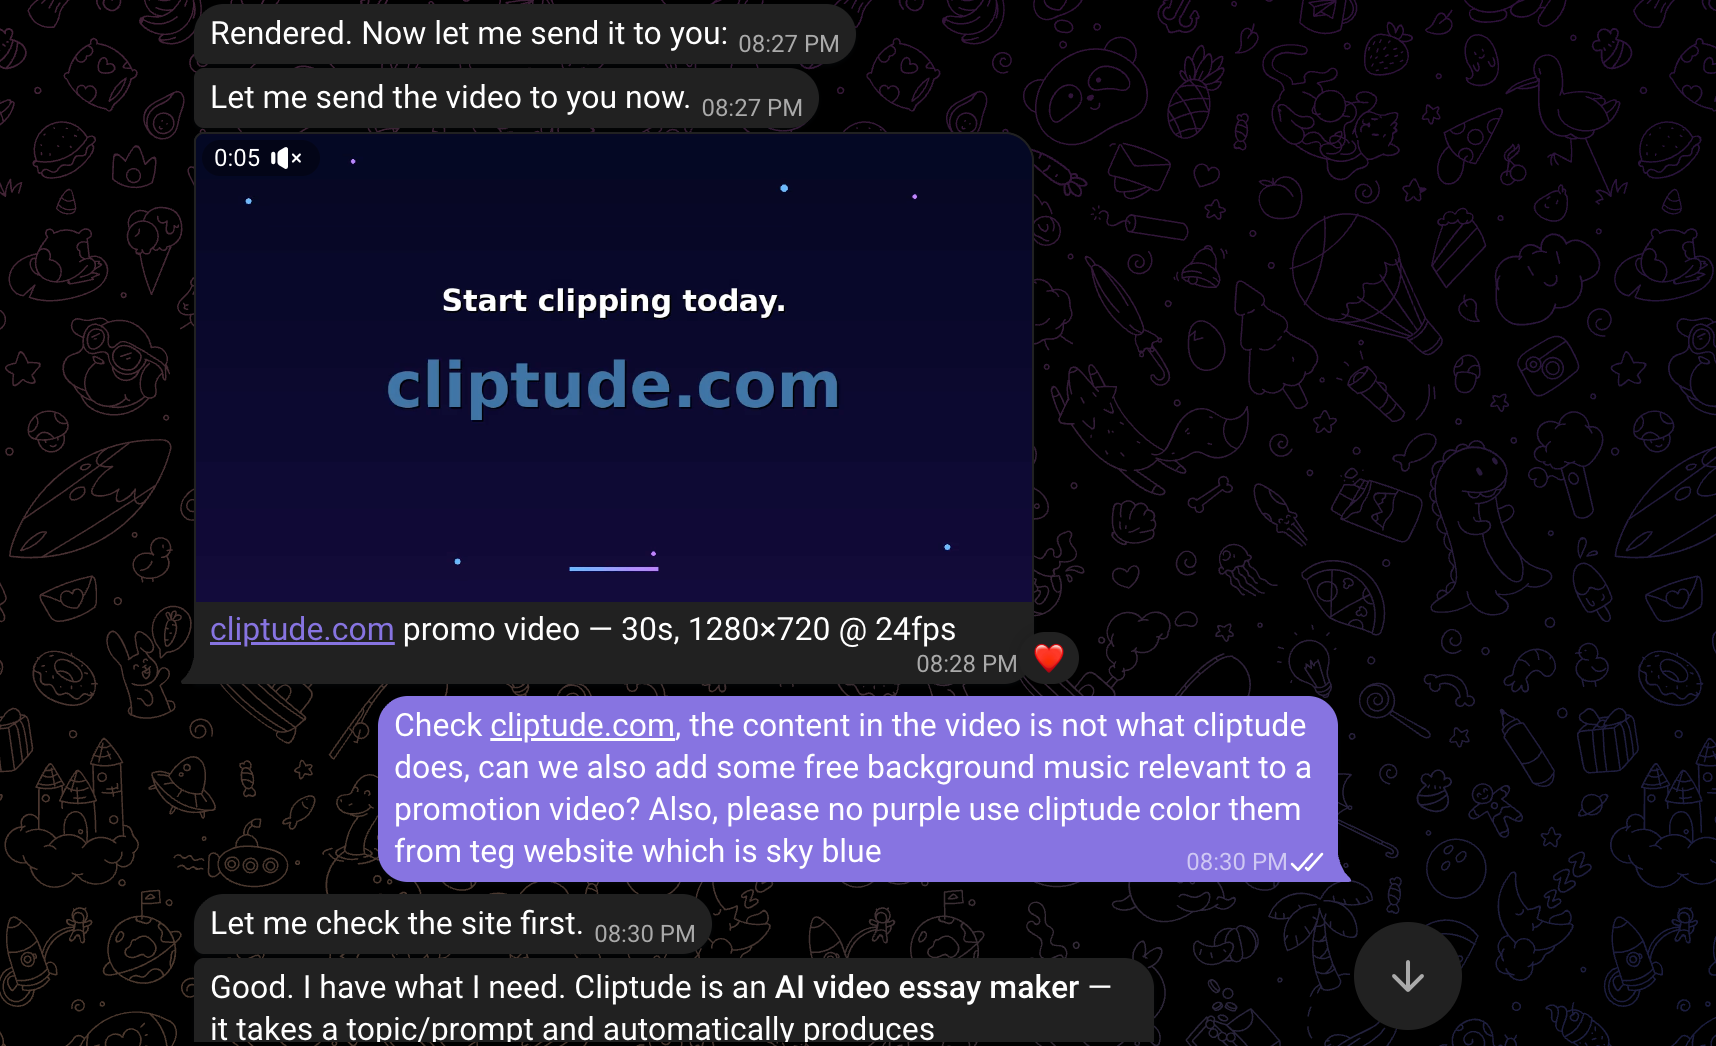
For the Cliptude promo video project, the entire process happened inside a Telegram conversation. I described what I wanted, the agent wrote the code, ran it, fixed errors, downloaded music, and sent the final video back to me as a file. The whole back-and-forth took less than an hour.
Why Remotion for video generation
Remotion is a library that lets you build videos using React components. Each frame of your video is just a React component rendered at a specific timestamp. You write animations the same way you would write UI logic, using state and math instead of keyframe editors.
The reason this matters for promotional content is control. When you need to change a color, update text, or swap out a scene, you edit code rather than hunt through a timeline. For data-driven content like charts, maps, and animated stats, this approach is genuinely faster than any traditional tool.
OpenClaw has a Remotion skill available on ClawHub that covers the full API:
- compositions,
- rendering,
- animations,
- transitions,
- timing curves,
- captions, and more.
Once installed, the agent knows how to write Remotion code without you having to explain the library each time.
Building the Cliptude promo video
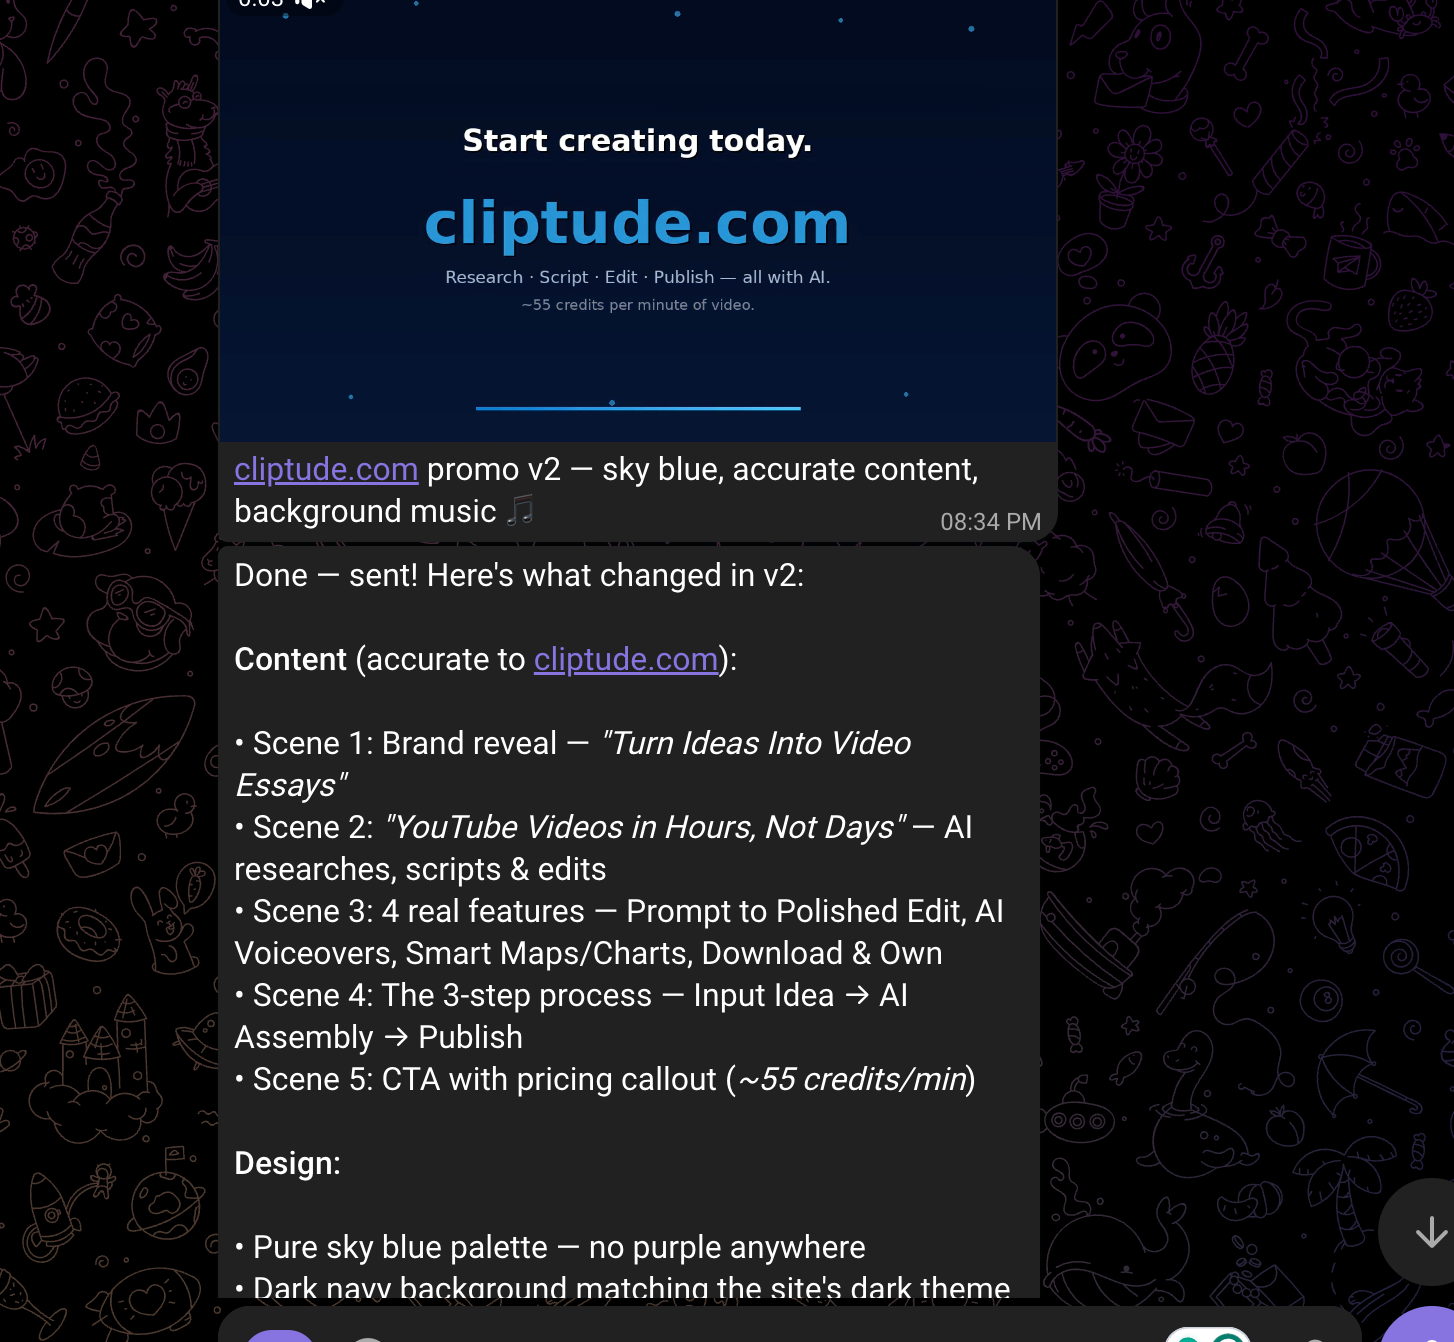
Cliptude is an AI tool that turns a text prompt into a full YouTube documentary, complete with stock footage, voiceovers, motion graphics, and auto-generated maps. The promo video needed to show that off in under 30 seconds.
The first version came out rough. The colors were wrong, some scenes had dead space, and emoji characters were rendering as empty boxes because the system font did not support them. I told the agent what was wrong in plain language, and it rewrote the affected scenes on the next pass.
By the third version, we had ditched emojis entirely, replaced them with clean, plain-text labels, moved to a 2x2 card grid for the feature scene, and fixed the full-frame layout so nothing was cut off.
The fourth version added actual motion graphics:
- a bar chart with bars growing one by one,
- a bubble chart with floating labeled circles,
- a world map with animated flight path arcs between cities,
- and a line graph comparing subscriber growth with and without Cliptude.
The motion graphics scene
This was the part I personally found most interesting. All four charts are drawn from scratch using Pillow, the Python image library. There is no charting library involved. Every bar, every bubble, every arc on the map is a mathematical calculation rendered pixel by pixel into a frame, then piped directly into ffmpeg as raw video data.
The world map, for instance, uses a simplified Mercator projection to convert latitude and longitude into pixel coordinates within the panel. City dots appear one at a time with a pulsing ring animation. The flight paths between cities are Bezier curves drawn as polylines, animated to trace from one city to the next as the scene progresses.
Adding background music
For the music, we needed something commercially safe. YouTube Studio has a great free library, but requires a logged-in Google account, which the agent cannot access. Pixabay Music was the next best option. Their tracks are CC0, meaning free for commercial use with no attribution required.
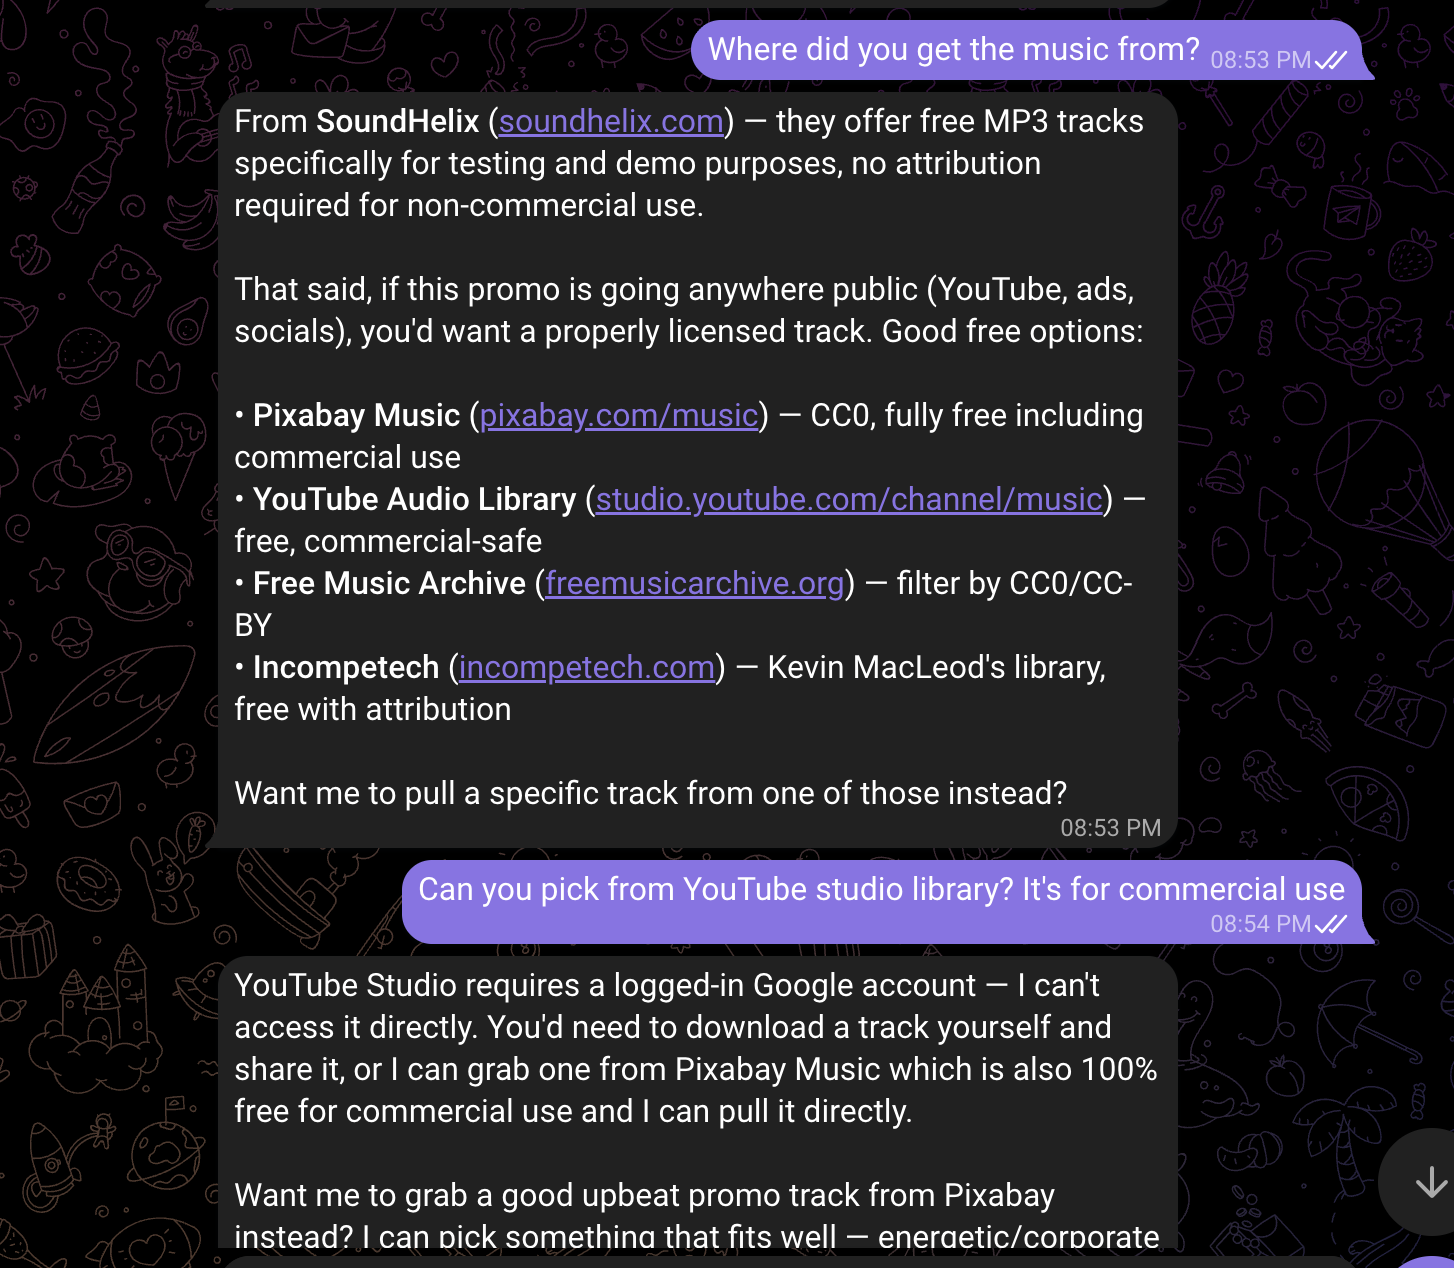
The agent downloaded the track directly from the Pixabay CDN, trimmed it to 30 seconds, applied a 3-second fade-out at the end, set the volume to 35% so it would not overpower any future voiceover, and merged it into the final MP4 using ffmpeg. All of that happened in a single Python function.
The font swap
The default system font, DejaVu Sans, works fine but does not look polished. Switching to Roboto Mono, the font I use on the Cliptude website, took about 10 seconds. The agent downloaded both the regular and bold weights directly from the Google Fonts GitHub repository, swapped the two font path constants at the top of the render script, and re-rendered. The difference was immediately obvious.
How the agent workflow helped
What made this project work well was not any single tool. It was the feedback loop. Many of you wonder how AI-assisted development actually works in practice, and this is a good example. You describe a problem in plain language, the agent proposes a fix, you look at the output, and you describe the next problem. The video went through four full versions in about 90 minutes of back-and-forth conversation.
One mistake I made early on was asking the agent to read the rendered MP4 file to verify it had been generated correctly. That caused it to dump the entire binary file as text into the conversation context, which used up a large amount of tokens for no reason. The right approach is to use a shell command to check file size, then send the file directly using the message tool. Worth knowing if you are watching your API costs.
What comes next
There is a lot more you can do with this setup. You could generate personalized video thumbnails for each post, auto-render weekly product update videos from a data feed, or build a full video essay pipeline that pulls transcripts, writes a script, and renders the visuals automatically. The Remotion skill covers all of that.
The thing I keep coming back to is how much of this work used to require either expensive software or a specialist. Now it is a conversation. I'm curious what you would build with this, and whether the approach of using an agent as a creative collaborator rather than just a code generator matches how you think about these tools. Drop your thoughts in the comments.
And if you are looking for a workflow to create stunning YouTube videos with one prompt, check out Cliptude for free.