How Do You Write a Transcript? A Simple Step-by-Step Guide
Writing a transcript might sound like a boring chore, but it's actually one of the most useful skills you can have if you create videos, podcasts, interviews, or any kind of recorded content. A transcript is just a written version of everything that was said out loud. Simple idea, but doing it well takes a little know-how. Whether you're transcribing a YouTube video, a school interview, or a business meeting, the process is mostly the same.
A lot of you have asked about this topic in the comments, and honestly, it makes sense why. Transcripts help with accessibility, SEO, note-taking, and repurposing content. They let people who can't watch a video still get the information. They also make it way easier to search through what was said. So yeah, knowing how to write one properly is worth your time.
The good news is you don't need any fancy tools or a journalism degree to do this. You just need a recording, some patience, and a solid process. In this guide, we'll walk through every step so you can go from audio file to clean, readable transcript without pulling your hair out.
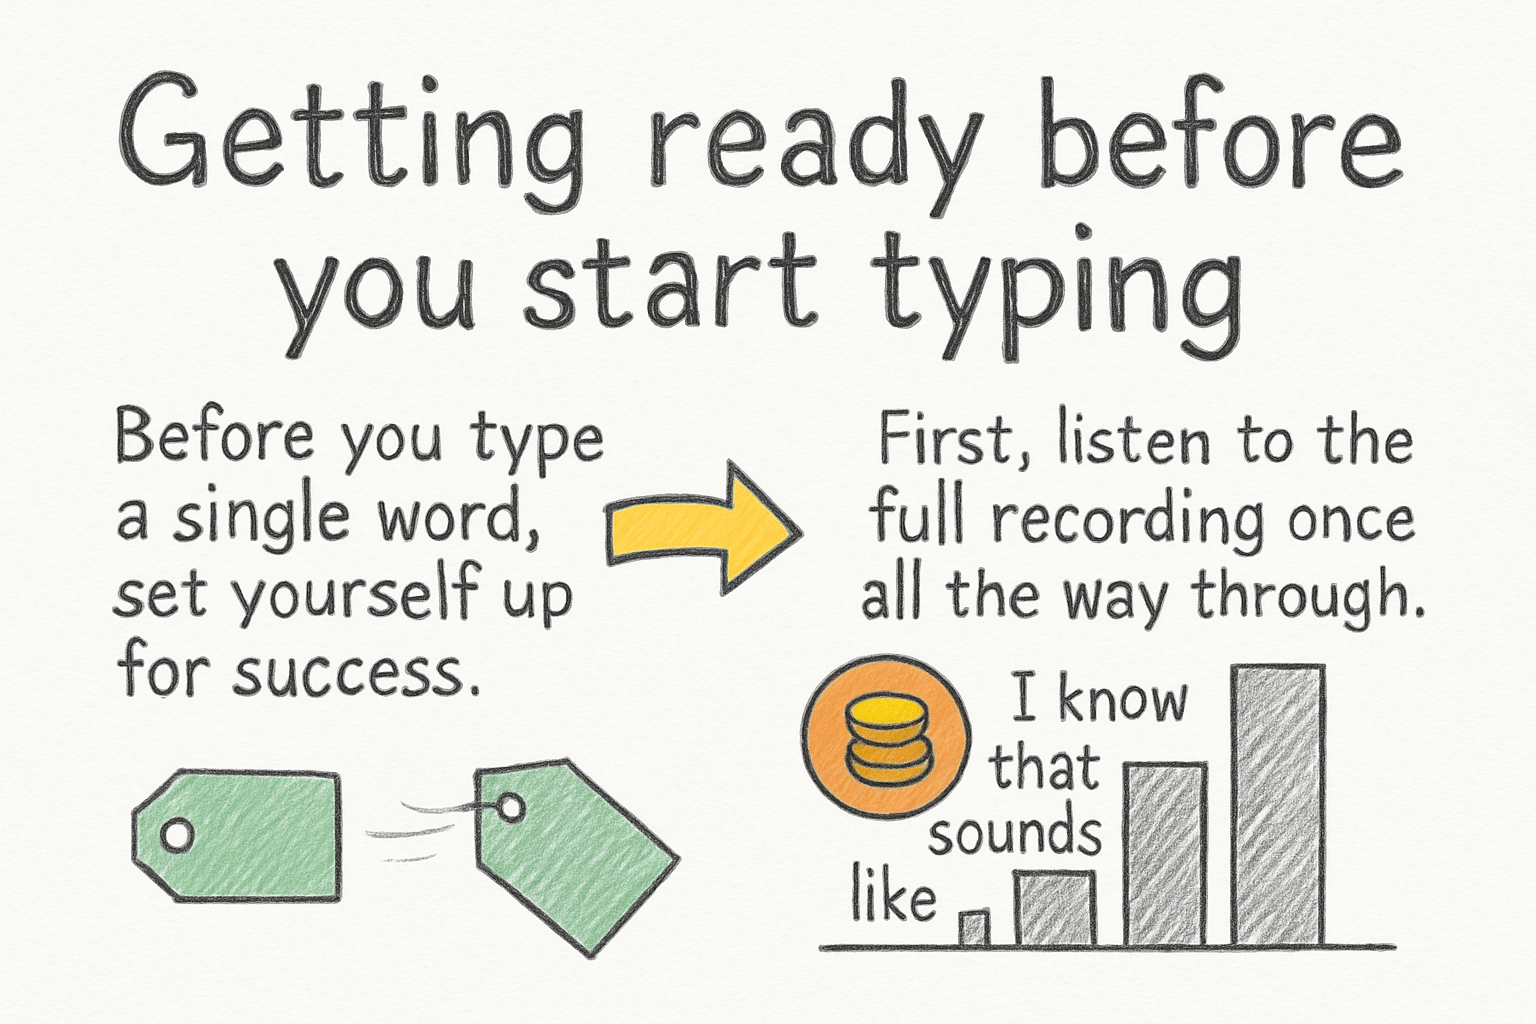
Getting ready before you start typing
Before you type a single word, set yourself up for success. First, listen to the full recording once all the way through. I know that sounds like extra work, but trust me, it saves you time later. You'll catch things like strong accents, background noise, or overlapping voices that could trip you up mid-transcription.
Next, pick your tools. You can use a free tool like Google Docs, which has a built-in voice typing feature that can help speed things up. Some people also use dedicated transcription software like Otter.ai or Descript to get a rough draft, and then clean it up by hand. I personally think the hybrid approach works best — let software handle the first pass, then go back and fix the mistakes yourself. It cuts the work in half.
Also, set up your audio playback so you can control the speed. Most media players let you slow audio down to 75% or even 50% speed. This makes it much easier to catch every word without having to rewind constantly. Slowing it down at first feels odd, but you'll get used to it fast.
One more thing: set up your formatting before you begin. Decide how you'll label speakers, whether you'll note pauses or non-verbal sounds, and what font or spacing you'll use. Making these choices upfront keeps your transcript clean and consistent all the way through.
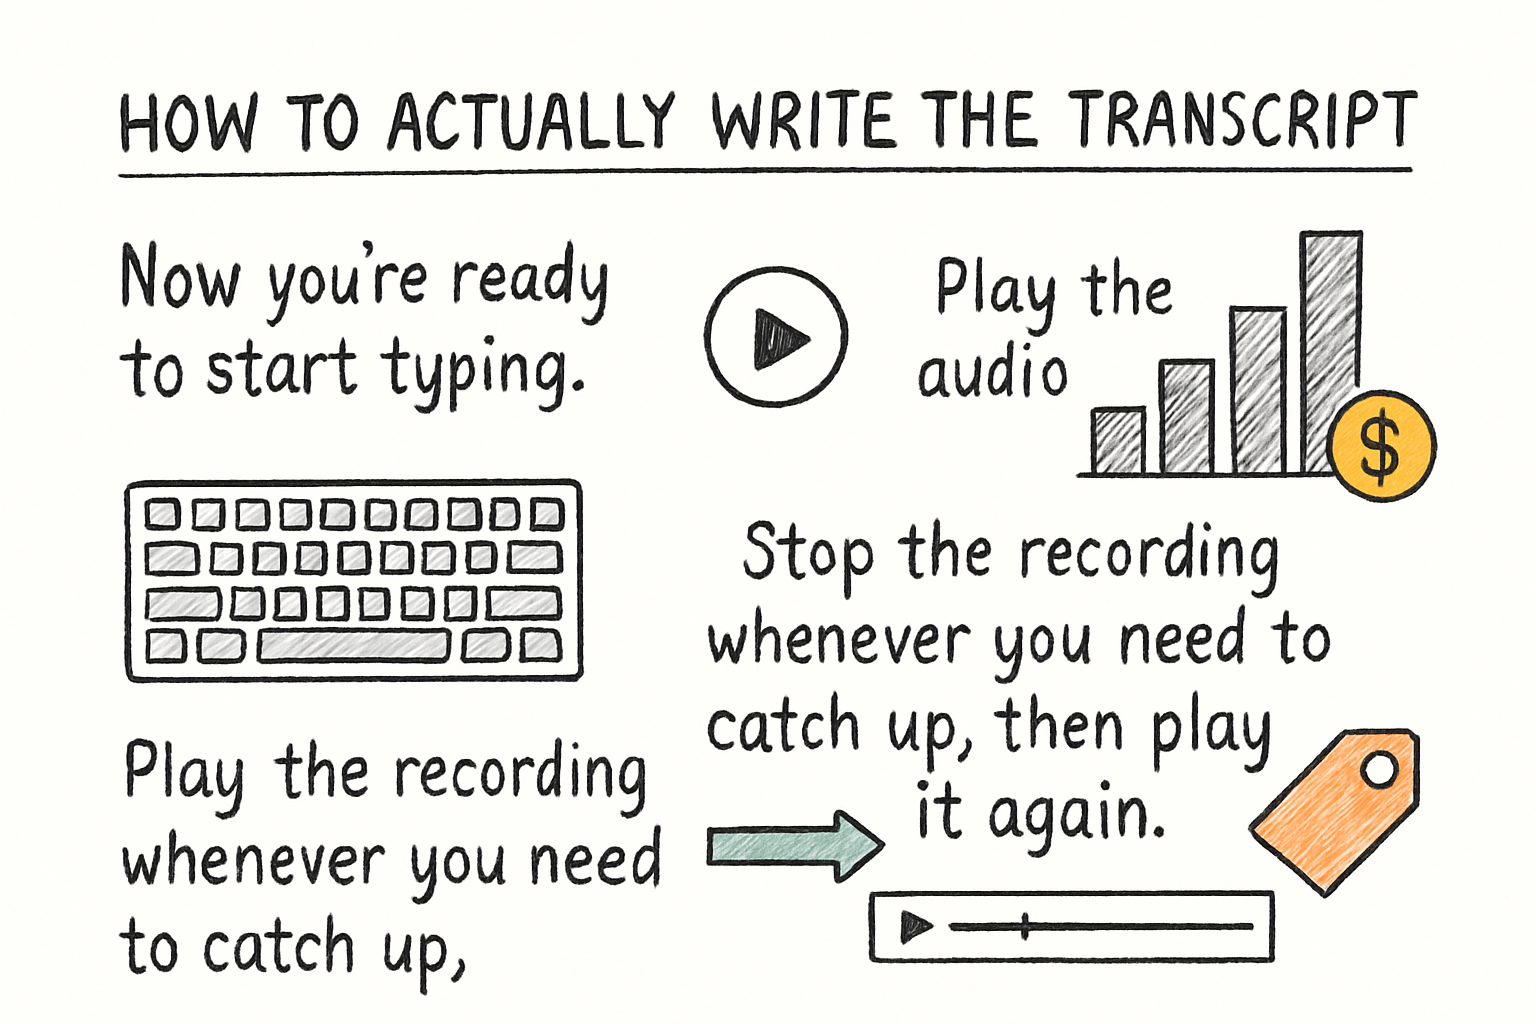
How to actually write the transcript
Now you're ready to start typing. Play the audio and type what you hear. Stop the recording whenever you need to catch up, then play it again. Don't try to keep up in real time at first. Work in short chunks, maybe 30 seconds at a time, until you build up speed.
When you're typing, focus on capturing words accurately. Don't try to fix grammar or make the speaker sound smarter than they did. A good transcript reflects what was actually said, including filler words like 'um' or 'you know' — unless you're doing what's called a 'clean' transcript, which removes those for readability. Just decide which style you want and stick to it throughout.
For multiple speakers, label each one clearly. You can use their names, like 'SARAH:' or 'INTERVIEWER:', or just 'SPEAKER 1' and 'SPEAKER 2' if you don't know their names. Put each new speaker on a new line so the transcript is easy to follow. If two people talk at the same time, do your best to capture both, and add a note in brackets like [crosstalk] if needed.
I remember the first time I transcribed a long interview — I made the mistake of trying to clean it up as I went. It took forever. Now I always do a rough pass first, then a clean-up pass second. Think of it like a first draft and a second draft. That two-step method is way faster than trying to be perfect on the first try. If you've ever worked on something like a video script using a template, you already know how much easier it is to refine something that already exists.
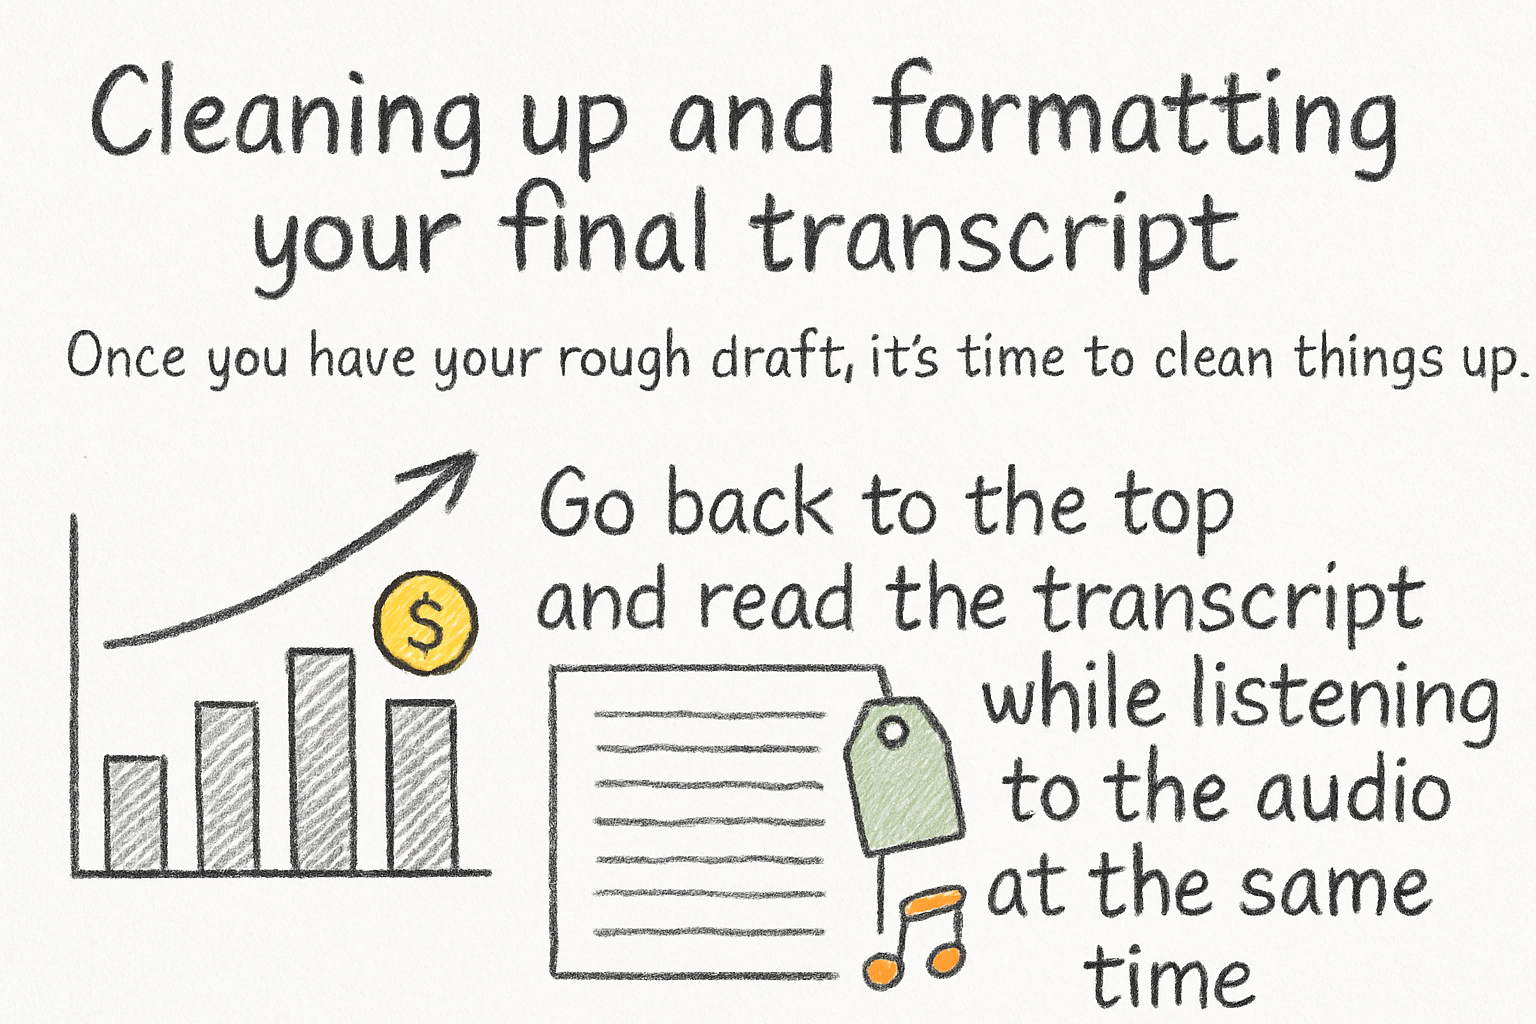
Cleaning up and formatting your final transcript
Once you have your rough draft, it's time to clean things up. Go back to the top and read the transcript while listening to the audio at the same time. This is called 'proofing against the audio,' and it's the most reliable way to catch errors. Fix any wrong words, missed phrases, or misheard names.
Pay special attention to proper nouns — names of people, places, companies, and products. These are the things auto-transcription software gets wrong most often. If someone says 'Cliptude' and your software typed 'clip dude,' you'd catch that in this step. Same goes for technical terms or industry jargon. Look them up if you're not sure how they're spelled.
After you're happy with the accuracy, focus on formatting. Add timestamps if the transcript needs them. Timestamps are written in brackets, like [00:02:15], and they tell the reader exactly where in the recording that line appears. They're especially helpful for long videos or podcasts where someone might need to jump to a specific point. If you're creating transcripts to go along with captions, you might also want to check out this guide on adding subtitles to YouTube videos since the two go hand in hand.
Finally, do one last read of the whole thing as plain text, without the audio. Does it make sense? Is it easy to follow? If something feels confusing, add a short note in brackets to give context, like [laughs] or [referring to slide 3]. A transcript should be clear enough that someone who never heard the original recording can still fully understand what was talked about.
Ready to take the next step?
Writing transcripts gets faster the more you do it. Once you've got a system down, what used to take two hours might only take forty-five minutes. And the payoff is real — better accessibility, more content you can repurpose, and a written record you can actually search through. Have you tried transcribing your own content before? Drop a comment below and tell us how it went, or share any tricks that helped you speed up the process. And if you're looking for more tools to help with your video workflow, check out Cliptude and see what it can do for you.