How to Make a Movie from Photos in Minutes
You've got hundreds of photos sitting on your phone right now. Birthday parties, road trips, random Tuesday afternoons that somehow turned into great memories. But they just sit there in an album, never getting seen again. What if you could turn all of those still moments into an actual movie in just a few minutes? You totally can, and it's a lot easier than most people think.
Making a movie from photos used to mean expensive software and hours of frustrating work. Now your phone or laptop can do most of the heavy lifting for you. Whether you want to make something for a family reunion, a friend's birthday, or just to relive a vacation, photo movies are one of the fastest ways to tell a story. You don't need to be a filmmaker. You just need to know where to start.
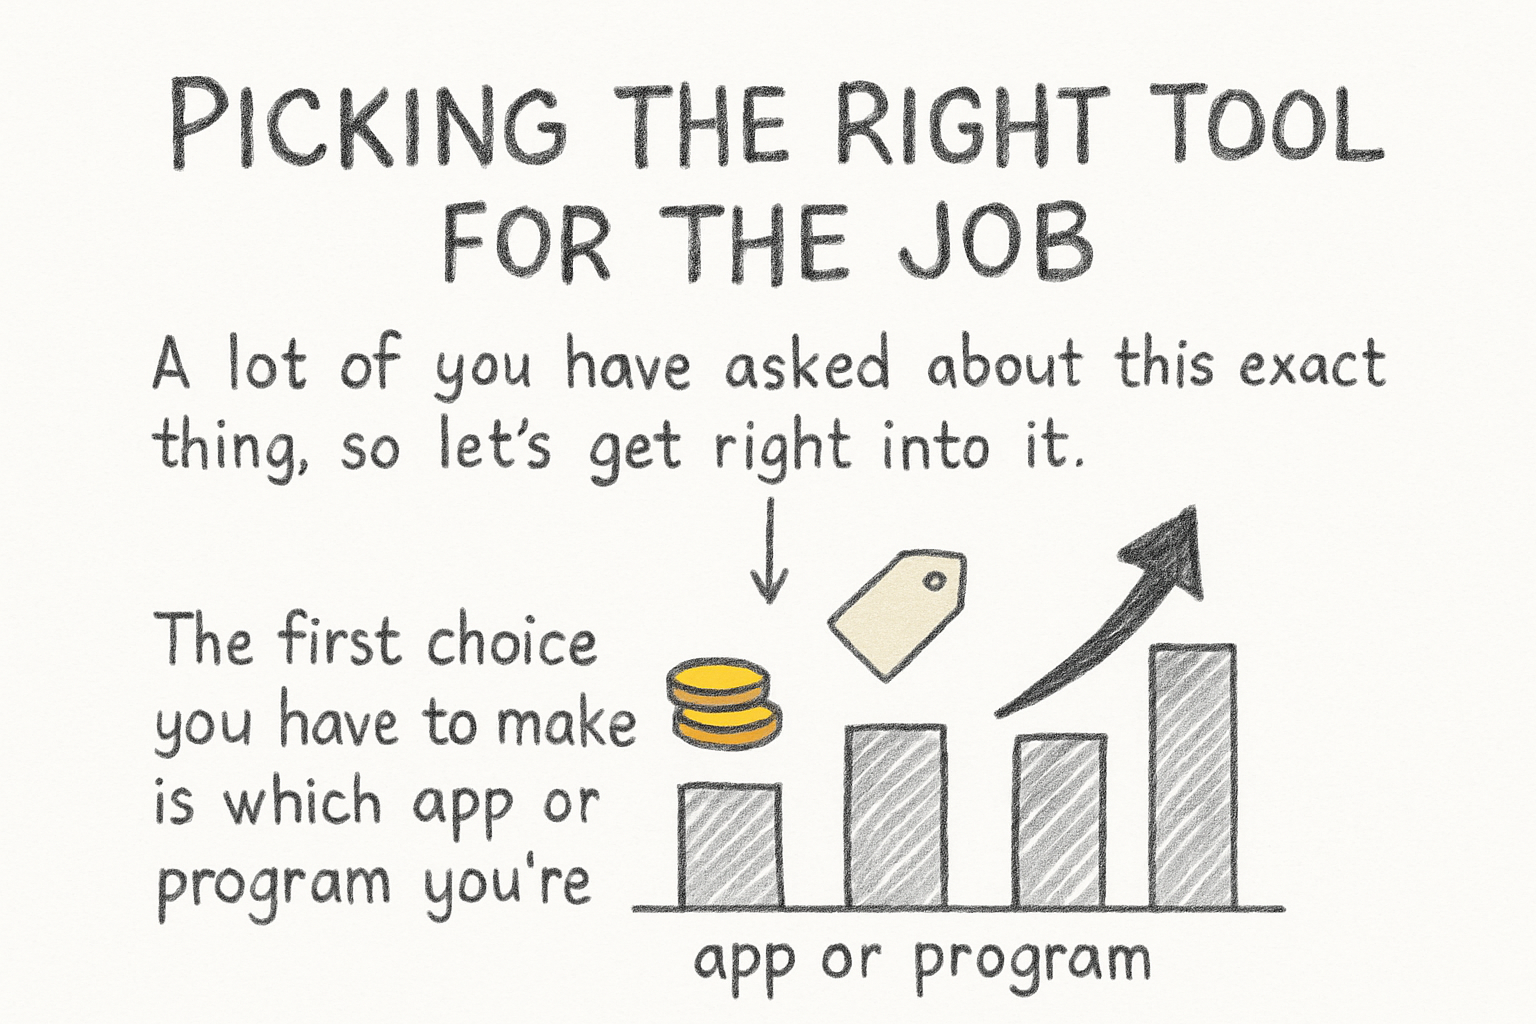
Picking the right tool for the job
A lot of you have asked about this exact thing, so let's get right into it. The first choice you have to make is which app or program you're going to use. Luckily, you've got solid options no matter what device you're on.
If you're on an iPhone, the built-in Photos app can automatically create a memory movie for you. It picks photos, adds music, and puts together a slideshow with transitions. You can also use iMovie for more control. Android users have Google Photos, which does something very similar. Just tap the "Memories" section and you'll often find auto-generated videos waiting for you.
For people who want more control, tools like Canva, CapCut, and Cliptude let you build something more custom. You can drag photos in, set the timing for each one, add your own music, and even write text on screen. If you've ever read our beginner's guide to editing videos on iPhone, you already know how much you can do right from your pocket.
The bottom line is, don't overthink the tool. Pick one that feels simple and matches the device you're already using. You can always upgrade later once you get the hang of it.
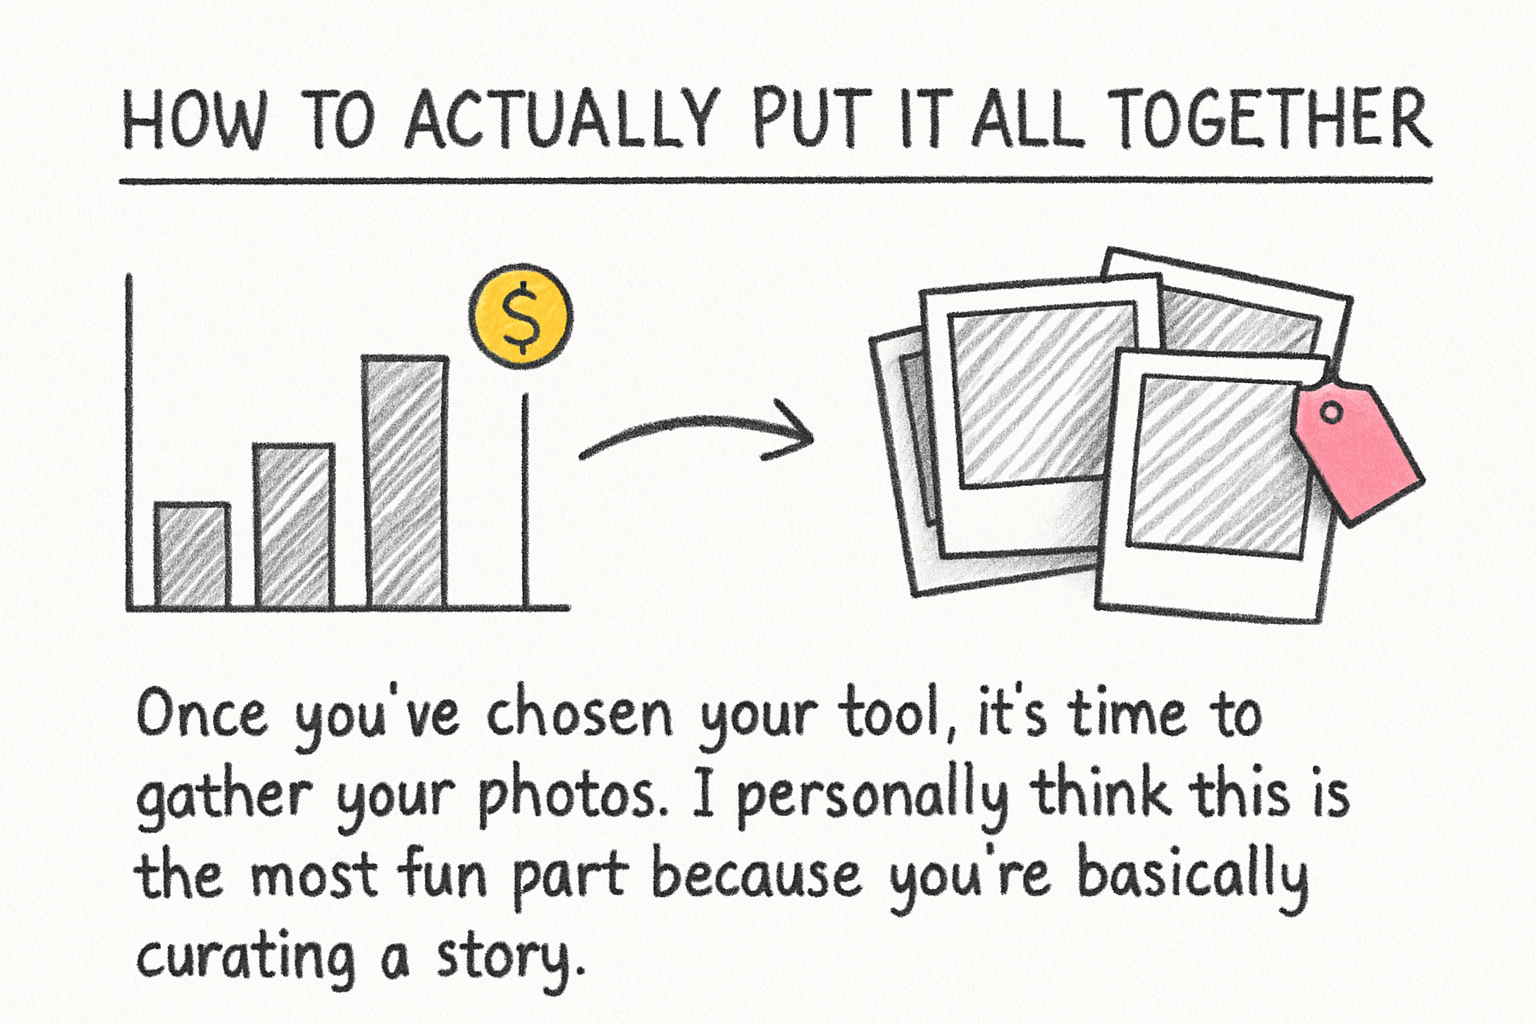
How to actually put it all together
Once you've chosen your tool, it's time to gather your photos. I personally think this is the most fun part because you're basically curating a story before you've even hit a single button. Think about the beginning, middle, and end of whatever moment you're capturing. A trip might start with the packing chaos, move through the highlights, and end with a shot from the ride home.
I once threw together a birthday video for my mom using about 40 photos and a song she loved. It took me maybe 20 minutes total. She cried. My dad took a video of her watching it. So now I have a video of someone watching a video, which is its own kind of weird miracle.
After you pick your photos, import them into your chosen app and arrange them in order. Most tools let you simply drag and drop. Set how long each photo stays on screen. Three to five seconds per photo usually feels natural. Anything shorter gets hectic, anything longer starts to drag.
Now add some music. This part matters more than people give it credit for. The right song completely changes how a video feels. Most apps come with free music built in, or you can upload your own. Just make sure the song length roughly matches your photo count so things don't end awkwardly mid-beat. Once you've got photos and music synced up, preview it, tweak anything that feels off, and export your file.
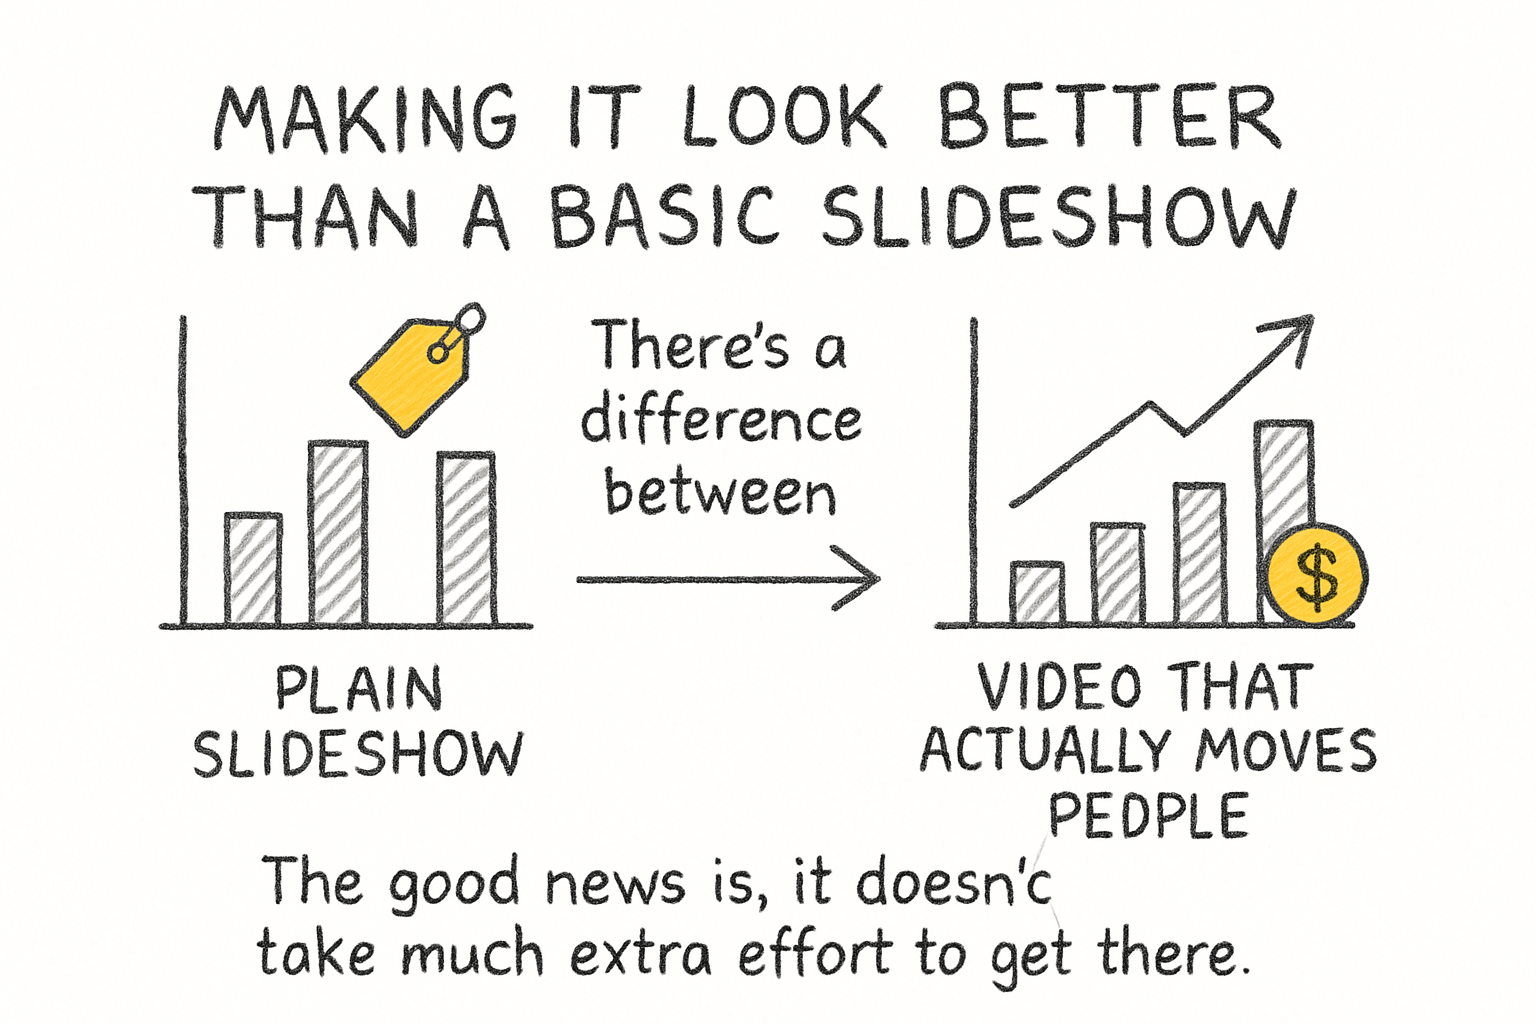
Making it look better than a basic slideshow
There's a difference between a plain slideshow and a video that actually moves people. The good news is, it doesn't take much extra effort to get there. A few small choices can make your photo movie feel polished instead of rushed.
Transitions are one of the easiest upgrades. A simple crossfade between photos looks clean and professional. Fancy spinning transitions or wipe effects can actually distract from the photos themselves, so keep it simple. Most apps apply a default transition to every photo automatically, and that's usually fine.
Adding short text captions can also help. Think dates, locations, or a funny inside joke that only your audience will get. You don't need text on every photo. A few well-placed words go a long way. If you want to learn more about what effects actually work in video editing, the complete guide to video editing effects breaks it all down in plain language.
Once your video is done, think about where you want to share it. If you're emailing it to family, keep the file size manageable. If you're posting it somewhere public, make sure the quality is high enough to hold up on a bigger screen. And if you end up going down the rabbit hole of wanting to share it on YouTube, that whole process is easier than it sounds once you've done it once.
Ready to take the next step?
Making a movie from your photos really can take just a few minutes once you've done it a couple of times. Start with something small, maybe ten or fifteen photos from a recent trip or event, and just play around with it. You'll figure out your own rhythm pretty quickly. Got questions about a specific app or tool? Drop them in the comments below, I read every single one. And if you want a simple, no-fuss way to start turning your photos and clips into something shareable today, check out Cliptude and see how fast you can go from a pile of pictures to something worth watching.