How to Edit Videos on iPhone: A Complete Beginner's Guide
You don't need a fancy camera or expensive software to make great videos. If you've got an iPhone in your pocket, you've already got everything you need to start editing. A lot of people don't realize just how powerful the built-in tools are, and that's exactly what this guide is here to fix.
A lot of you have asked about this topic, so I wanted to write something that covers the whole process from the very beginning. Whether you just filmed your kid's birthday party or you're trying to put together content for social media, editing on iPhone is way more straightforward than it looks. You just need to know where to start.
This guide will walk you through the basics of trimming and cutting, using the Photos app and iMovie, adding effects and finishing touches, and getting your video ready to share. By the time you're done reading, you'll feel confident enough to jump in and start editing on your own.
Getting started with the photos app
Most people don't know that the Photos app on your iPhone is actually a solid video editor for basic tasks. You don't need to download anything. Just open the app, tap the video you want to edit, and hit the Edit button in the top right corner. That's it. You're in.
Once you're inside the editor, you'll see a timeline at the bottom of the screen. That's your video scrubber. You can drag the yellow handles on either side to trim the beginning or end of your clip. This is called trimming, and it's one of the most common edits anyone makes. Got an awkward few seconds at the start where you're still finding the shot? Gone.
The Photos app also lets you adjust brightness, contrast, saturation, and a few other visual settings. Just swipe through the editing icons below the timeline. These tools are surprisingly good for quick color fixes. If your footage looks a little dark or washed out, a few small tweaks here can make a big difference.
When you're done, tap Done and choose Save Video. Your edited version saves right to your camera roll. It's non-destructive too, which means you can always go back and revert to the original if you change your mind. That's a nice safety net when you're still learning.
Using iMovie to cut and arrange clips
Once you're comfortable with the Photos app, iMovie is your next step up. It's a free Apple app, and if it's not already on your phone, you can grab it from the App Store at no cost. iMovie gives you a real timeline where you can arrange multiple clips, add transitions, drop in music, and do a lot more than simple trimming.
When you open iMovie, tap the plus sign to start a new Movie project. You'll be able to pick clips from your camera roll and add them one by one. They'll appear in order on the timeline at the bottom of the screen. From there, you can tap any clip to select it, then drag the yellow handles to trim it, or tap the scissors icon to split it at a specific point. Splitting is useful when you want to cut out a section from the middle of a clip.
I personally think iMovie is one of the most underrated free tools out there. I remember the first time I used it, I expected it to feel clunky and limited, but I ended up putting together a two-minute travel video in about an hour. It handled everything I needed without any fuss.
You can also add titles, choose from different theme styles, and even record voiceover directly inside the app. If you're building content for YouTube or social media, those features come in really handy. For a deeper look at how visual effects can lift your videos, our guide to video editing effects is worth checking out when you're ready to take things further.
Adding finishing touches and sharing your video
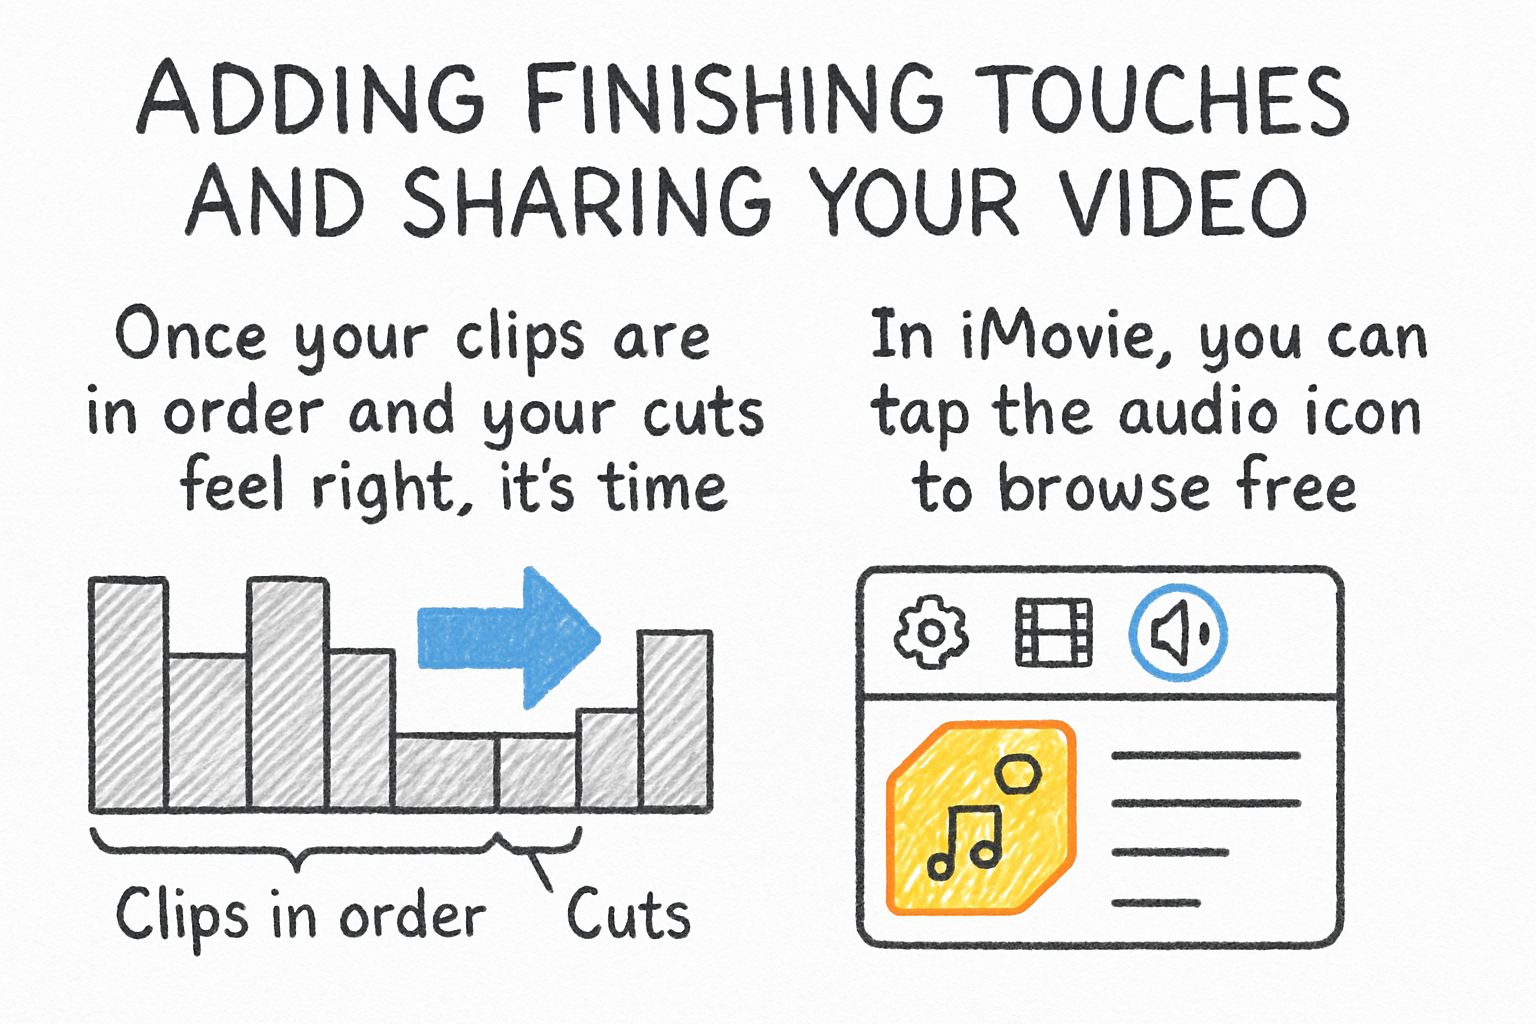
Once your clips are in order and your cuts feel right, it's time to add the finishing touches. In iMovie, you can tap the audio icon to browse free built-in soundtracks and drop one onto your timeline. You can adjust the volume of your background music and your original audio separately, which matters a lot when you don't want the music to drown out what someone is saying on screen.
Transitions are another small detail that makes a big difference. By default, iMovie adds a simple dissolve between clips. You can tap the small icon between two clips on the timeline and change it to a different style. Keep transitions subtle, especially if you're going for a clean, natural look. Heavy or flashy transitions can feel distracting and make your video look less polished.
When everything looks good, tap Done, then tap the share icon to export your video. You can save it to your camera roll, send it directly to social media, or share it through a messaging app. If you're planning to post it online, keep file size in mind. Large video files can be slow to upload or get rejected by platforms. Our article on how to compress an MP4 video walks you through some easy ways to shrink your file without losing quality.
If you're going to send your finished video by email, file size matters even more. We covered exactly how to handle that in our post on attaching a video to an email, so give that a read before you hit send on anything longer than a minute or two.
Ready to take the next step?
Editing videos on your iPhone really does get easier the more you do it. Start small, practice trimming, and build from there. You'll be surprised how quickly it starts to feel natural. If you've got questions, drop them in the comments below. I read every one and love hearing what you're working on. And if you want a simple tool to help you manage and share your videos online, check out Cliptude and see what it can do for you.