How to Compress an MP4 Video (Quick and Easy Methods)
If you've ever tried to send a video to a friend and got hit with that "file too large" message, you know the frustration. MP4 files can get massive fast, especially if you're shooting in 4K or recording long sessions. The good news is that compressing an MP4 doesn't have to be complicated, and you don't need to be a tech wizard to get it done.
A lot of you have asked about this exact problem, so I wanted to put together a clear, no-fluff guide that actually walks you through it. Whether you're trying to upload a video to social media, email it to a client, or just free up some storage space on your phone, there's a method here that'll work for you. We're going to cover online tools, desktop software, and a few settings tricks that can cut your file size down without wrecking the quality.
Before we jump in, it helps to know why MP4 files get so big in the first place. Resolution plays a huge role. A 4K video has four times as many pixels as a 1080p video, which means it takes up way more space. Bitrate matters too. That's basically how much data is used per second of video. The higher the bitrate, the bigger the file. Once you understand those two things, compression starts to make a lot more sense.
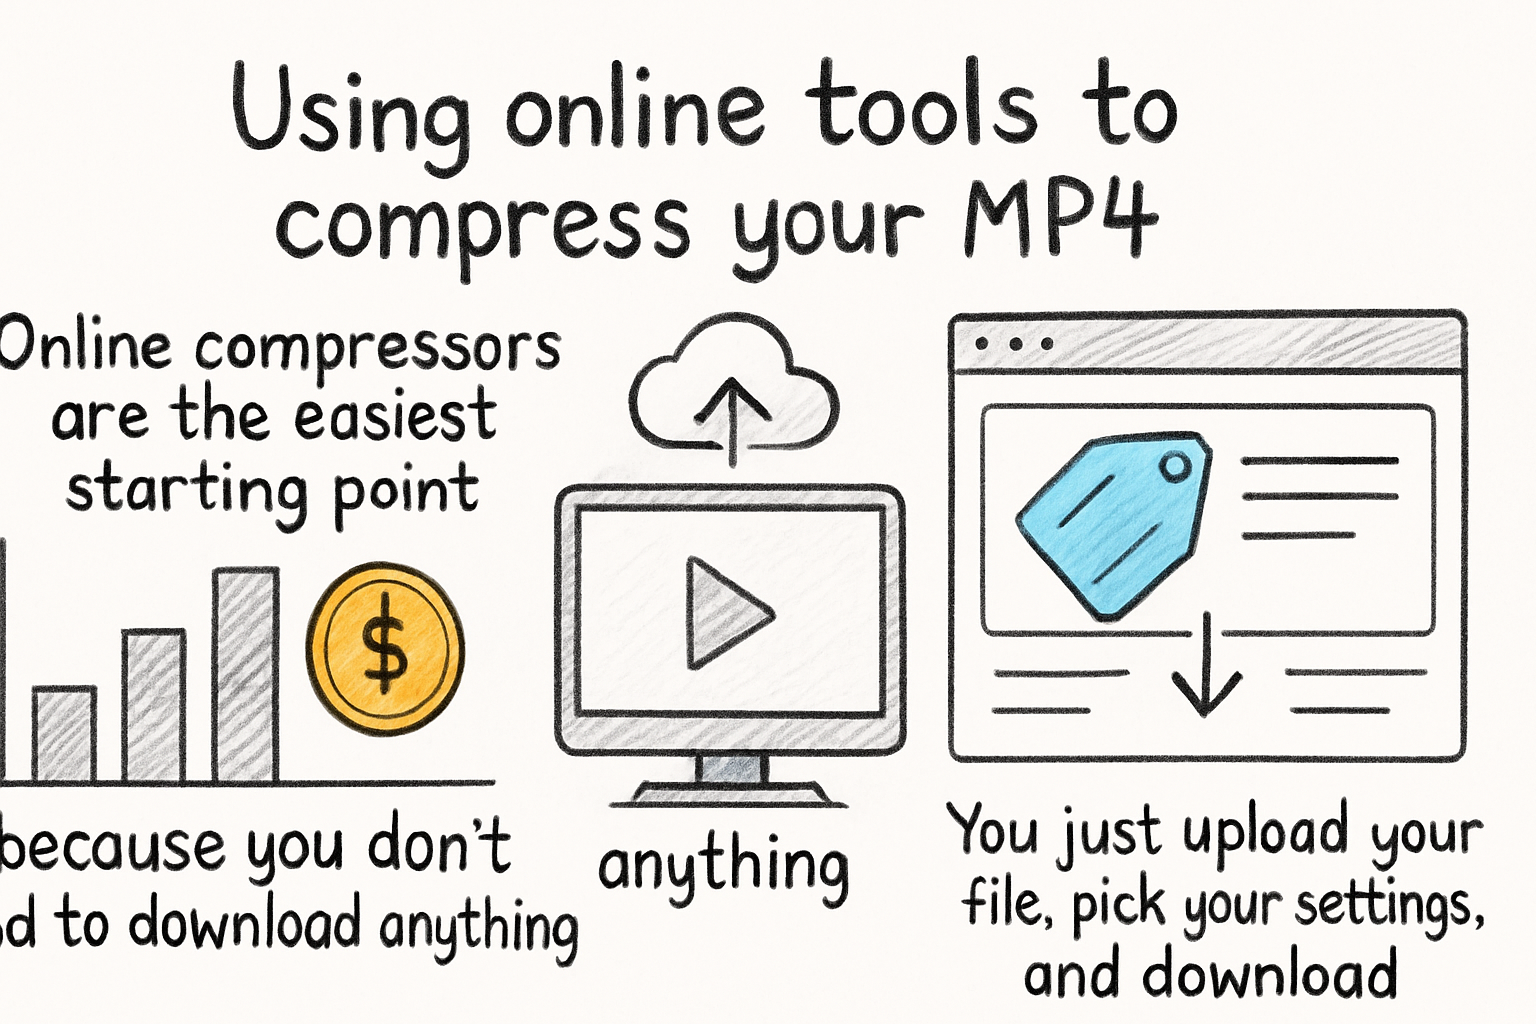
Using online tools to compress your MP4
Online compressors are the easiest starting point because you don't need to download anything. You just upload your file, pick your settings, and download the smaller version. Some of the most popular options right now include Clideo, Compress Video Online, and FreeConvert. They're all pretty straightforward to use, even if you've never done this before.
Here's how it usually works. You go to the site, click the upload button, and choose your MP4. Once it's uploaded, you'll typically see a slider or a quality setting that lets you control how much you want to compress the video. Lower quality means a smaller file, but don't go too low or the video will look blurry and pixelated. A setting around 60 to 70 percent quality usually hits a nice balance.
The downside with online tools is file size limits. Most free versions cap you somewhere around 500MB to 1GB. If your raw footage is bigger than that, you'll need to either pay for the premium version or switch to a desktop tool instead. Also, uploading large files takes time, especially if your internet connection isn't super fast.
Still, for quick jobs, online tools are hard to beat. I personally think they're the best option for people who just need to compress something once in a while and don't want to deal with installing software. They're fast, simple, and most of them are free for everyday use.
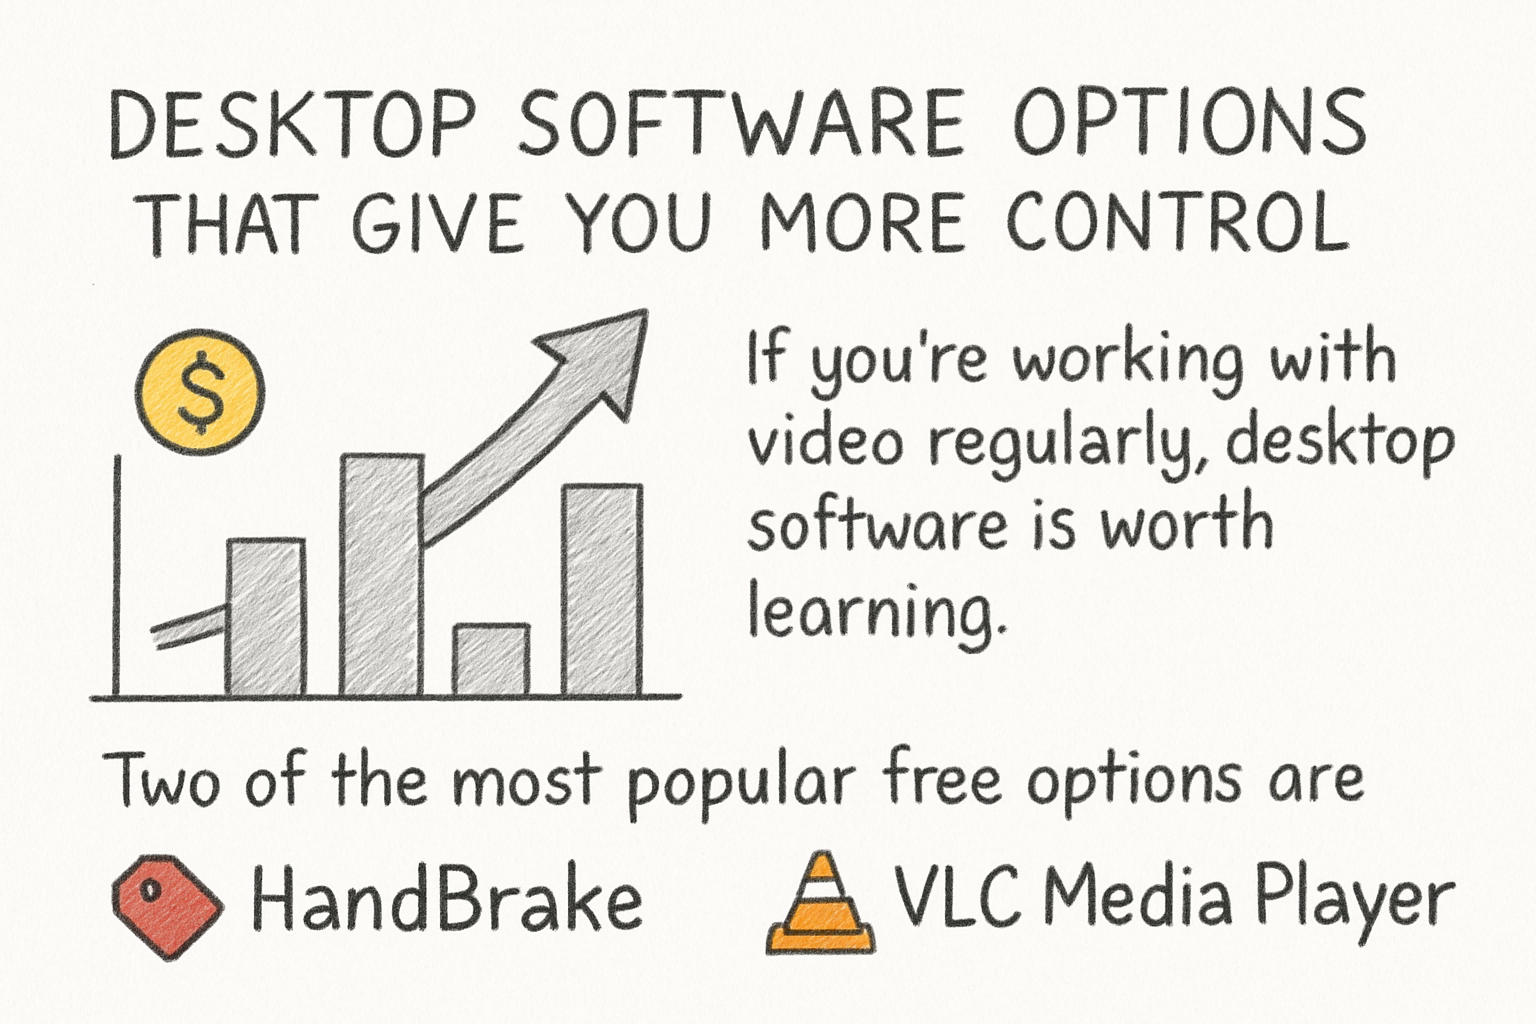
Desktop software options that give you more control
If you're working with video regularly, desktop software is worth learning. Two of the most popular free options are HandBrake and VLC Media Player. Both are free, both work on Windows and Mac, and both give you way more control over your output than most online tools do.
HandBrake is probably the go-to choice for serious compression work. When you open a video in HandBrake, you can choose a preset like "Fast 1080p30" or "Web Optimized" which automatically adjusts the settings to fit that use case. The most important thing to change is the RF (Constant Rate Factor) value. The default is usually around 22. Moving it up to 26 or 28 will shrink the file noticeably, while keeping decent quality. Going much higher than 28 starts to make the video look bad.
VLC is a bit less intimidating for beginners. You can use it to convert and compress by going to Media, then Convert/Save, and choosing your output format and codec. It's not as detailed as HandBrake, but it gets the job done. One time I had a 2GB lecture recording I needed to share with a small team, and VLC knocked it down to under 400MB in about ten minutes with almost no quality loss. That kind of result is pretty typical.
If you're compressing MOV files too, we actually covered that in our post on how to compress a MOV file without losing quality, and a lot of the same principles apply. The codec and bitrate adjustments work similarly across formats. It's worth reading if you work with both file types.
Adjusting video settings to reduce file size before you export
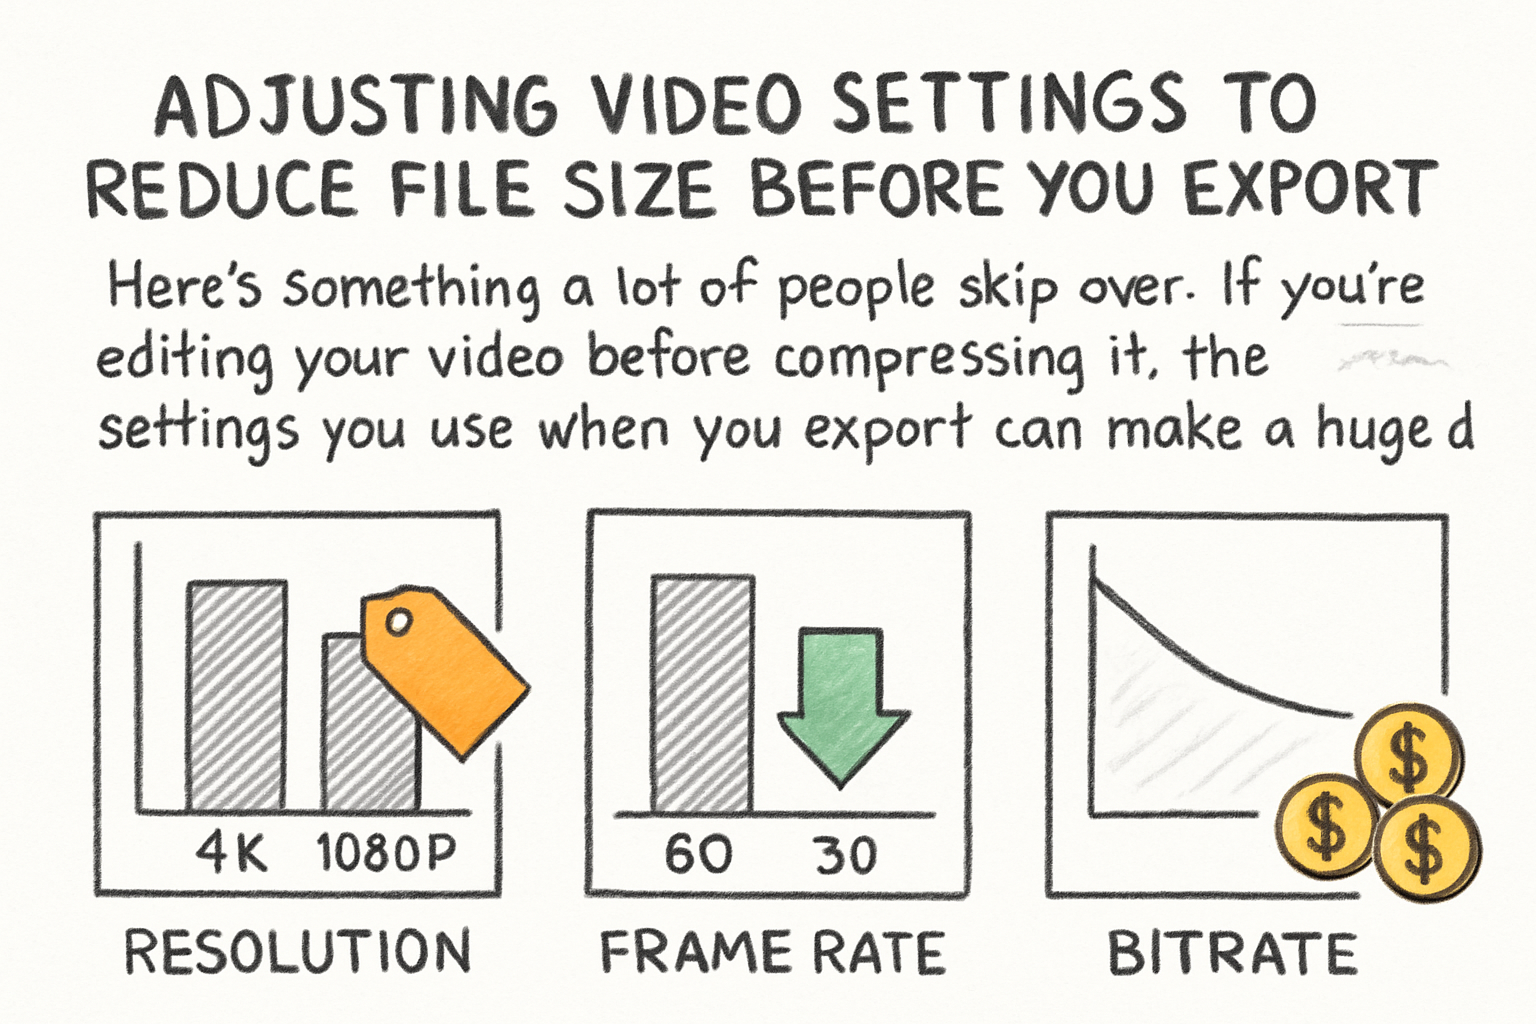
Here's something a lot of people skip over. If you're editing your video before compressing it, the settings you use when you export can make a huge difference. This is especially relevant if you're using software like DaVinci Resolve, Adobe Premiere, or even iMovie. Getting the export settings right means you might not even need to run a separate compression step afterward.
Resolution is the first thing to look at. If your footage is 4K but you're uploading it to Instagram or sending it in a group chat, there's no reason to keep it at 4K. Dropping it to 1080p will cut the file size dramatically, sometimes by more than half. Most viewers can't even tell the difference unless they're watching on a huge screen.
Bitrate is the second big lever. When you're exporting, look for a setting called "target bitrate" or "average bitrate." For a 1080p video, a bitrate of around 8 to 12 Mbps gives you great quality at a manageable file size. YouTube itself recommends about 8 Mbps for 1080p, so that's a solid benchmark to aim for. If you want to dig deeper into what formats work best for platforms like YouTube, our piece on the best format for YouTube videos in 2026 covers all of that.
Lastly, check your audio settings. A lot of people forget that audio contributes to file size too. Stereo audio at 128 kbps is perfectly fine for most videos. If your export is set to something like 320 kbps or uncompressed audio, you're carrying extra weight you don't need. Switching to AAC codec at 128 kbps is a small change that adds up, especially on longer videos.
Ready to take the next step?
Compressing an MP4 really comes down to picking the right tool for the job. Online tools work great for quick, one-off tasks. Desktop software gives you more power when you need it. And dialing in your export settings can save you the trouble of compressing at all. Try out a few of these methods and see what fits your workflow. If you have questions or a method that's worked really well for you, drop a comment below and let us know. And if you're working on video content more broadly, check out Cliptude for a whole set of tools built to make the process easier from start to finish.