How to Compress a MOV File Without Losing Quality
MOV files are great for recording high-quality video, but they can get huge really fast. We're talking gigabytes for just a few minutes of footage. That creates a real problem when you need to upload, share, or store your videos without burning through all your storage and bandwidth. So what do you do when your MOV file is too big but you don't want it to look terrible after compression?
The good news is you don't have to choose between file size and quality. There are ways to shrink a MOV file that actually work without turning your crisp footage into a blurry mess. Whether you're editing on a Mac, a Windows PC, or using an online tool, you've got options. This guide walks you through the best methods so you can pick what works for your setup.
A lot of you have asked about this exact topic, especially after dealing with the frustration of uploading a video only to find out the file is too large or the platform rejected it. That's exactly why we put this together. Let's get into it.
Why MOV files get so big in the first place
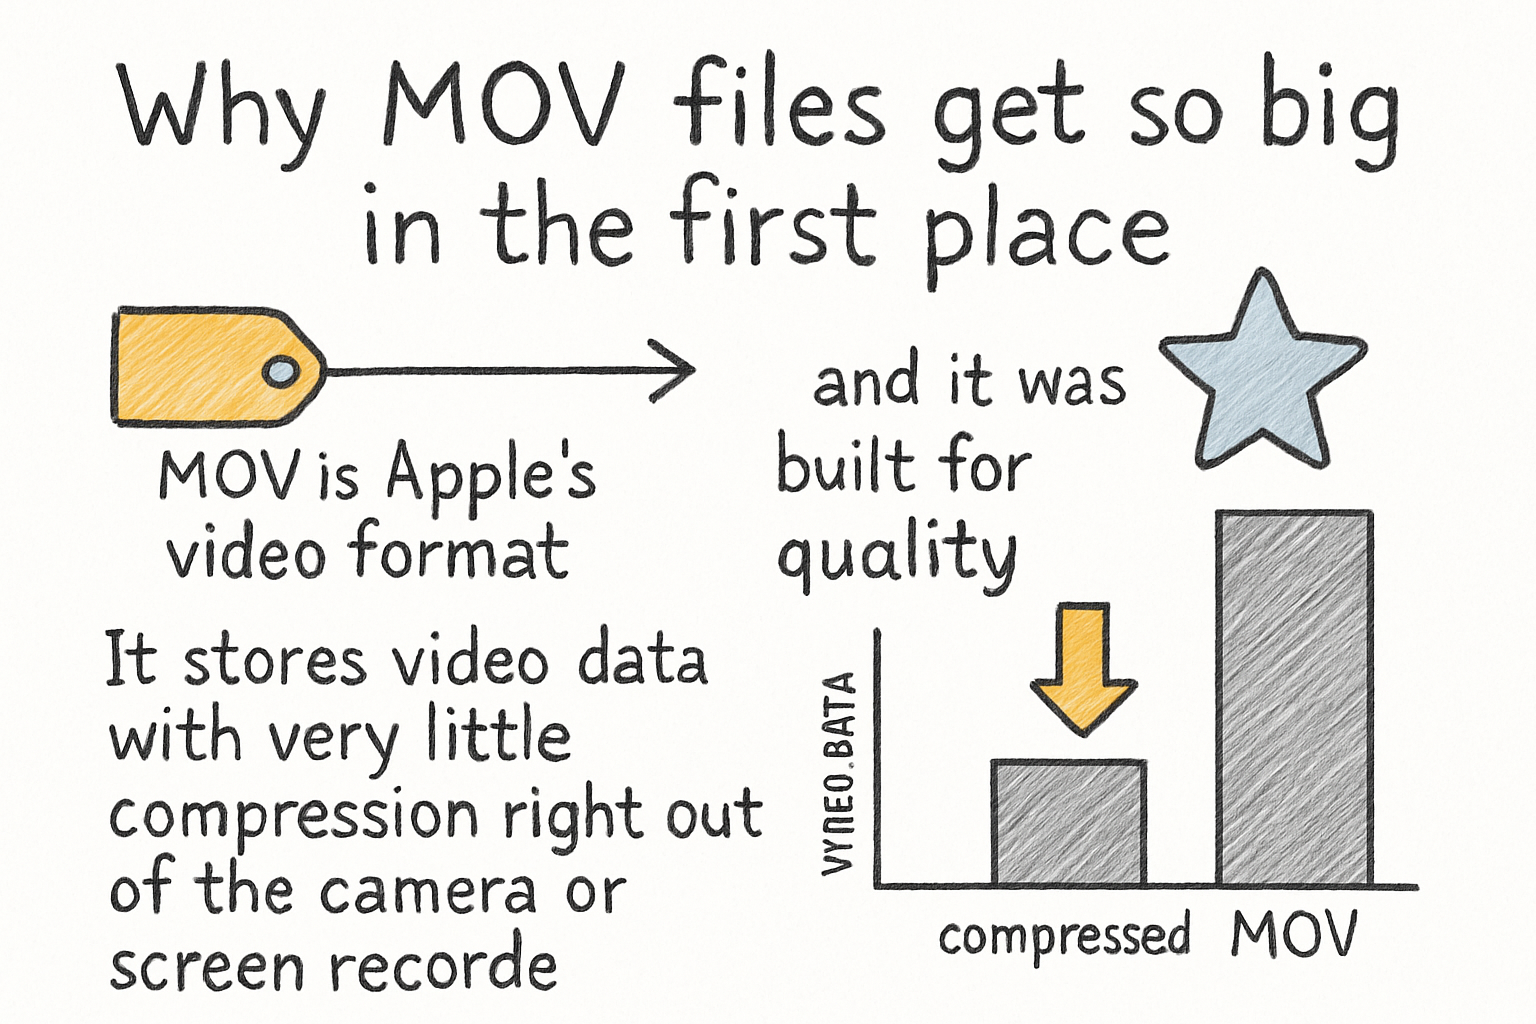
MOV is Apple's video format, and it was built for quality. It stores video data with very little compression right out of the camera or screen recorder. That's great for editing, but it means the files are massive compared to something like an MP4. A 10-minute MOV file can easily hit 4GB or more depending on your resolution and frame rate.
The size comes down to something called bitrate. Bitrate is basically how much data is being used to store each second of video. A higher bitrate means more detail and a bigger file. A lower bitrate means smaller file size, but if you drop it too much, the video starts looking soft, blocky, or blurry. The trick is finding the sweet spot where you reduce the file size without the picture quality taking a noticeable hit.
Codecs play a big role here too. A codec is what your computer uses to encode and decode video. MOV files often use older codecs like Apple ProRes, which are designed for editing but not for sharing. Switching to a more efficient codec like H.264 or H.265 (also called HEVC) lets you keep solid quality at a much smaller file size. This is one of the most effective things you can do when compressing a MOV file.
I personally think a lot of people skip learning about codecs because it sounds too technical, but once you understand the basics, it completely changes how you manage your video files. It's not as complicated as it seems.
The best tools to compress a MOV file
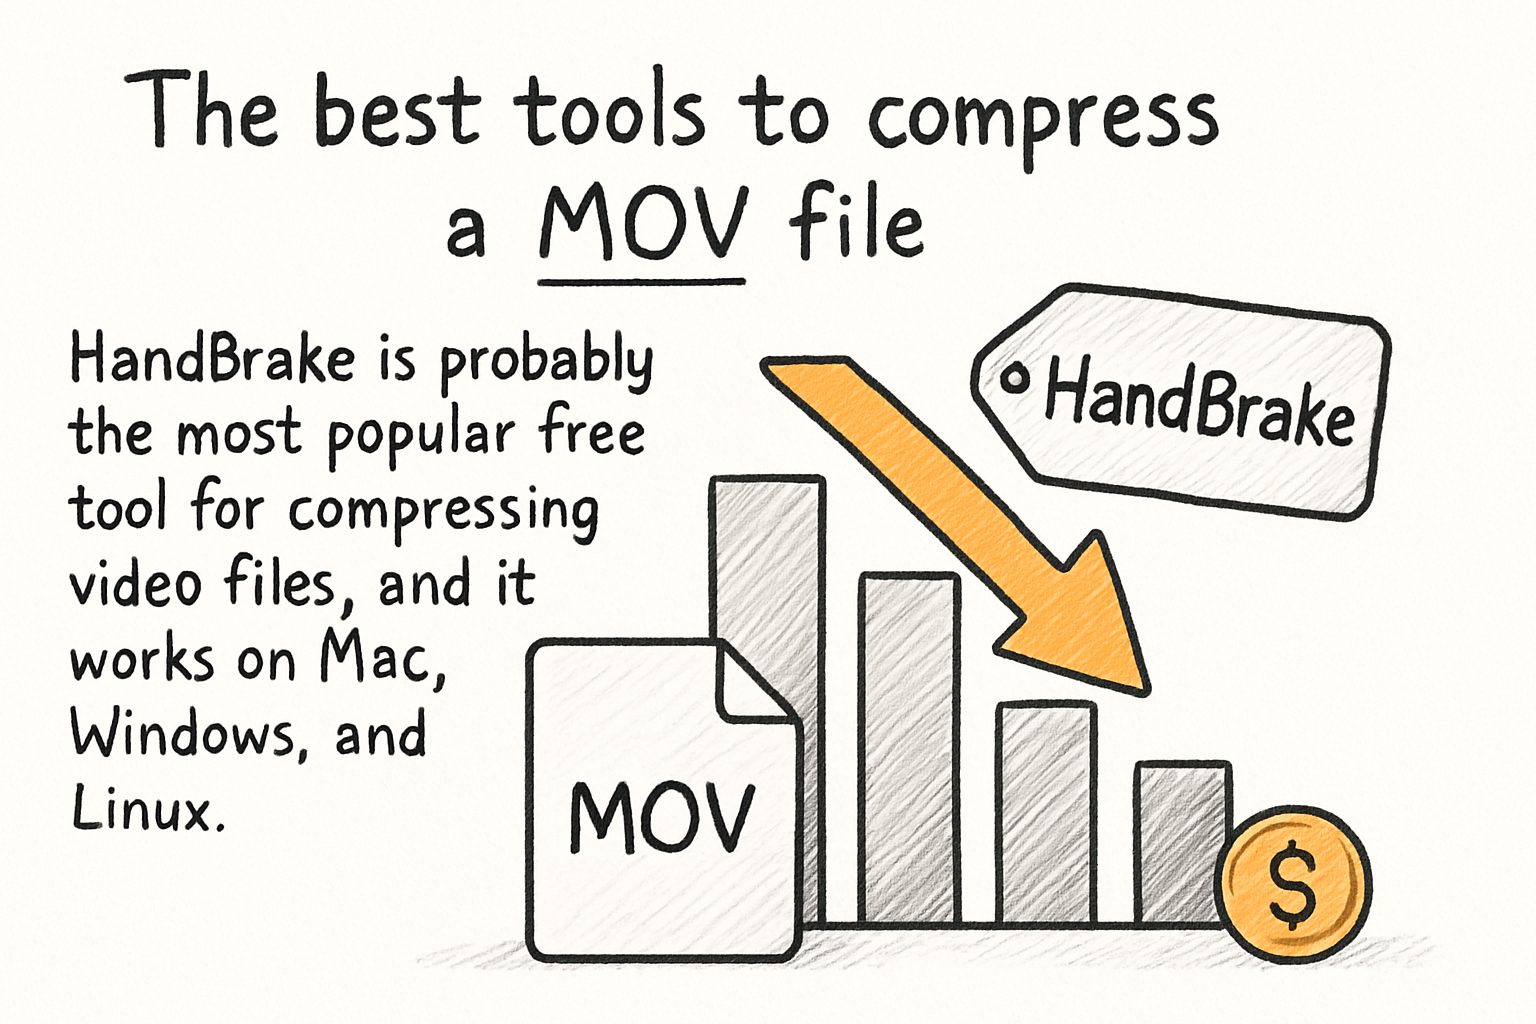
HandBrake is probably the most popular free tool for compressing video files, and it works on Mac, Windows, and Linux. You drop in your MOV file, choose H.264 or H.265 as the output codec, adjust the quality slider, and export. The default settings are honestly pretty good for most people. If you want to keep it as a MOV container, you can, but most people switch to MP4 at this stage since it's more compatible across platforms. HandBrake also lets you preview your changes before you commit, which saves a lot of time.
On a Mac, you can also use QuickTime Player to do a basic compression. Just open your file, go to File, then Export As, and pick a lower resolution option like 720p instead of 1080p. It's not the most advanced method, but it works in a pinch and takes about 30 seconds to set up. If you're on a Mac and need something fast without installing anything, this is a solid starting point.
For online tools, Clideo and Compress Video Online are both easy to use. You upload your file, choose your settings, and download the compressed version. The downside is that large files can take a while to upload, and some free versions limit how big your input file can be. If your MOV is already several gigabytes, a desktop tool like HandBrake will be faster and more flexible.
If you're already working inside a video editor like DaVinci Resolve or Adobe Premiere, you can handle compression right from the export settings. Just pick H.264 or H.265, set a target bitrate around 8 to 15 Mbps for 1080p footage, and you'll get a compressed file that still looks sharp. We actually touched on export formats in our article about the best format for YouTube videos in 2026, which is worth a read if you're prepping content for upload.
Tips to keep quality high while cutting file size
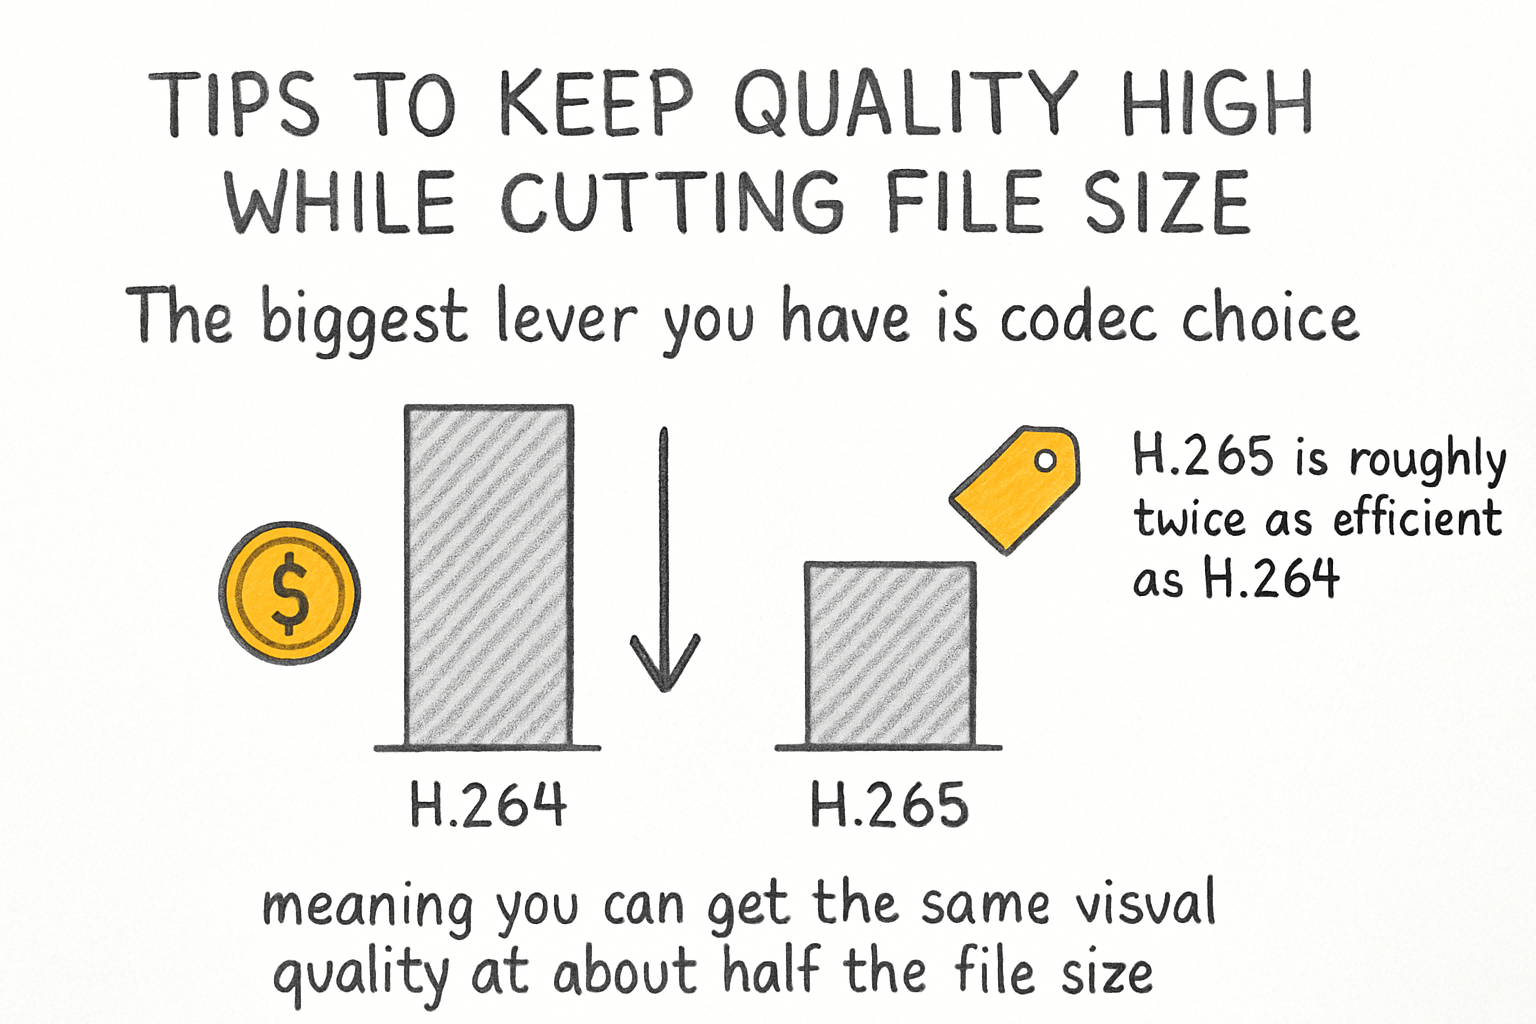
The biggest lever you have is codec choice. H.265 is roughly twice as efficient as H.264, meaning you can get the same visual quality at about half the file size. The catch is that H.265 takes longer to encode and some older devices have trouble playing it back. If compatibility matters for where you're sharing the video, H.264 is still the safer bet. For personal storage or upload to a modern platform, H.265 is the smarter pick.
Resolution is another thing to think about. If your original MOV was recorded in 4K but you're sharing it on social media or a platform that maxes out at 1080p, you're not losing any visible quality by exporting at 1080p. You're just cutting out data that was never going to be seen anyway. Same goes for frame rate. If your video is 60fps but your content doesn't need that smoothness, dropping to 30fps shaves off a meaningful chunk of data.
I remember compressing a conference recording once and accidentally dropped the bitrate way too low. The faces looked fine in the preview but the moment anyone moved around the room, the video got blocky and weird. That taught me to always do a quick playback test before finalizing anything, especially for footage with a lot of motion. Fast movement is where low bitrates really show their weaknesses.
One more thing worth mentioning is audio. Most people forget that audio is part of the file size too. If your MOV has uncompressed audio, switching to AAC at 128 or 192 kbps will reduce the audio portion of the file significantly without any audible difference for most viewers. It's a small change but it adds up, especially for longer recordings.
Ready to take the next step?
Compressing a MOV file without losing quality isn't as hard as it sounds once you know what settings actually matter. Start with the codec, watch your bitrate, and always preview before you export. If you've got a method that works great for you or a question about a specific tool or situation, drop it in the comments below. And if you're looking for more video tools to speed up your workflow, check out Cliptude and see what it can do for your content.