Video Editing Effects: A Complete Guide for Beginners

Video editing can feel like a lot when you're just starting out. You've got your footage, you've got your editing software, and then you open the effects panel and suddenly there are a hundred things you don't recognize. Don't worry. Everyone starts there. The good news is that most video effects follow a pretty simple logic, and once you understand the basics, everything else starts to click.
Effects are what separate a raw clip from a finished video. They control how your footage looks, how it moves, how it transitions from one scene to the next, and how it feels to the viewer. A well-placed effect can make your video look professional. A poorly placed one can make it look like a school project from 2003. Knowing the difference is the whole point of this guide.
This post is going to walk you through the most common video editing effects, what they actually do, and when you should use them. Whether you're editing on your phone, a laptop, or a full desktop setup, these effects work the same way across most tools. So let's get into it.
The core effects every beginner should know
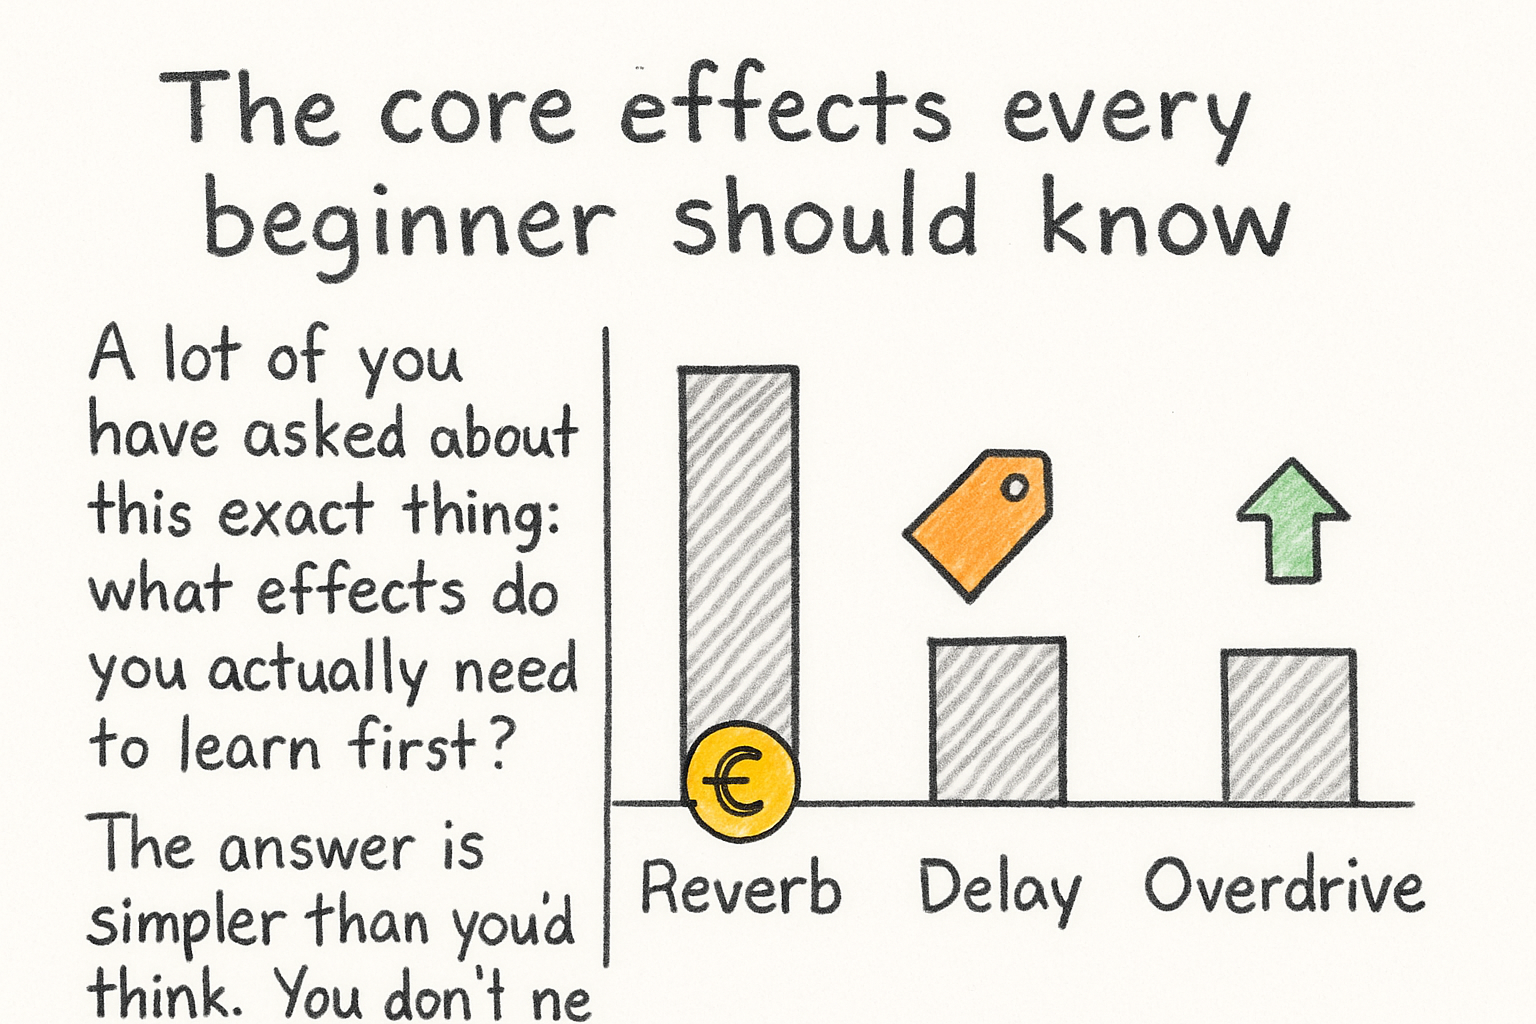
A lot of you have asked about this exact thing: what effects do you actually need to learn first? The answer is simpler than you'd think. You don't need to master everything at once. Start with the effects that show up in almost every video you've ever watched.
The first one is the cut. It's not flashy, but it's the most-used edit in history. A cut is just the instant switch from one clip to the next. No fade, no wipe, just a clean transition. Most professional editors lean on cuts more than anything else because they're fast and they keep things moving. If your video feels slow, adding more cuts is usually the first fix.
Next up are color effects. These include brightness, contrast, saturation, and color grading. Color grading is when you shift the overall tone of the video to give it a certain mood. Think of the warm orange glow in a travel vlog or the cool blue tones in a thriller. Most editing apps have preset filters for this, which is a great starting point. I personally think learning basic color correction before jumping into full grading is the smarter move, because fixing exposure and white balance first gives you a cleaner canvas to work with.
Then there's text and title effects. Adding words to your video, whether it's your channel name, a lower third showing someone's name, or a full title card, is something you'll do constantly. Most apps let you animate these so they slide in, fade in, or pop onto the screen. Keep it simple at first. A clean white font on a dark background beats a flashy spinning text effect almost every time.
Transitions, motion effects, and when to use them
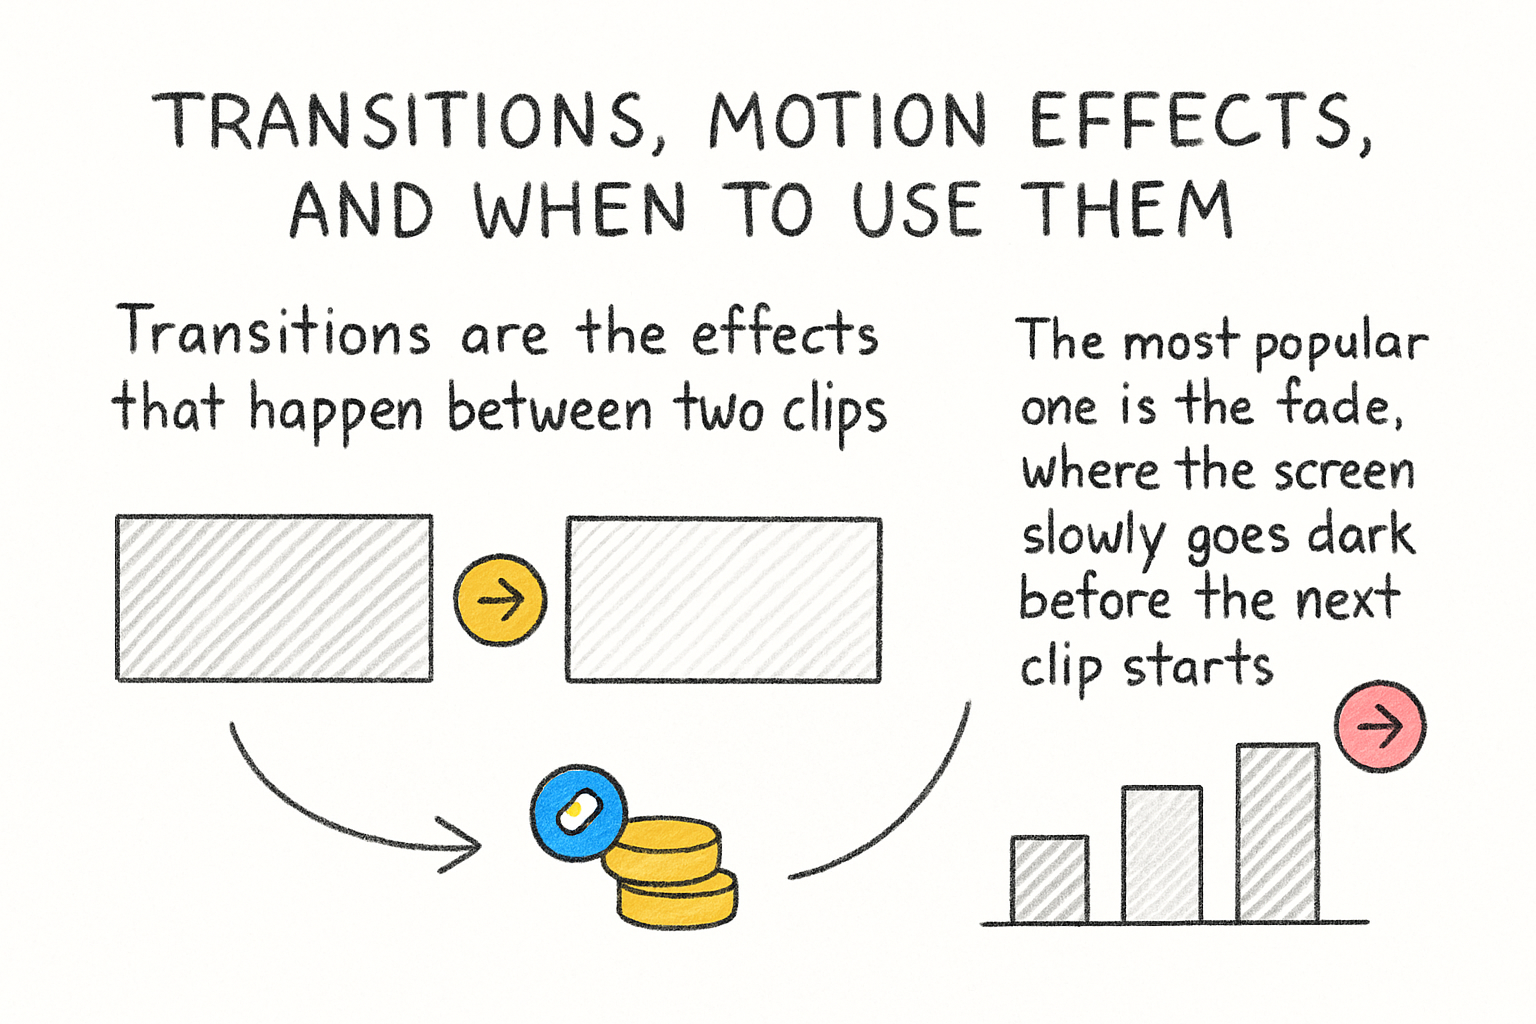
Transitions are the effects that happen between two clips. The most popular one is the fade, where the screen slowly goes dark before the next clip starts. There's also the cross dissolve, where one clip blends into the next. These are great for showing the passage of time or moving between two different locations. They feel smooth and natural when used right.
Then you've got the more dramatic transitions: wipes, spins, zooms, and glitch effects. These can look really cool in the right context, like a gaming video or a music video, but they can feel out of place in a calm documentary or a talking-head interview. The rule most editors follow is simple: match the transition to the energy of the content. High-energy content can handle big transitions. Calm content usually can't.
Motion effects are a whole other category. These include things like the Ken Burns effect, which is a slow zoom or pan across a still image to make it feel alive. There's also speed ramping, where you slow a clip way down for a dramatic moment and then speed it back up. You've seen this in sports edits and action montages constantly. It's one of those effects that looks really impressive without being that hard to do.
One thing I remember from when I first started editing was thinking I had to use a transition between every single clip. I'd cram in wipes and spins everywhere. A friend who'd been editing for years watched one of my videos and just said, "let the cuts breathe." It changed how I edited almost immediately. The empty space between effects is part of the design.
Advanced effects that are easier than they look
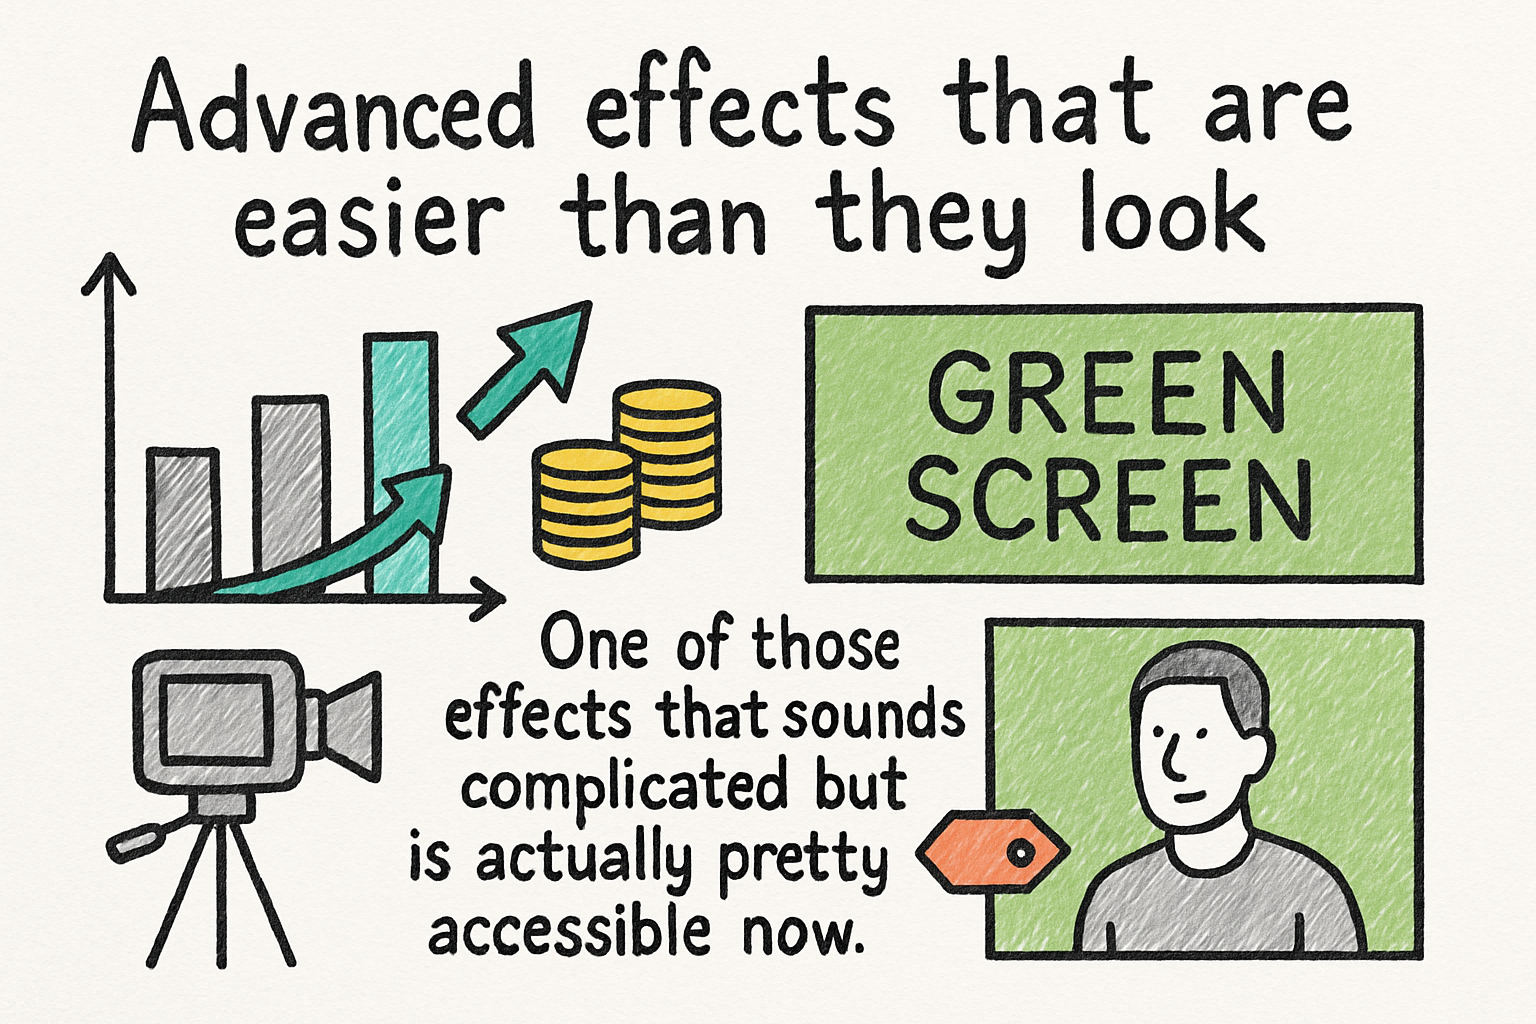
Green screen is one of those effects that sounds complicated but is actually pretty accessible now. You film someone in front of a green background and then replace that background with anything you want in post. Most modern editing apps handle this automatically with a single click. If you want a solid rundown of how it all works, our green screen guide covers it from setup to final export.
There's also the picture-in-picture effect, where a smaller video plays in the corner of the main clip. Reaction videos use this constantly. So do tutorial videos where someone wants to show their face while also showing their screen. It's a layering effect, meaning you're stacking two video tracks on top of each other. Most editing apps let you resize and reposition the top layer wherever you want.
Audio effects matter more than people think. Reverb adds a sense of space to your audio and can make a voice sound like it's in a large room or a small studio. Noise reduction removes background hum or wind from your recordings. Equalization, or EQ, lets you boost or cut specific frequencies to make voices sound warmer or crisper. These aren't visual, but they change how professional your video feels more than almost anything else. If you ever need to work with audio separately, knowing how to get audio off a video is a handy skill to have in your toolkit.
Finally, there are stabilization effects. If your footage is shaky because you were filming handheld, stabilization smooths it out digitally. It's not perfect, and it does crop your frame slightly, but it can save a clip that would otherwise be unusable. Most phones now do this automatically when you're recording, but desktop software lets you apply it after the fact with more control.
Ready to take the next step?
Video effects aren't magic, but they do take practice. Start with the basics, get comfortable with cuts and color, then work your way toward motion effects and audio tools. If you're planning to upload your final video anywhere, it's also worth knowing how your file size will hold up. Our post on the best video compression tools is a good next read once you're ready to export. And if you want an easier way to handle your video files overall, check out Cliptude to see what it can do for your workflow. Drop a comment below and let us know which effect you're trying to learn first. We read every single one.