How to Use a Green Screen: Everything You Need to Know

Green screens look like movie magic, but they're actually pretty simple once you get the hang of them. You've seen the effect in blockbuster films, weather forecasts, and YouTube videos. The basic idea is straightforward: you film someone in front of a solid green background, then use software to swap that green out for any image or video you want. The result can look like the person is standing anywhere in the world, or even out of it.
A lot of you have asked about this, and it makes sense why. Green screens can take your videos from looking plain and flat to something that feels polished and professional. Whether you're making YouTube content, short films, or online tutorials, knowing how to use a green screen opens up a whole new world of creative options. The best part? You don't need a Hollywood budget to pull it off.
In this guide, we're going to walk through everything from setting up your space to getting clean edges in your final edit. If you've ever tried this before and ended up with a green-tinged mess, don't worry. That's happened to almost everyone at first, and it's totally fixable once you know what to look for.
Setting up your green screen the right way
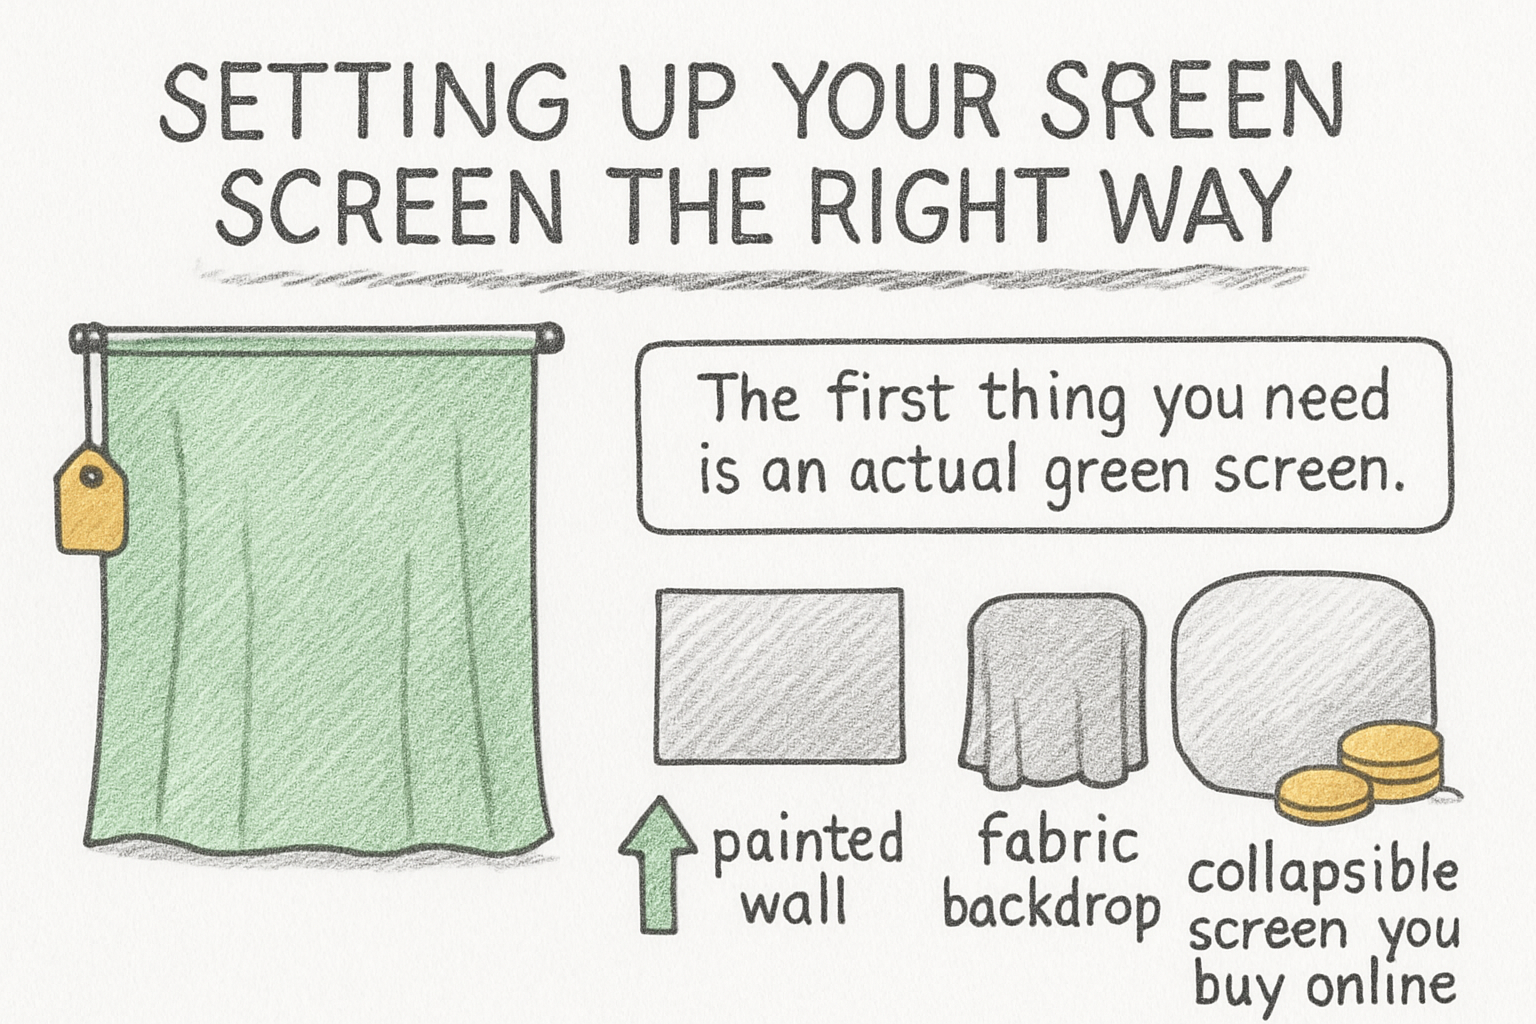
The first thing you need is an actual green screen, which can be a painted wall, a fabric backdrop, or a collapsible screen you buy online. Fabric options are popular because they're affordable and easy to store. Just make sure whatever you use is a consistent shade of green, usually called chroma key green, and that it covers the full area behind you that the camera will capture.
Lighting is honestly where most beginners go wrong. You want to light the green screen separately from yourself. If the same light hits both you and the screen, you'll get uneven shadows on the green backdrop, and that makes it much harder for your editing software to pick out the right color. Try to use two lights on either side of the screen pointing at it directly, while using a separate light or two on your subject.
Wrinkles in your green screen are also a big problem. Even small creases create shadows that show up as different shades of green, and your software might not remove them cleanly. Iron or steam your backdrop before shooting if it's fabric. If you're painting a wall, use a matte paint finish so light doesn't reflect off it in weird ways.
Finally, stand or sit at least four to six feet away from the green screen if you can. The closer you are to it, the more green light bounces back onto you, a problem called green spill. That spill makes your hair or the edges of your clothes look greenish, which is one of the hardest things to fix in editing. Distance is your friend here.
Filming tips that make editing way easier
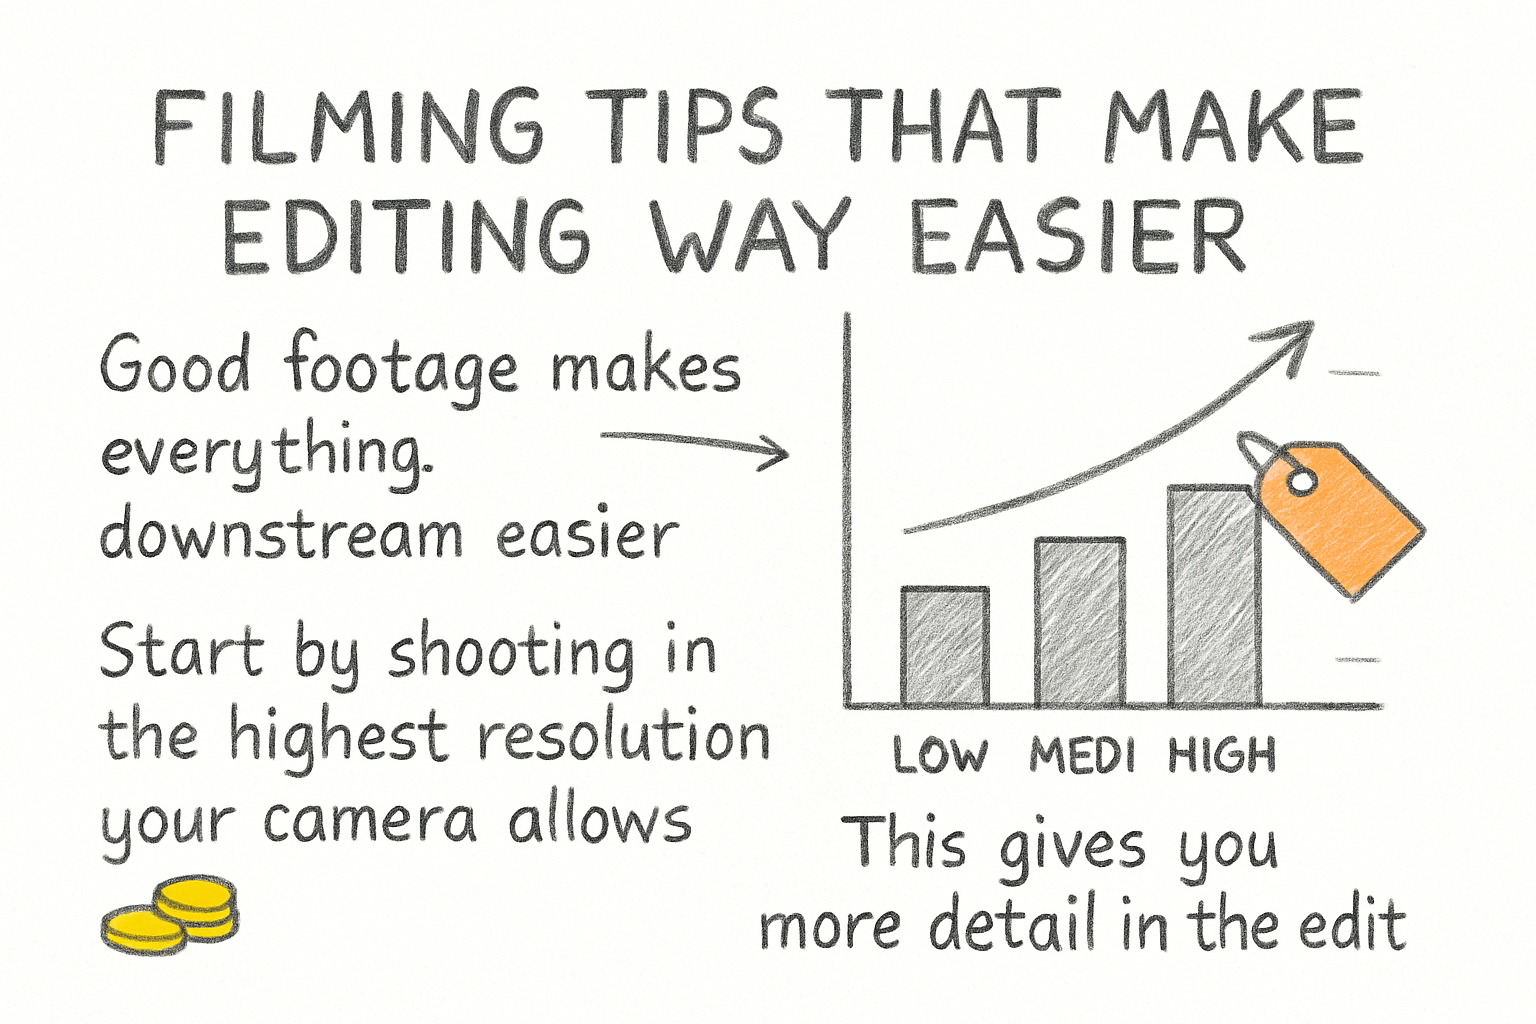
Good footage makes everything downstream easier. Start by shooting in the highest resolution your camera allows. This gives you more detail in the edges of your subject, which matters a lot when software tries to separate you from the background. Blurry or pixelated footage makes clean edges almost impossible to achieve.
Keep your camera steady. A tripod is worth every penny here. If the camera moves around while you're filming, the background replacement can look shaky and unnatural in a way that's hard to hide. Lock your shot down, check the framing, and then hit record.
Wear colors that aren't close to green or teal. This one seems obvious but people forget it all the time. If you wear a green shirt in front of a green screen, parts of your shirt will disappear along with the background. Stick to solid, non-reflective colors that contrast with the screen. Also avoid shiny fabrics because they can pick up the green color from the backdrop and reflect it back into the camera.
I personally think the most underrated tip for green screen work is doing a test shoot before your real recording session. Spend 10 minutes filming yourself, then pull that footage into your editing software and run the chroma key effect. You'll spot problems with your lighting or positioning that you'd never notice just by looking at the setup with your eyes. I learned this the hard way after shooting a full video only to find out my light was casting a big shadow across half the green screen. One quick test would have saved me an hour of frustration.
Editing your green screen footage like a pro
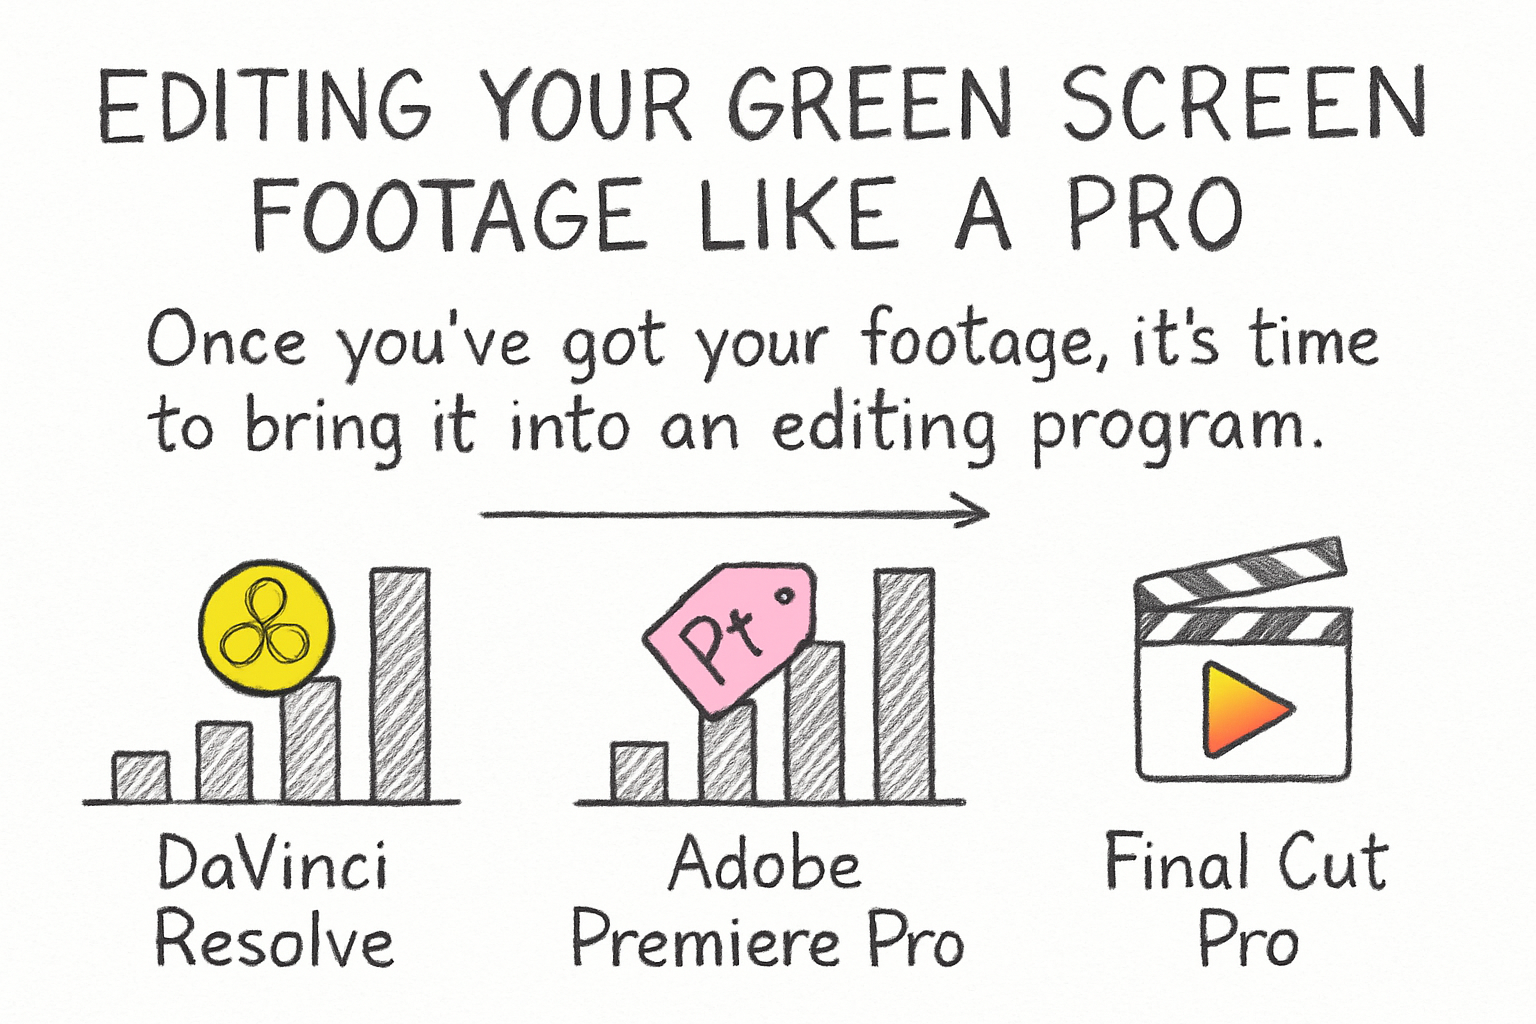
Once you've got your footage, it's time to bring it into an editing program. Popular options include DaVinci Resolve, Adobe Premiere Pro, Final Cut Pro, and even free tools like CapCut or Canva. Almost all of them have a chroma key or green screen tool built in. You select your green screen clip, apply the effect, and then use a color picker to tell the software which color to remove. That's the basics of it.
After you key out the green, you'll probably need to do some cleanup. Most software gives you controls like threshold, smoothing, and feathering. Threshold tells the software how strict to be about which shades of green to remove. Smoothing softens the edges so they don't look jagged. Feathering blends the edge of your subject into the new background more naturally. Play with these until the edges of your subject look clean and the background is fully gone.
Green spill correction is often a separate step. Look for a spill suppression tool or a color correction layer that you can use to take the green tint off the edges of your subject. Some programs handle this automatically, while others need you to do it manually. Either way, it makes a noticeable difference in the final look.
Once your key looks clean, drop your background image or video underneath the green screen layer in your timeline. Scale and position it so it makes sense with your shot. If your subject is moving, you may need to animate the background slightly to match, otherwise it looks like a still photo pasted behind real movement. Small details like this go a long way. And if you're building out a more complete video production workflow, our shot list guide for filmmakers can help you plan shots like these before you even step in front of the camera.
Ready to take the next step?
Green screens are one of those tools that seem complicated until you try them, and then suddenly they become one of your favorite parts of making videos. Start simple, do your test shots, fix your lighting, and practice with a few different backgrounds before you go all in on a big project. The more you use it, the faster you'll get at spotting and fixing problems. If you've got questions about your setup or want to share how your first green screen shoot went, drop a comment below. And if you're looking for a faster way to handle the rest of your video workflow, check out Cliptude to see how it can help you create better content in less time.