How to make stickman explainer videos with AI

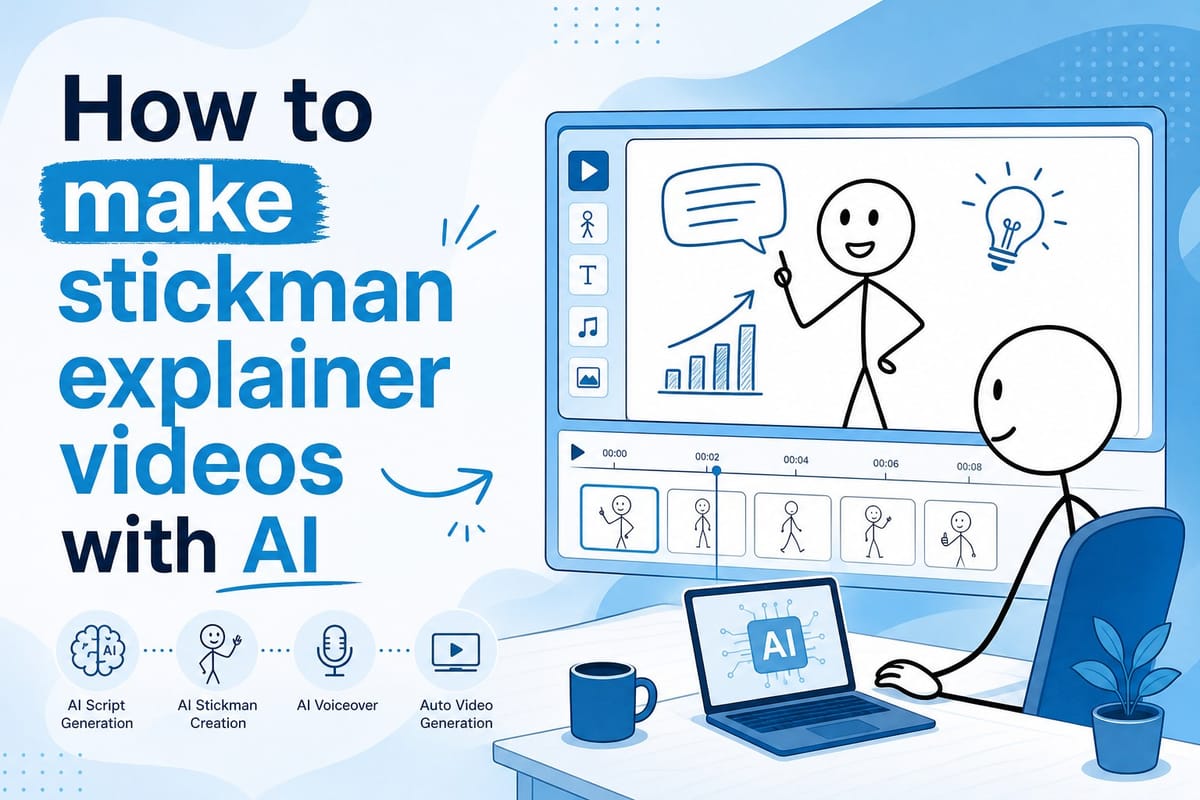
Table of contents
1. Why stickman explainer videos work so well
2. The step-by-step process for making a stickman explainer video with AI
3. How to use Cliptude to produce stickman explainer videos at scale
Stickman explainer videos have taken YouTube by storm. Channels built around simple stick figure animations regularly pull in millions of views, and many of them run completely without a face on camera. If you have ever wondered how those creators produce polished, engaging content without drawing a single frame by hand, the answer is AI. In this article, I will walk you through exactly how to make stickman explainer videos with AI, what the production process looks like from start to finish, and how a platform like Cliptude can handle most of the heavy lifting for you.
Why stickman explainer videos work so well
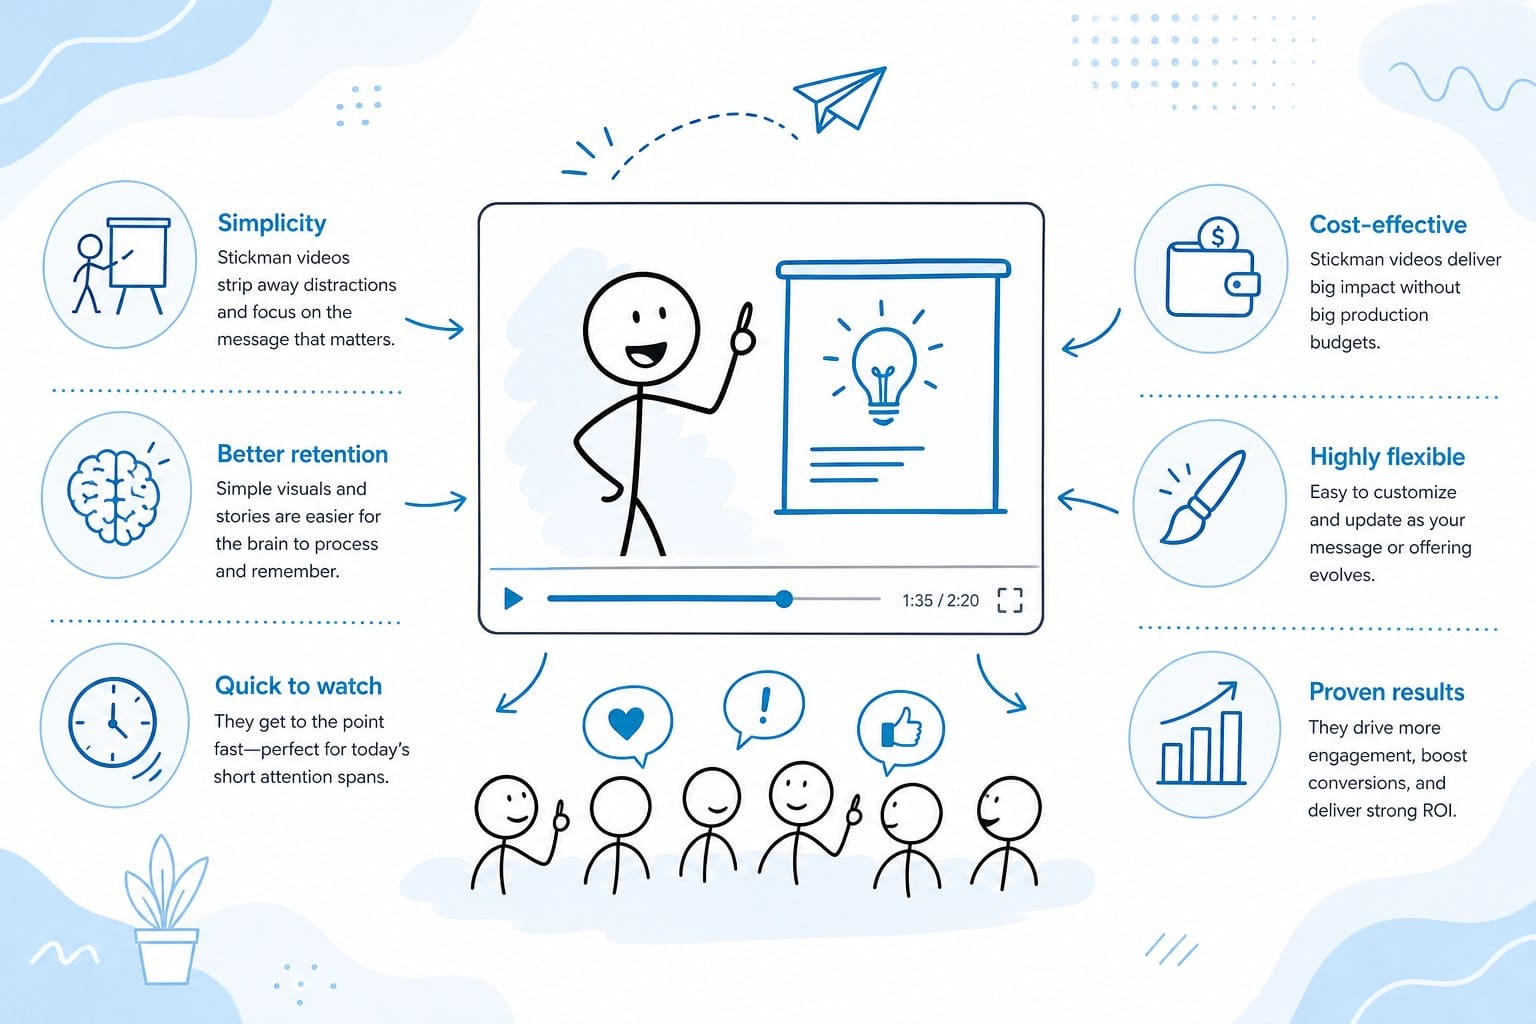
Before we get into the how, it helps to understand the why. Stickman and stick figure animation styles have a long history of performing well on YouTube and social media. The simplicity is part of the appeal. Viewers are not distracted by flashy graphics or high-production visuals. Instead, they focus on the story, the explanation, or the argument being made. That is exactly what a good explainer video needs.
The format also travels well across platforms. A stickman video explaining a historical event, a science concept, or a personal finance tip works just as well as a YouTube long-form video as it does chopped into a short for TikTok or Instagram Reels. That versatility matters a lot when you are trying to build an audience across multiple channels at once.
From a production standpoint, the stickman style is forgiving. Because the aesthetic is intentionally minimal, small inconsistencies in animation quality do not break the experience the way they would in a realistic 3D render. That makes it one of the most accessible animation formats for solo creators and small teams who do not have a background in design.
There is also a strong monetization angle. Faceless channels built on stickman animation have reportedly earned substantial income through AdSense, sponsorships, and digital products. The barrier to entry used to be learning animation software, spending hours on keyframes, or hiring a studio. AI has changed that equation completely.
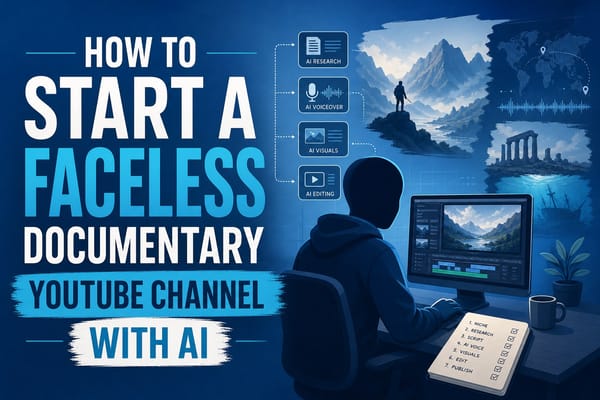
The stickman format fits naturally into educational content, listicle videos, storytelling, and historical explainers. If you are building a faceless YouTube channel and want a recognizable visual identity, the stick figure style gives you a consistent look without requiring ongoing design work. You can read more about building that kind of channel in this guide on how to start a faceless documentary YouTube channel with AI.
One more thing worth noting: audiences respond to personality and narrative, not production budgets. Some of the most-watched animated explainer channels use simple visuals and strong writing. AI tools now let you focus almost entirely on the writing and the concept, while the visual production happens automatically in the background.
The step-by-step process for making a stickman explainer video with AI
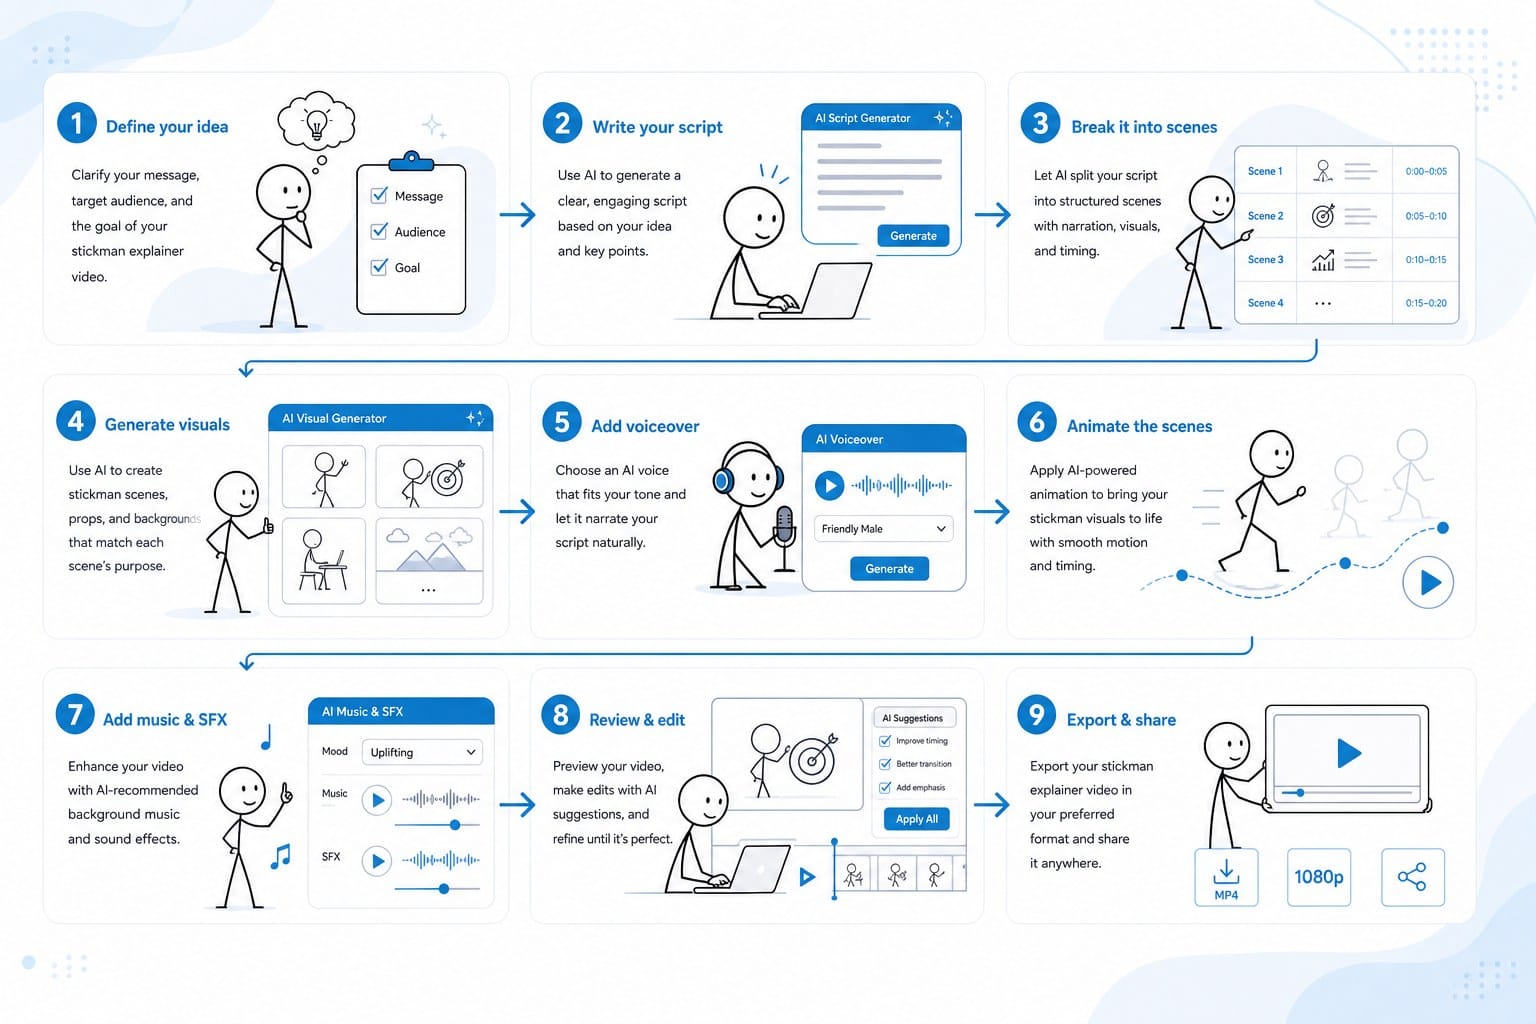
Let me break down the actual production process so you can see how each stage works and where AI fits in.
Step 1: Choose your topic and angle
Every good explainer video starts with a clear topic and a specific angle. Broad topics like "World War II" or "how the economy works" are too vague. A tighter angle like "why the Treaty of Versailles made another war inevitable" or "how compound interest destroys the average person's savings" gives your video a point of view that keeps viewers watching.
AI can help at this stage too. Platforms that include research tools will pull together source material, suggest angles based on trending searches, and help you narrow down a broad idea into something specific and searchable. Cliptude, for example, can take a simple prompt and handle the research and scripting automatically, so you are not starting from a blank page.
Step 2: Write or generate a script
The script is the backbone of an explainer video. For a stickman-style video, scripts tend to be voiceover-driven. The narration carries the story while the visuals support and illustrate the key points. A good explainer script uses plain language, moves at a steady pace, and avoids jargon that would slow the viewer down.
If you are using an AI video platform, the script generation step is often built in. You enter a topic or a rough outline, and the AI produces a full script structured for video. The key is to review and edit that output before you move to production. AI-generated scripts are a strong starting point, but adding your own perspective, examples, and voice will make the final product feel more authentic.
For stickman explainer videos specifically, the script should include natural pause points where a visual gag, a transition, or a diagram can land. Keep sentences short. Write the way people talk, not the way they write academic papers. This makes the eventual voiceover sound natural and gives the animation something clear to illustrate at each beat.
Step 3: Generate or source the stickman visuals
This is where most creators used to get stuck. Creating stickman animations traditionally requires either learning frame-by-frame animation in software like Adobe Animate, purchasing pre-built asset packs and manually arranging scenes, or outsourcing to a freelancer. AI has opened up faster paths.
Some AI tools generate stickman-style images and short animation clips directly from text prompts. You describe a scene, for example "a stick figure standing in front of a whiteboard pointing at a graph" and the tool produces an image or a short clip matching that description. The quality varies depending on the platform, but the speed is significantly faster than hand-drawing.
For motion graphics and animated sequences that sit between full custom animation and static images, AI-powered video platforms can generate these automatically as part of the overall video. Cliptude handles this by automatically sourcing footage, generating motion graphics, and assembling them into a polished edit based on your script. This is especially useful for stickman and whiteboard-style content where the visuals need to match the narration beat by beat.
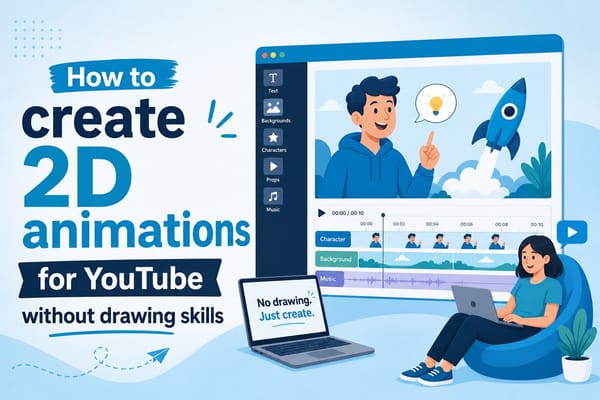
If you want more detail on producing 2D animated content without drawing skills, this article on how to create 2D animations for YouTube without drawing skills goes deeper into the options available.
Step 4: Add voiceover
Stickman explainer videos almost always use a voiceover rather than on-screen text alone. The narration is what drives the story forward and keeps viewers engaged past the first thirty seconds. AI voice tools have improved dramatically. You can now generate realistic voiceovers in a range of accents, tones, and pacing styles without recording anything yourself.
When selecting a voice, match the tone to your content. A dry, matter-of-fact delivery works well for history or science explainers. A warmer, more conversational tone suits personal finance or self-improvement content. Many AI video platforms include voice generation as part of the pipeline, so you do not need to source a separate tool.
If you do have the ability to record your own voice, that is worth considering. A real human voice reading a well-written script tends to outperform AI voice in terms of audience retention, especially on longer videos. But if recording is not an option, AI voice is a genuinely viable alternative.
Step 5: Add music and sound effects
Background music sets the emotional tone of an explainer video. For stickman content, light instrumental tracks with a neutral, slightly playful feel tend to work well. Sound effects, like a pop when a new element appears on screen or a whoosh during a scene transition, add a layer of polish that elevates the production quality without requiring any technical skill to implement.
AI video platforms typically include royalty-free music libraries and can suggest or automatically apply tracks that match the pacing and tone of your script. This saves a significant amount of time compared to browsing through music licensing sites manually.
Step 6: Edit and export
In a traditional production workflow, editing is where most of the time goes. You are syncing the voiceover to the visuals, trimming dead space, adjusting timing, adding captions, and doing color work. With an AI-powered platform, much of this happens automatically as part of the generation process.
Cliptude, as an AI-powered text-to-video platform, handles the scripting, visual sourcing, motion graphics, and editing in one workflow. You start with a prompt or a script, and the platform produces a polished video ready for upload. For creators who want to scale their output, this matters a lot. Producing one video manually might take ten to twenty hours. Producing the same video through an AI pipeline can take a fraction of that time.
Once your video is exported, it is worth checking a few things before uploading. Make sure captions are accurate if you are including them. Watch the full video at least once to catch any timing issues where the visuals and narration fall out of sync. Check that the music volume sits below the voiceover. These small quality checks take five minutes and prevent the kind of issues that hurt audience retention.
Step 7: Optimize for the platform you are uploading to
If you are uploading to YouTube, write a strong title that includes relevant search terms naturally. Write a description that summarizes the video clearly and includes a few related keywords. Add chapters if your video runs longer than five minutes. For shorts on TikTok or Instagram Reels, make sure your video is formatted vertically and that the hook lands in the first three seconds.
SEO optimization at upload is a separate skill from video production, but it determines how many people actually find and watch what you have made. The best stickman explainer video in the world will not perform if it cannot be discovered.
The entire process above, from topic selection to upload-ready export, can now be completed by a single person with no animation background, no video editing experience, and no large budget. That is a genuinely significant shift from where things stood even a few years ago.
How to use Cliptude to produce stickman explainer videos at scale
If you want to produce stickman-style explainer content consistently and efficiently, using an AI video platform built for that kind of output makes a lot of sense. Let me explain how Cliptude fits into this workflow and what it handles for you.
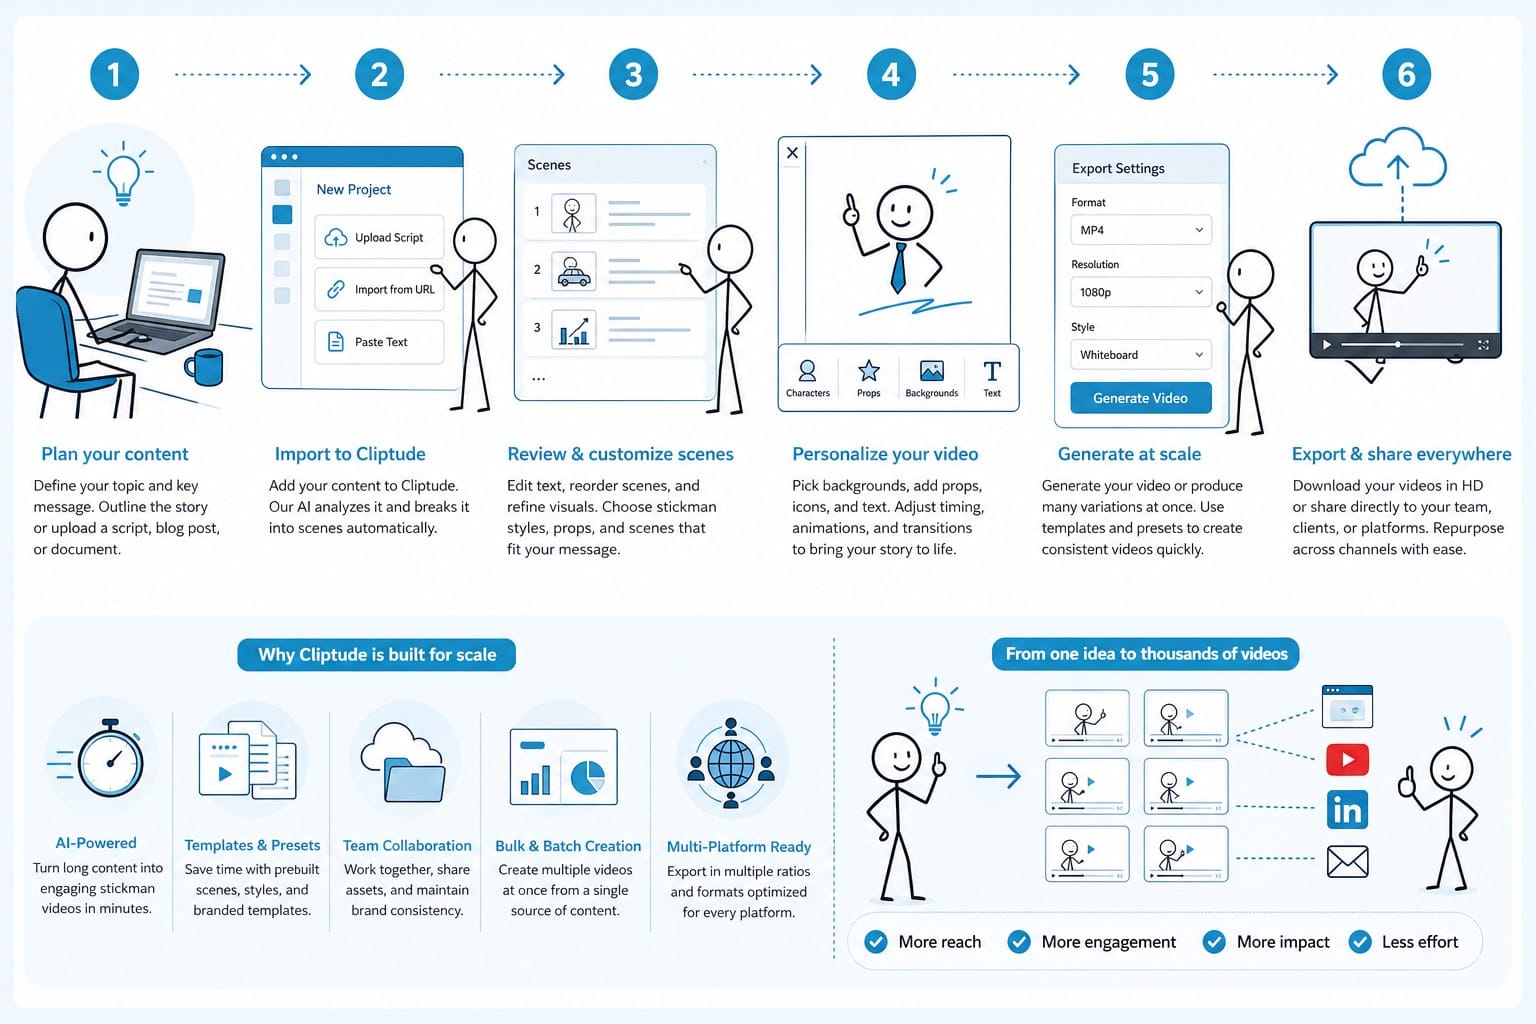
Cliptude is an AI-powered text-to-video platform. You give it a prompt or a script, and it handles research, scripting, visual sourcing, motion graphics generation, and editing automatically. The result is a polished video you can upload directly. For creators focused on explainer content, animations, or educational videos, this removes most of the production bottleneck.
Starting with a prompt
One of the most useful things about working with Cliptude is that you do not need to have a finished script before you start. You can enter a topic or a rough idea, and the platform will research that topic, build a script, and move into production. For stickman explainer videos, this means you can produce content on a wide range of subjects without spending hours on pre-production for each one.
For example, if you want to make an explainer video about why the Roman Empire fell, you enter that prompt, and Cliptude handles the research and structures the script into a logical narrative. This is especially valuable for creators who are running channels across multiple niches and need to produce content quickly without becoming a subject matter expert on every topic.
The animation and motion graphics layer
For stickman and whiteboard-style content, the visual layer is critical. Cliptude automatically generates motion graphics and sources footage that matches the script. For animated explainer formats, this means the visuals are built to match the narration, scene by scene, rather than requiring manual keyframing or frame-by-frame animation work.
The platform supports a range of animation formats including shorts, long-form documentaries, and educational animations. If you are specifically building a stickman explainer channel, you can use the platform to maintain a consistent visual style across all your videos, which helps with audience recognition and channel branding.
Scaling output without scaling costs
One of the main arguments for using an AI stickman explainer video maker like Cliptude is the cost structure. Traditional video production scales linearly with output. More videos means more hours, more freelancers, or more of your own time. AI production does not work that way. Cliptude uses usage-based credit pricing, which means you pay for what you produce rather than committing to a large flat subscription regardless of how much you actually output.
For solo creators and small media teams, this is a meaningful advantage. You can produce a few videos per month when you are starting out and ramp up without a large jump in fixed costs. As your channel grows and your revenue increases, you can increase your production volume without rebuilding your workflow from scratch.
Commercial rights
If you are planning to monetize your stickman explainer videos through AdSense, brand deals, or selling the content directly, you need to make sure you hold commercial rights to what you produce. Cliptude includes full commercial rights with the content you create on the platform. This matters more than many new creators realize. Using content from a tool that restricts commercial use can create problems down the line when your channel starts earning.
Who this works for
Cliptude is a good fit for a few specific types of creators. If you are running a faceless educational channel and want to produce explainer content without being on camera, the platform covers the entire production pipeline. If you are a solo entrepreneur or small team without video editing skills, it removes the technical barrier entirely. If you are an experienced creator who wants to increase your upload frequency without burning out on production, it gives you a faster path from idea to finished video.
For creators who are newer to animation formats, it is also worth reading about how other creators have approached 2D animation on YouTube without drawing skills. That context helps you understand what visual styles work and what kinds of channels are succeeding in this space right now. The guide on how to create 2D animations for YouTube without drawing skills covers this in detail.
Practical tips for getting the best results
A few things will help you get better output from any AI video platform, including Cliptude.
First, be specific with your prompts. The more detail you give the platform about the tone, target audience, length, and angle of the video, the better the output will match what you have in mind. Vague prompts produce vague results.
Second, review the script before you commit to full production. Spending five minutes editing the AI-generated script to add your voice and correct any factual inaccuracies will improve the final video more than any technical adjustment you can make during post-production.
Third, build a consistent upload schedule. The channels that grow fastest on YouTube are those that upload regularly. AI tools give you the capacity to maintain that schedule without the burnout that comes from manual production. Even two or three videos per week becomes manageable when the production pipeline is largely automated.
Fourth, pay attention to your analytics. Watch time and click-through rate are the two metrics that tell you whether your content is working. If viewers are clicking but leaving in the first minute, your hook is not landing. If your click-through rate is low, your thumbnails or titles need work. Use that data to refine your approach over time.
Fifth, treat the AI output as a starting point, not a finished product. The creators who get the best results from AI video tools are those who use the automation to handle the time-consuming parts of production while still applying their own judgment, creativity, and editorial sense to the final output.
Stickman explainer videos are one of the most accessible formats for new and experienced creators alike. The visual style is simple, the production barrier has dropped dramatically with AI, and the audience appetite for this kind of content is strong. Using a purpose-built platform like Cliptude means you can focus on the ideas and the storytelling while the technical production handles itself.
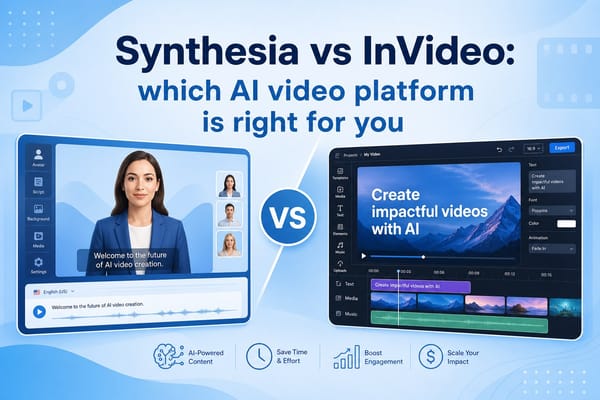
If you are curious about how AI video compares across different platforms and use cases, this breakdown of Synthesia vs InVideo: which AI video platform is right for you gives you a useful frame of reference for evaluating your options.
Ready to take the next step?
Ready to start making stickman explainer videos without touching a timeline or drawing a single frame? Head over to Cliptude and start your first video today. Enter a prompt, let the platform handle the research, scripting, animation, and editing, and walk away with a polished explainer ready to upload.