Compressing Video on Mac: The Complete Guide
If you've ever tried to send a video file to a friend and your email bounced it back, you know exactly how frustrating oversized video files can be. Mac users deal with this a lot, especially because iPhones and MacBooks record in formats that produce huge file sizes. The good news is that compressing video on a Mac isn't complicated once you know what you're doing.
A lot of you have asked about this topic, and it makes total sense why. Whether you're trying to upload a video to social media, email a clip to a client, or just free up storage space, getting that file size down matters. And unlike Windows, Macs come with some built-in tools that can actually handle compression without you needing to download anything extra.
This guide walks you through everything, from using QuickTime Player to third-party apps to online tools. By the end, you'll know exactly which method fits your situation best. Let's get into it.
Using built-in Mac tools to compress video
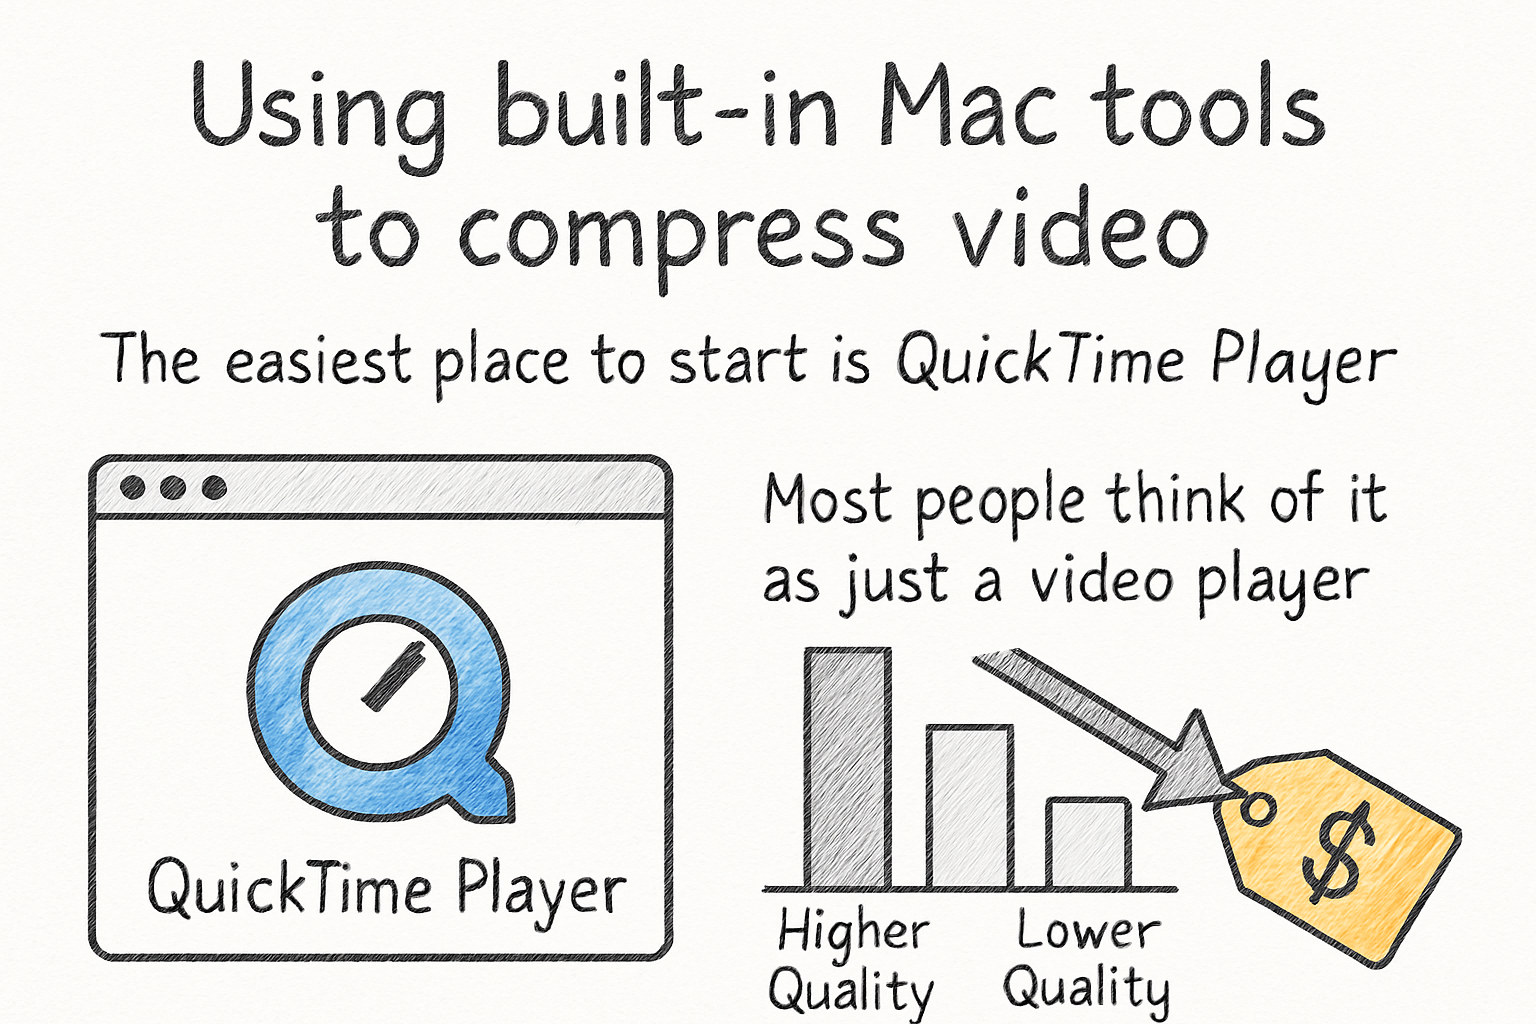
The easiest place to start is QuickTime Player. Most people think of it as just a video player, but it can also export videos at lower quality settings, which shrinks the file size. Just open your video in QuickTime, click File, then Export As, and you'll see options like 480p, 720p, and 1080p. Picking a lower resolution reduces the file size without you having to touch any complicated settings.
The tradeoff is obvious, though. Dropping from 4K to 720p is going to make the video look less sharp, especially on a big screen. For most casual uses like texting a funny clip or uploading to Instagram, this works fine. But if you need quality to stay high, QuickTime's export options won't be enough on their own.
iMovie is another built-in option that gives you a bit more control. When you export from iMovie, you can choose the resolution and the compression type. It's not super granular, but it's better than QuickTime's basic options. If you already use iMovie for editing, just finish your project there and export at a slightly lower resolution than you filmed in.
One thing worth knowing: Macs record video in MOV format by default, and those files can get massive. If you want a deeper look at shrinking MOV files specifically without tanking the quality, our guide on how to compress a MOV file without losing quality covers that in detail.
Third-party apps and tools that give you more control
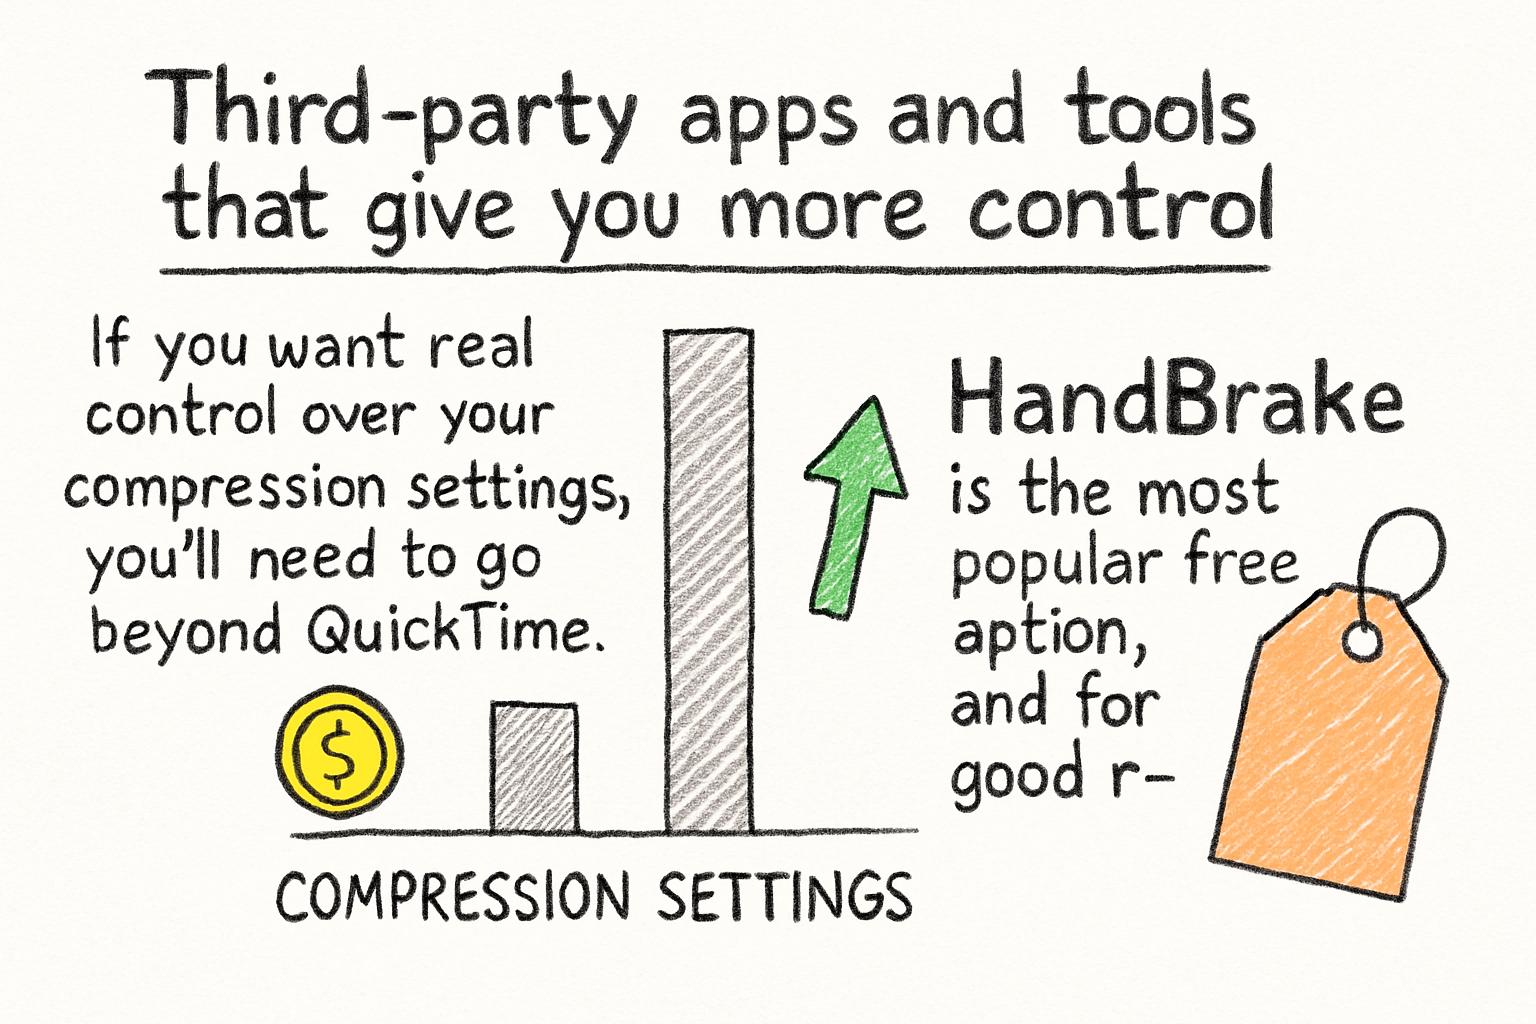
If you want real control over your compression settings, you'll need to go beyond QuickTime. HandBrake is the most popular free option, and for good reason. It's open source, works great on Mac, and lets you adjust the codec, bitrate, resolution, and frame rate all in one place. The interface looks a little intimidating at first, but once you run it a couple of times it starts to make sense.
I personally think HandBrake is the best free desktop option for Mac users who need consistent results. I started using it a few years ago when I was trying to batch compress a folder of screen recordings, and it handled dozens of files without breaking a sweat. You can even set up presets so you don't have to configure everything from scratch each time.
For MP4 files specifically, the process is very similar. You can read more about the best approaches in our breakdown of how to compress an MP4 video if that's the format you're working with. MP4 tends to compress more efficiently than MOV in most cases, so switching formats can also be a strategy worth trying.
If you'd rather not deal with desktop software at all, online compressors are a solid alternative. Tools like Cliptude let you upload a video, choose your compression level, and download a smaller file without installing anything. This is great if you only need to compress one or two videos and don't want to clutter your Mac with another app. Just keep file size limits in mind since most free online tools cap uploads at a certain size.
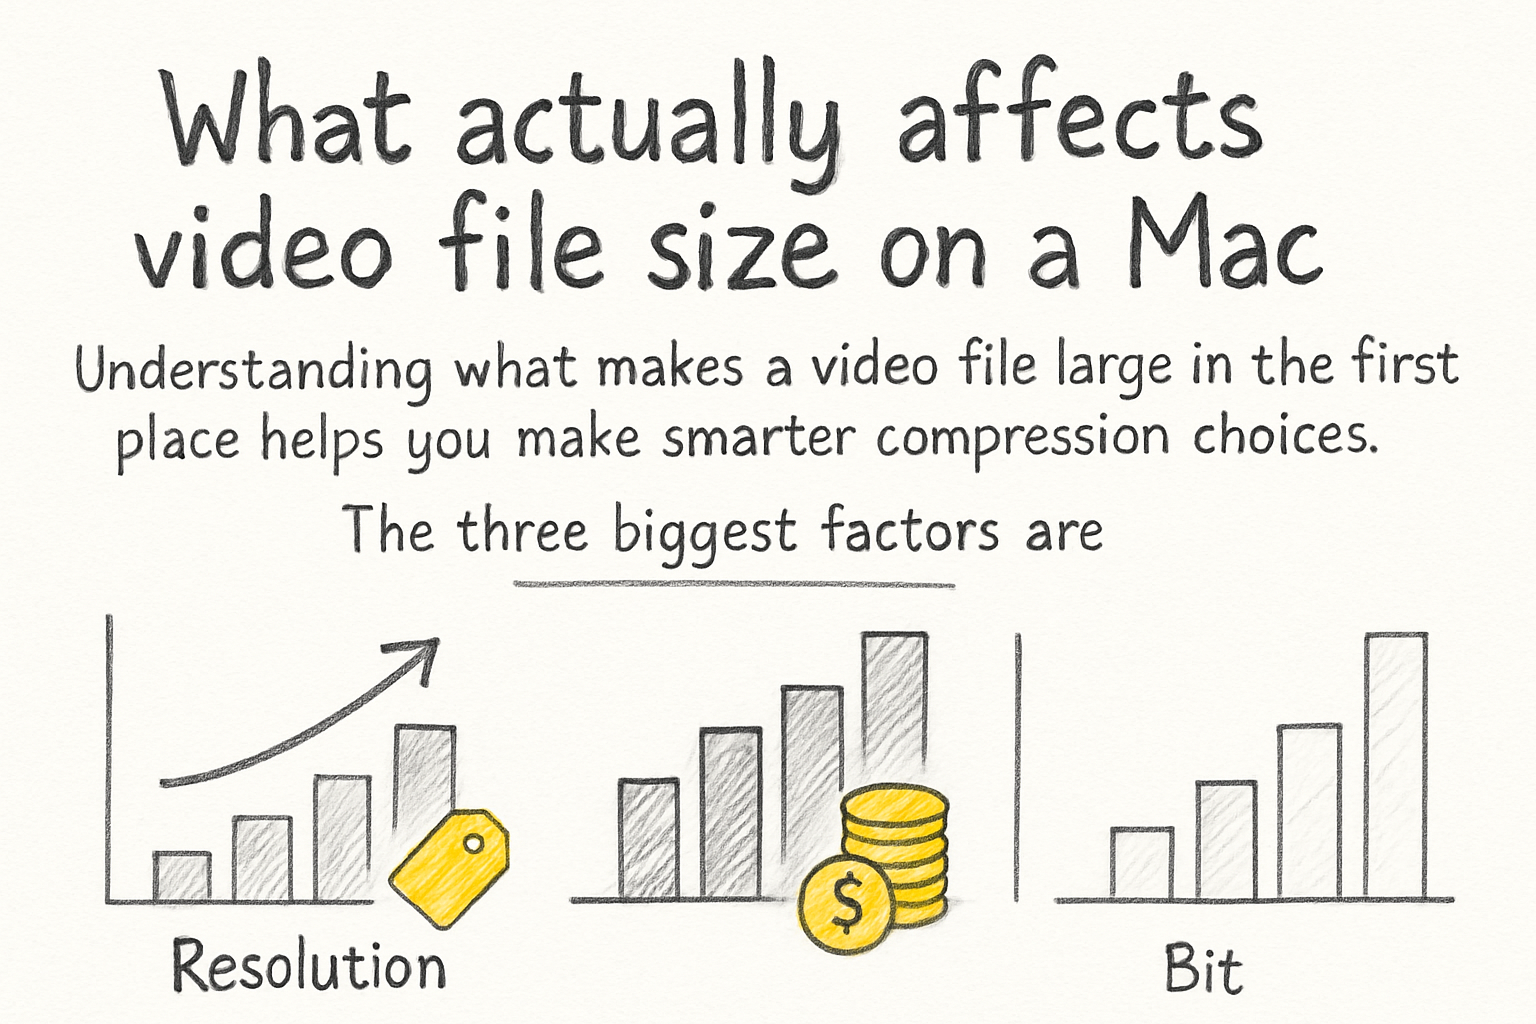
What actually affects video file size on a Mac
Understanding what makes a video file large in the first place helps you make smarter compression choices. The three biggest factors are resolution, bitrate, and codec. Resolution is the most obvious one. A 4K video has four times as many pixels as a 1080p video, which means the file is much larger. Bitrate controls how much data is used per second of video. Higher bitrate means better quality but bigger files.
The codec matters more than most people realize. H.264 is the most common codec and compresses video well while keeping decent quality. H.265, also called HEVC, is newer and compresses even more efficiently, meaning you can get a smaller file at the same quality level. Macs support both, and HandBrake lets you choose between them when you export.
Frame rate is another factor. A video at 60 frames per second is going to be larger than the same video at 30 fps. Most content looks perfectly fine at 30 fps, so if you recorded at 60, dropping it down during compression can cut file size noticeably. You'd be surprised how much space that one change can save.
If you're compressing video to upload to YouTube, the format and settings you use really do matter for both quality and upload speed. We covered the best formats for that use case in our article on the best format for YouTube videos in 2026, which is worth a read if you're making content for the platform. Getting the format right before you compress can save you a lot of time re-exporting later.
Ready to take the next step?
Compressing video on a Mac doesn't have to be a headache. Whether you use QuickTime for something quick, HandBrake for a detailed export, or an online tool for convenience, the right method depends on how much control you need and how often you're doing it. If you have questions about your specific situation or a method you've tried, drop them in the comments below. And if you want a fast, no-fuss way to compress video right from your browser, check out Cliptude and see how simple it can be.