How to Post a YouTube Video: A Step-by-Step Guide
If you've never uploaded a video to YouTube before, the whole process can feel a little confusing at first. There are settings to fill out, thumbnails to add, and visibility options to choose from. It's easy to hit publish too fast and miss something important. But once you know the steps, it actually goes pretty smoothly.
A lot of you have asked about this, so I wanted to put together a simple walkthrough that covers everything from the upload screen to hitting that final publish button. Whether you're putting up your first video or you just want to make sure you're not skipping any steps, this guide will walk you through the whole thing. And trust me, by the end, you'll feel way more confident about the process.
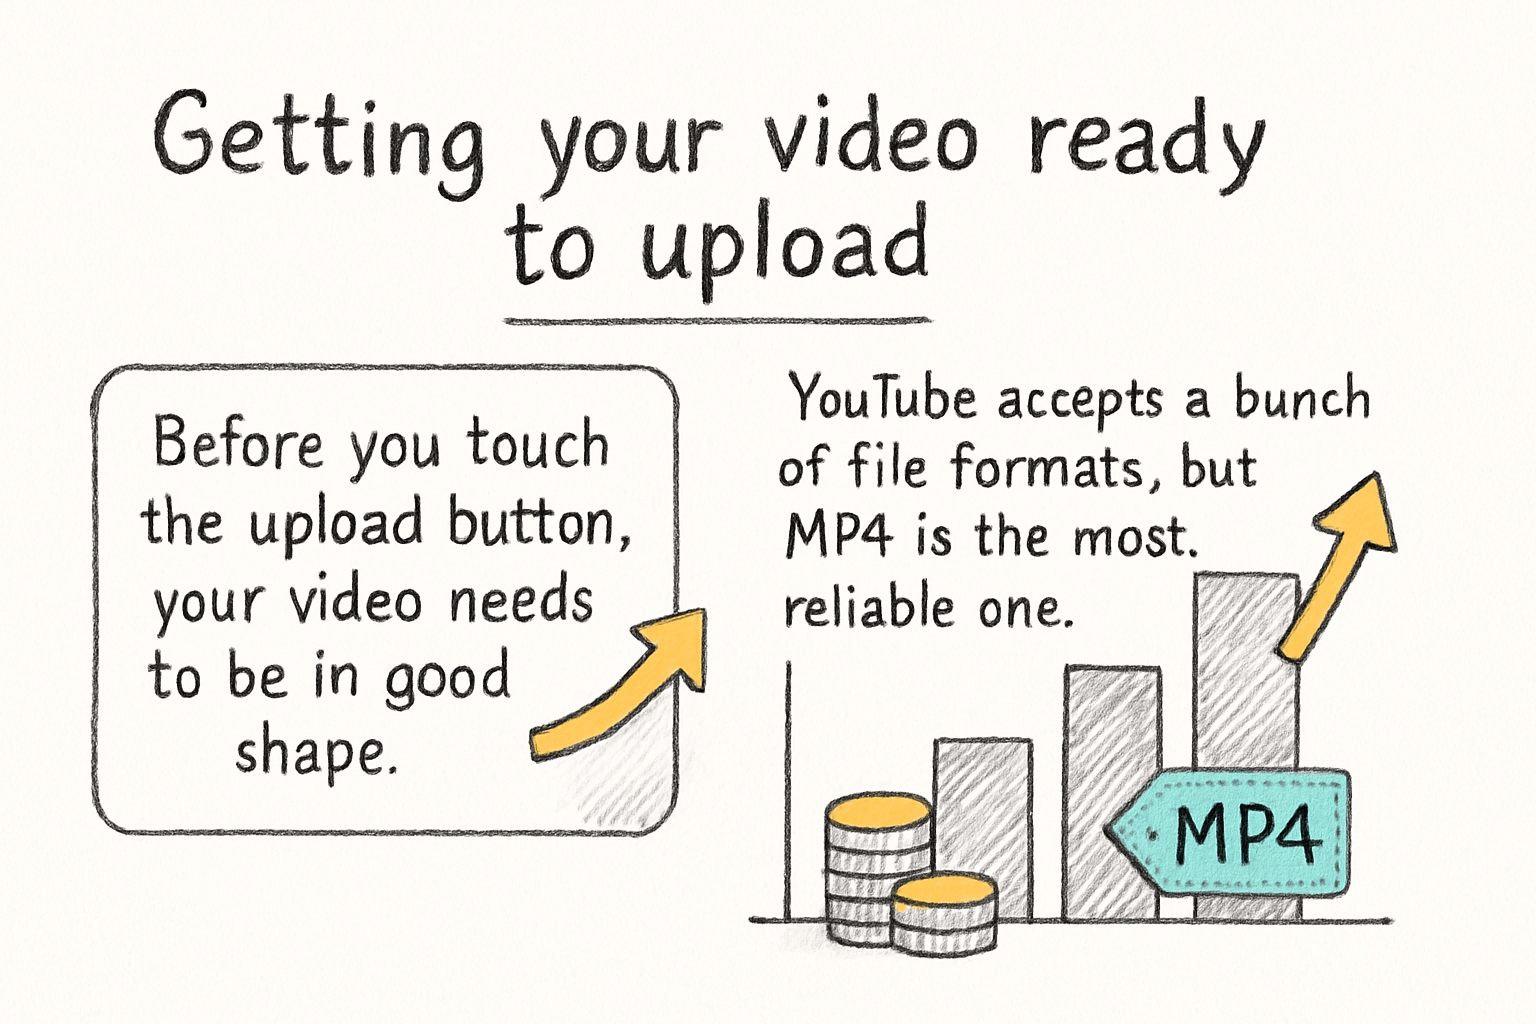
Getting your video ready to upload
Before you touch the upload button, your video needs to be in good shape. YouTube accepts a bunch of file formats, but MP4 is the most reliable one to use. It keeps quality high and tends to upload faster than other formats. If you want a deeper look at what works best, our post on the best format for YouTube videos breaks it all down.
File size matters too. YouTube allows uploads up to 256 GB, but that doesn't mean you should send up a massive file just because you can. Large files take forever to upload and process. If your video is huge, it's worth compressing it first. There are solid tools that can shrink your file without wrecking the quality, and you can find some great options in our roundup of video compression tools and methods.
Also, make sure your video actually looks and sounds the way you want it to before you upload. I once spent 20 minutes waiting for a video to process only to realize the audio was completely out of sync. Fix those issues in editing first so you're not doing the whole thing twice. If you're still learning the editing side of things, our guide on video editing effects for beginners is a great place to start.
Once your file is ready and your edits are locked in, you're good to go. Head to YouTube Studio, click the Create button in the top right corner, and select Upload Videos. Then just drag your file into the window or click to browse for it on your computer.
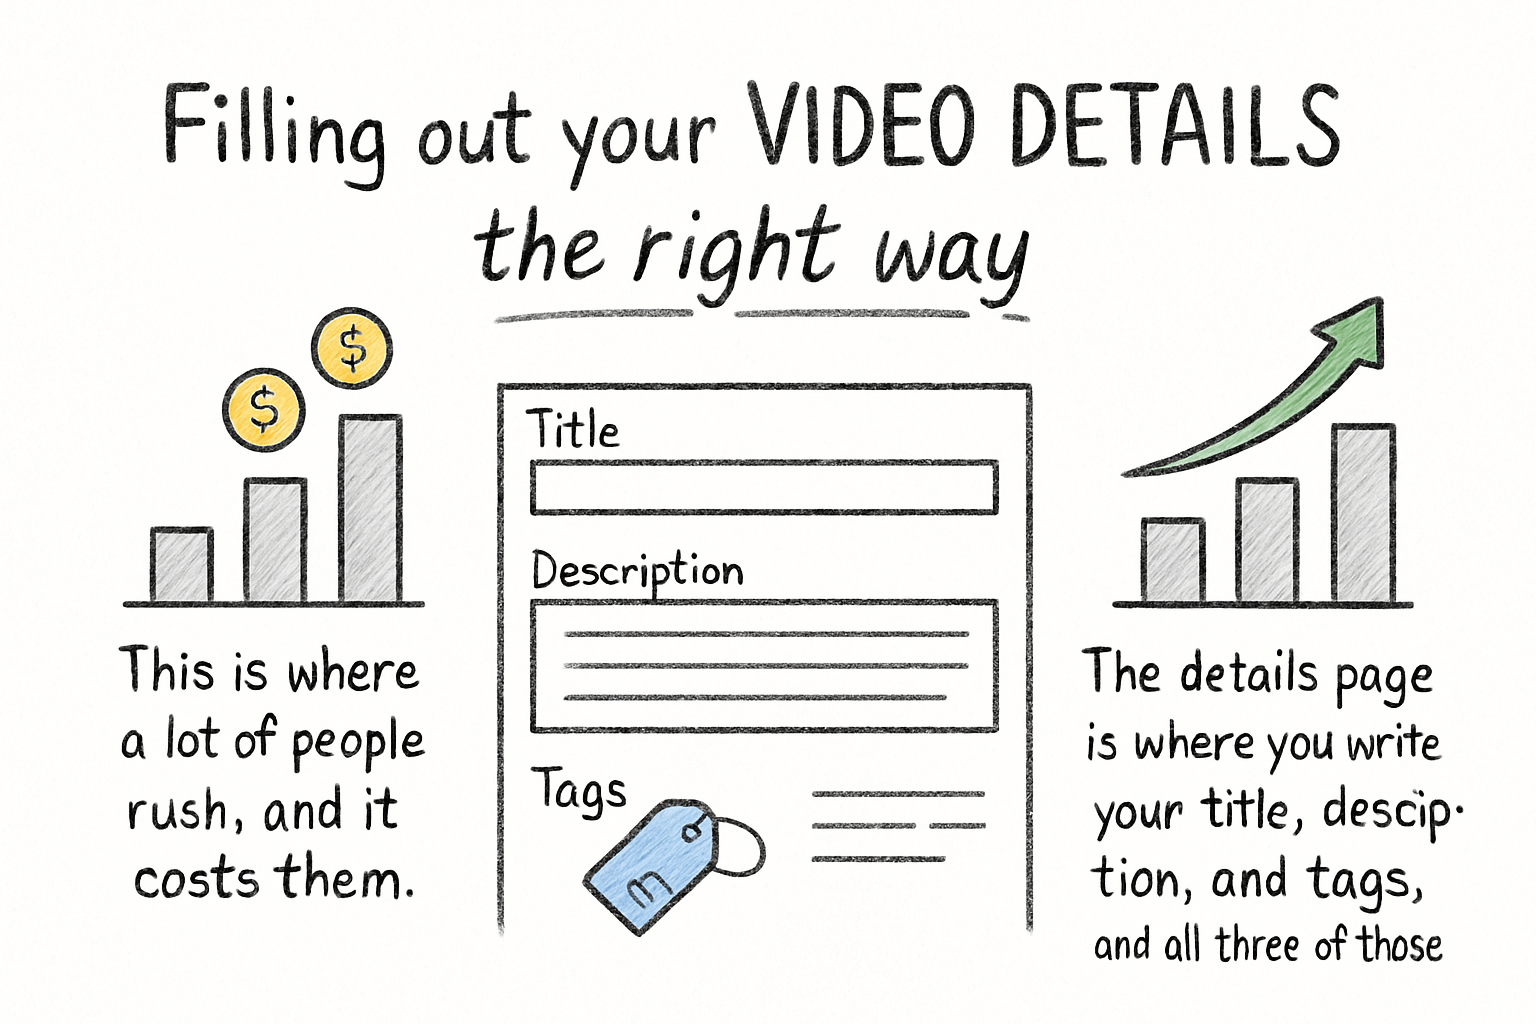
Filling out your video details the right way
This is where a lot of people rush, and it costs them. The details page is where you write your title, description, and tags, and all three of those things affect how YouTube shows your video to people. A weak title or an empty description can seriously hurt your reach, even if the video itself is great.
Your title should be clear and specific. Think about what someone would actually type into the search bar to find your video. Don't try to be too clever or vague. If your video teaches someone how to bake banana bread, just say that. Straightforward titles tend to perform better because they match what people are already searching for.
The description box is your chance to give YouTube more context about your content. Write a few sentences explaining what the video covers. You can also include links or timestamps here if that helps your viewers. For tags, don't overthink it, but don't ignore them either. Our article on how to use YouTube tags the right way will help you figure out which ones actually move the needle.
I personally think the thumbnail is just as important as the title, maybe even more so. YouTube lets you upload a custom thumbnail, and you really should. A clean, easy-to-read image that shows what your video is about will get way more clicks than an auto-generated screenshot. Make it bold, keep the text short, and make sure it looks good even at a small size.
Choosing your settings and publishing
Once your details are filled out, YouTube walks you through a few more pages before you can publish. One of them asks about monetization if your channel is eligible. Another checks for copyright issues. Just follow the prompts and YouTube will flag anything that needs your attention.
Then you'll hit the visibility page, and this is where you decide who can see your video. You have three main options: private, unlisted, and public. Private means only you can see it. Unlisted means anyone with the link can watch it, but it won't show up in search results. Public means anyone on YouTube can find it. Most people go straight to public, but if you want to review everything one more time before the world sees it, unlisted is a smart choice.
You can also schedule your video to go live at a specific time instead of publishing it right away. This is really useful if you want your video to drop at a peak viewing time for your audience. Consistency matters a lot on YouTube, and scheduling helps you stay on track without having to remember to manually publish every time.
Once everything looks good, click Publish or Schedule and you're done. YouTube will process the video, which can take anywhere from a few minutes to a couple of hours depending on the file size and quality. After it's live, share it on your other platforms to give it an early boost. If you're thinking about growing your channel beyond just uploads, our post on how to get subscribers on YouTube fast is worth a read.
Ready to take the next step?
Posting a video on YouTube really does get easier every time you do it. The first upload always takes the longest because you're learning where everything is, but after that it becomes second nature. If you want to keep improving what you create before it even gets to the upload stage, check out Cliptude for tools that help you produce better videos from the start. And if you have questions about any part of this process, drop them in the comments below. I read every single one and I'm happy to help.