How to Convert a PowerPoint Into a Video

If you've ever sat through a PowerPoint presentation, you know how easy it is for slides to feel flat. They sit there, static, waiting for someone to talk over them. But what if you could turn that same deck into a video that plays on its own, reaches people on any device, and actually keeps their attention? That's exactly what we're going to cover today.
A lot of you have asked about this, especially teachers, small business owners, and anyone who wants to share training content without scheduling a live meeting. The good news is that converting a PowerPoint into a video doesn't require any fancy software skills. Whether you're on a Windows PC or a Mac, you probably already have everything you need to get it done.
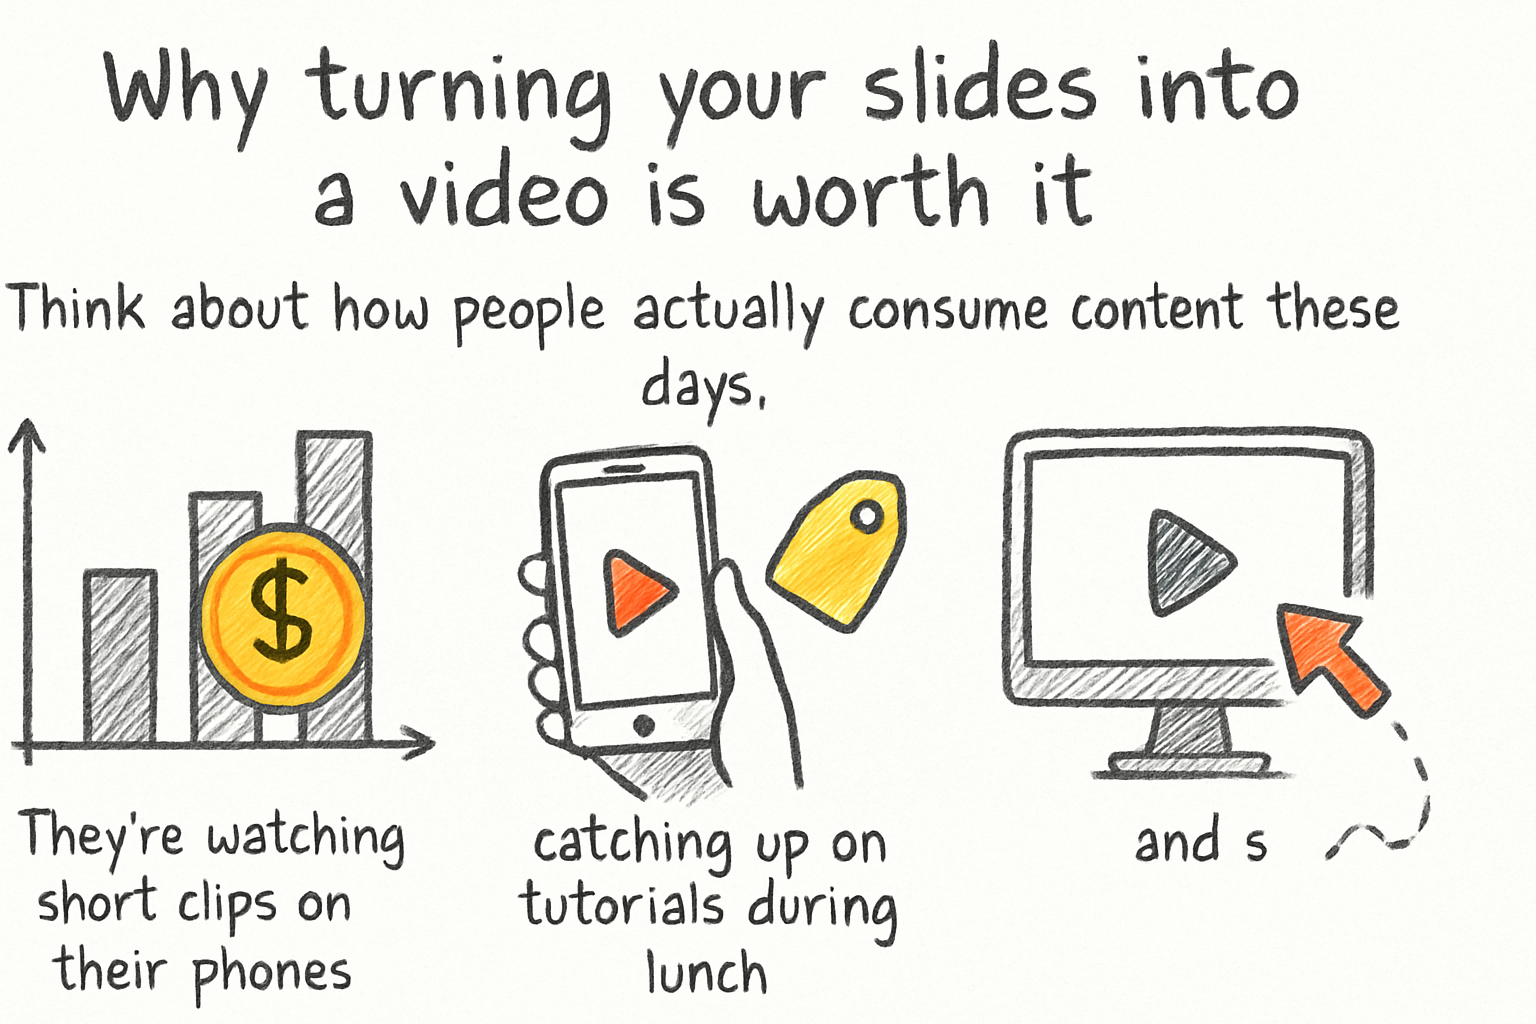
Why turning your slides into a video is worth it
Think about how people actually consume content these days. They're watching short clips on their phones, catching up on tutorials during lunch, and skipping anything that makes them open a file or download an app. A video plays anywhere. A PowerPoint file does not.
When you export your presentation as a video, you free it from the confines of PowerPoint itself. Your audience doesn't need the software installed. They don't need to click through slides manually. The video does all that for them, at whatever pace you set. It feels more professional, too.
I personally think this format works best for educational content. When I started turning my own training slides into videos a couple of years ago, the feedback was night and day compared to sending around a .pptx file. People actually watched them. If you're putting together something meant to teach or explain, check out our guide on making educational videos that actually engage viewers for extra tips on keeping an audience hooked.
The bottom line is that a video is simply more shareable, more accessible, and easier to watch than a slide deck. Once you see how simple the export process is, you'll wonder why you weren't doing this sooner.
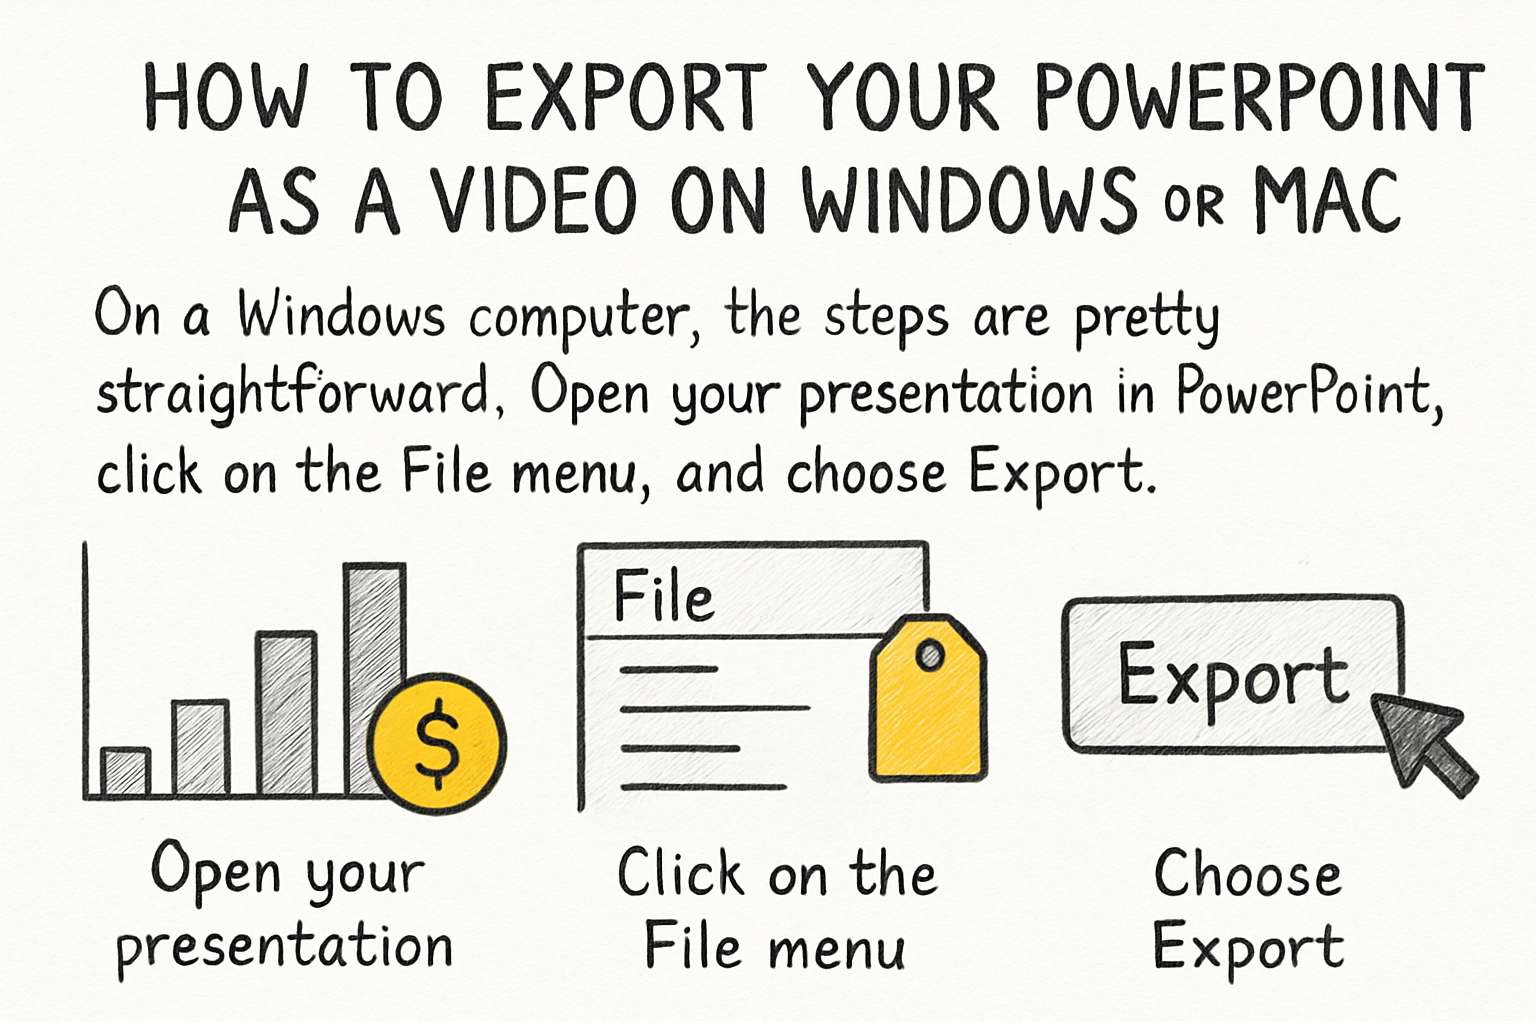
How to export your PowerPoint as a video on Windows or Mac
On a Windows computer, the steps are pretty straightforward. Open your presentation in PowerPoint, click on the File menu, and choose Export. From there, select Create a Video. You'll see a dropdown menu that lets you pick your video quality, which ranges from a small file size suitable for the web all the way up to Ultra HD. You can also set how many seconds each slide stays on screen if you don't have any custom slide timings already built in. When you're ready, click Create Video and pick where you want to save it. PowerPoint will render the file as an MP4.
On a Mac, the process is almost the same. Go to File, then Export, and choose MP4 or MOV as your file format. You get the same quality options and timing controls. One thing worth noting is that the export can take a few minutes if your presentation is long or has a lot of animations, so don't panic if it seems slow.
Here's something people often forget: if you recorded narration directly inside PowerPoint, that audio will carry over into the video automatically. The same goes for any slide timings you set during rehearsal. If you haven't added audio yet and want your voice in the video, you can record it inside PowerPoint before exporting, or you can add a voiceover later using a video editor.
If your exported video ends up larger than you'd like, that's a common problem. We actually covered a related issue in our post about how to make a movie from photos in minutes, where file size and export settings came up as well. Keeping your quality setting matched to your actual use case, like web sharing versus a big screen presentation, goes a long way toward managing that.
What to do after you've created the video
Once you have your MP4 file, the options open up fast. You can upload it to YouTube, share it in an email, post it to a learning platform, or drop it into a messaging app. Each of those channels comes with its own set of things to think about.
If you're planning to put your video on YouTube, our step-by-step guide on how to post a YouTube video walks you through the whole upload process, including how to add a title, description, and tags. And if you ever want to send the video directly to someone over email, we've got you covered with our piece on how to attach a video to an email without the headaches, because large video files and email don't always play nicely together.
You might also want to do some light editing on the final video before you share it. Maybe you want to trim a few seconds off the beginning, add a title card, or adjust the audio levels. A basic video editor can handle all of that without much trouble. If you're doing edits on your phone, our beginner's guide to editing videos on iPhone is a good place to start.
One last tip: always watch your exported video all the way through before sharing it. Animations sometimes behave differently in video format than they do in a live presentation. Transitions can look odd, and timing that felt natural during a rehearsal can feel rushed or too slow when it's locked into a video. Give it a full review, then share with confidence.

Ready to take the next step?
Converting a PowerPoint into a video is one of the easiest ways to get more mileage out of content you've already built. The hardest part is usually just knowing where to click, and now you do. If you run into any questions along the way, drop them in the comments below. We read every one. And if you want to take your video even further with editing, effects, or sharing tools, check out Cliptude to see what's possible.